
To Mount Sandfjellet in Vestnes Municipality (05.09.2020)

Geschrieben von Solan (Atle Solholm)

| Startpunkt | Dalskleiva Parkering (390m) |
|---|---|
| Endpunkt | Dalskleiva Parkering (390m) |
| Tourcharakter | Wanderung |
| Tourlänge | 3h 51min |
| Entfernung | 10,7km |
| Höhenmeter | 1.200m |
| GPS |
|
| Besteigungen | Kvasstinden (1.166m) | 05.09.2020 |
|---|---|---|
| Sandfjellet (1.470m) | 05.09.2020 | |
| Besuche anderer PBE | Dalskleiva parkering (390m) | 05.09.2020 |
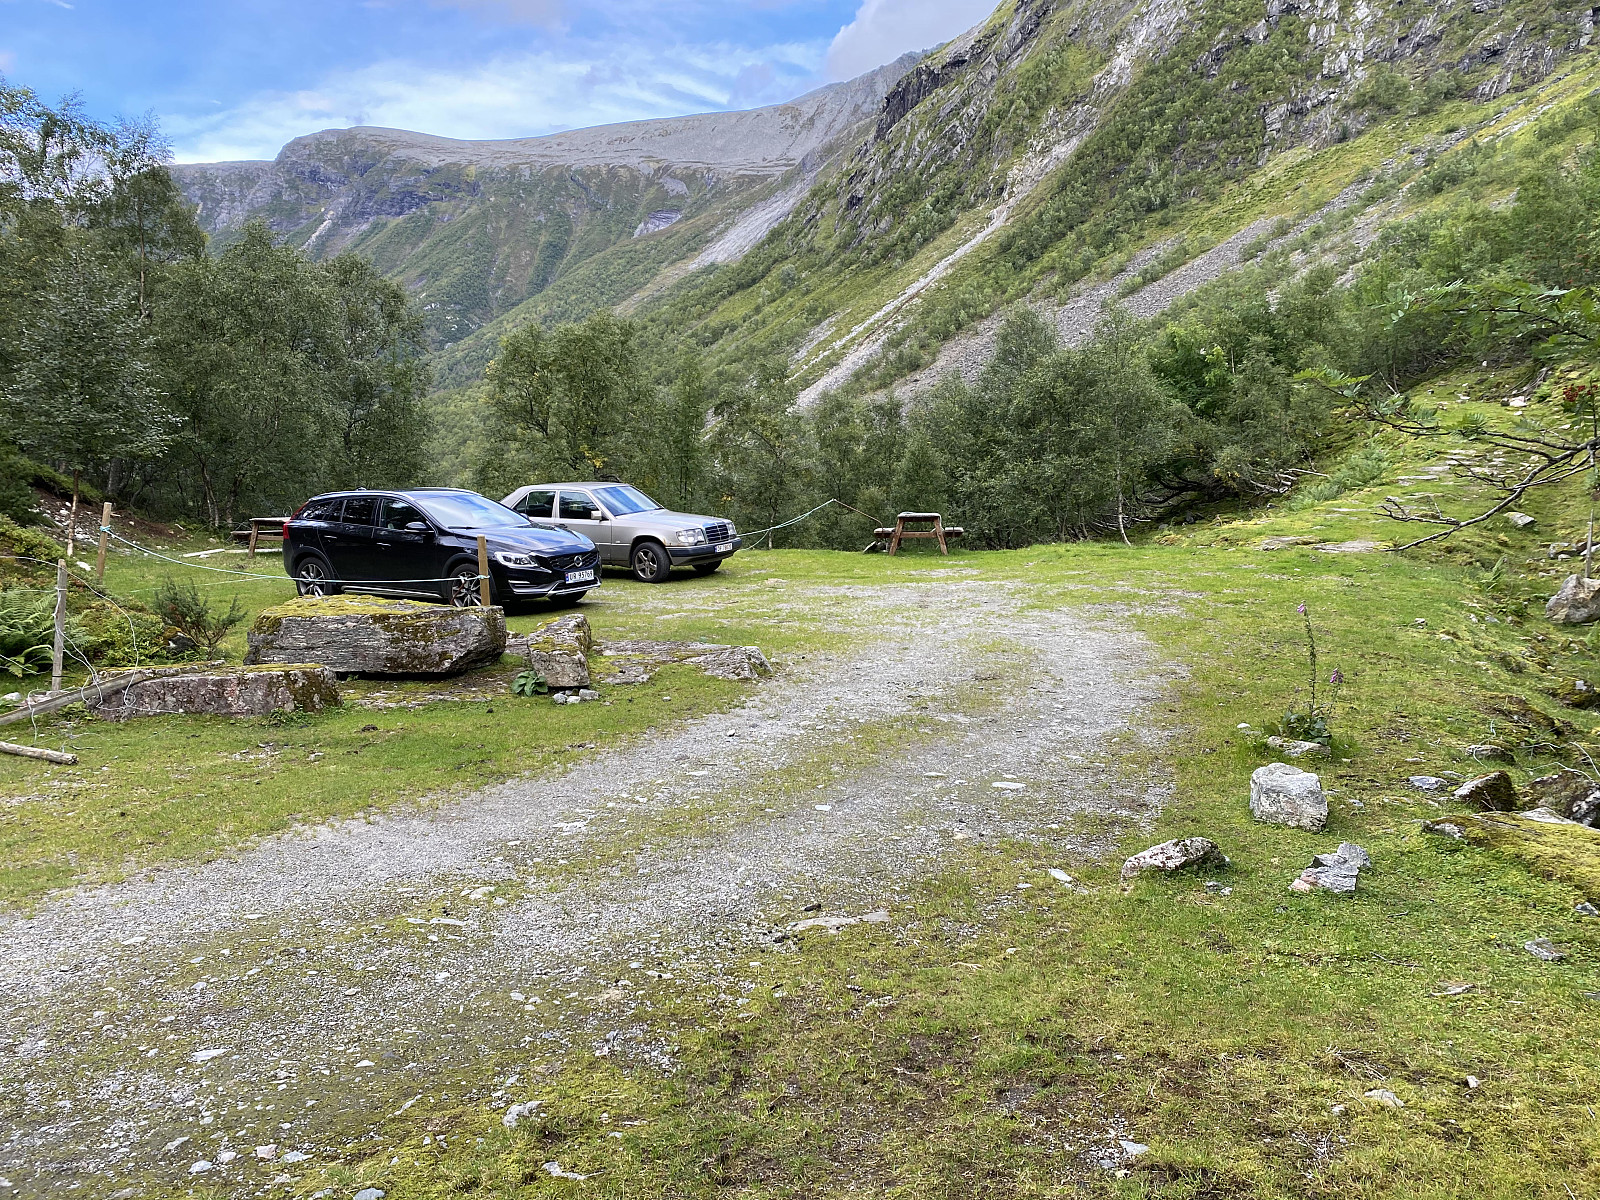
This particular hike was one that my oldest son, Dag, recommended me to do. He had himself ascended this mountain, and said it was a nice day-trip that is feasible to realize. He explained to me how to get there, and where to park the car; and before leaving home, I even consulted some tour descriptions here on Peakbook. I drove to a fjord called Tresfjorden, in Vestnes Municipality, and then continued up a valley called Rypdalen. In the upper part of Rypdalen Valley, you have to pay a fee in order to continue. Now, the easiest way to pay that fee is to use the Swish app, though there was also a mailbox in which you could drop an envelope with money inside. Once you've payed the fee, you can continue upwards along a steep and narrow graveled road that takes you all the way up to a parking lot located about 390 m.a.m.s.l.
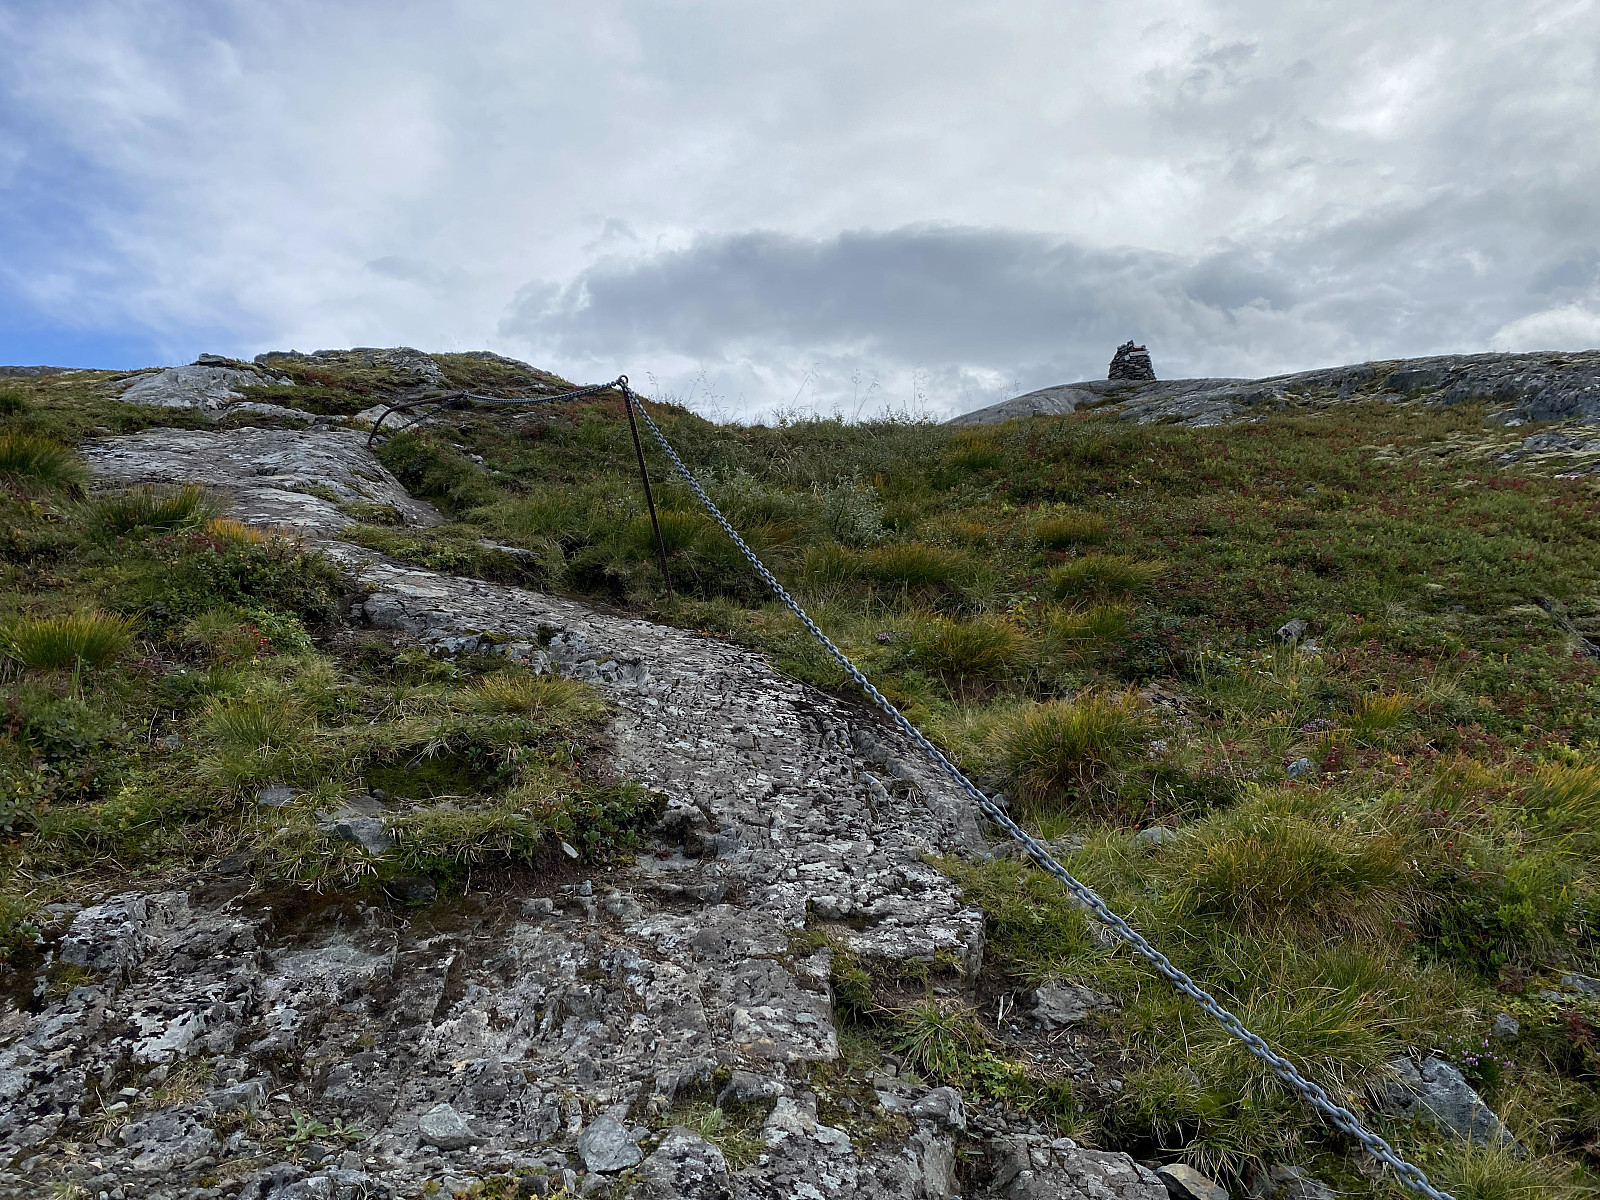
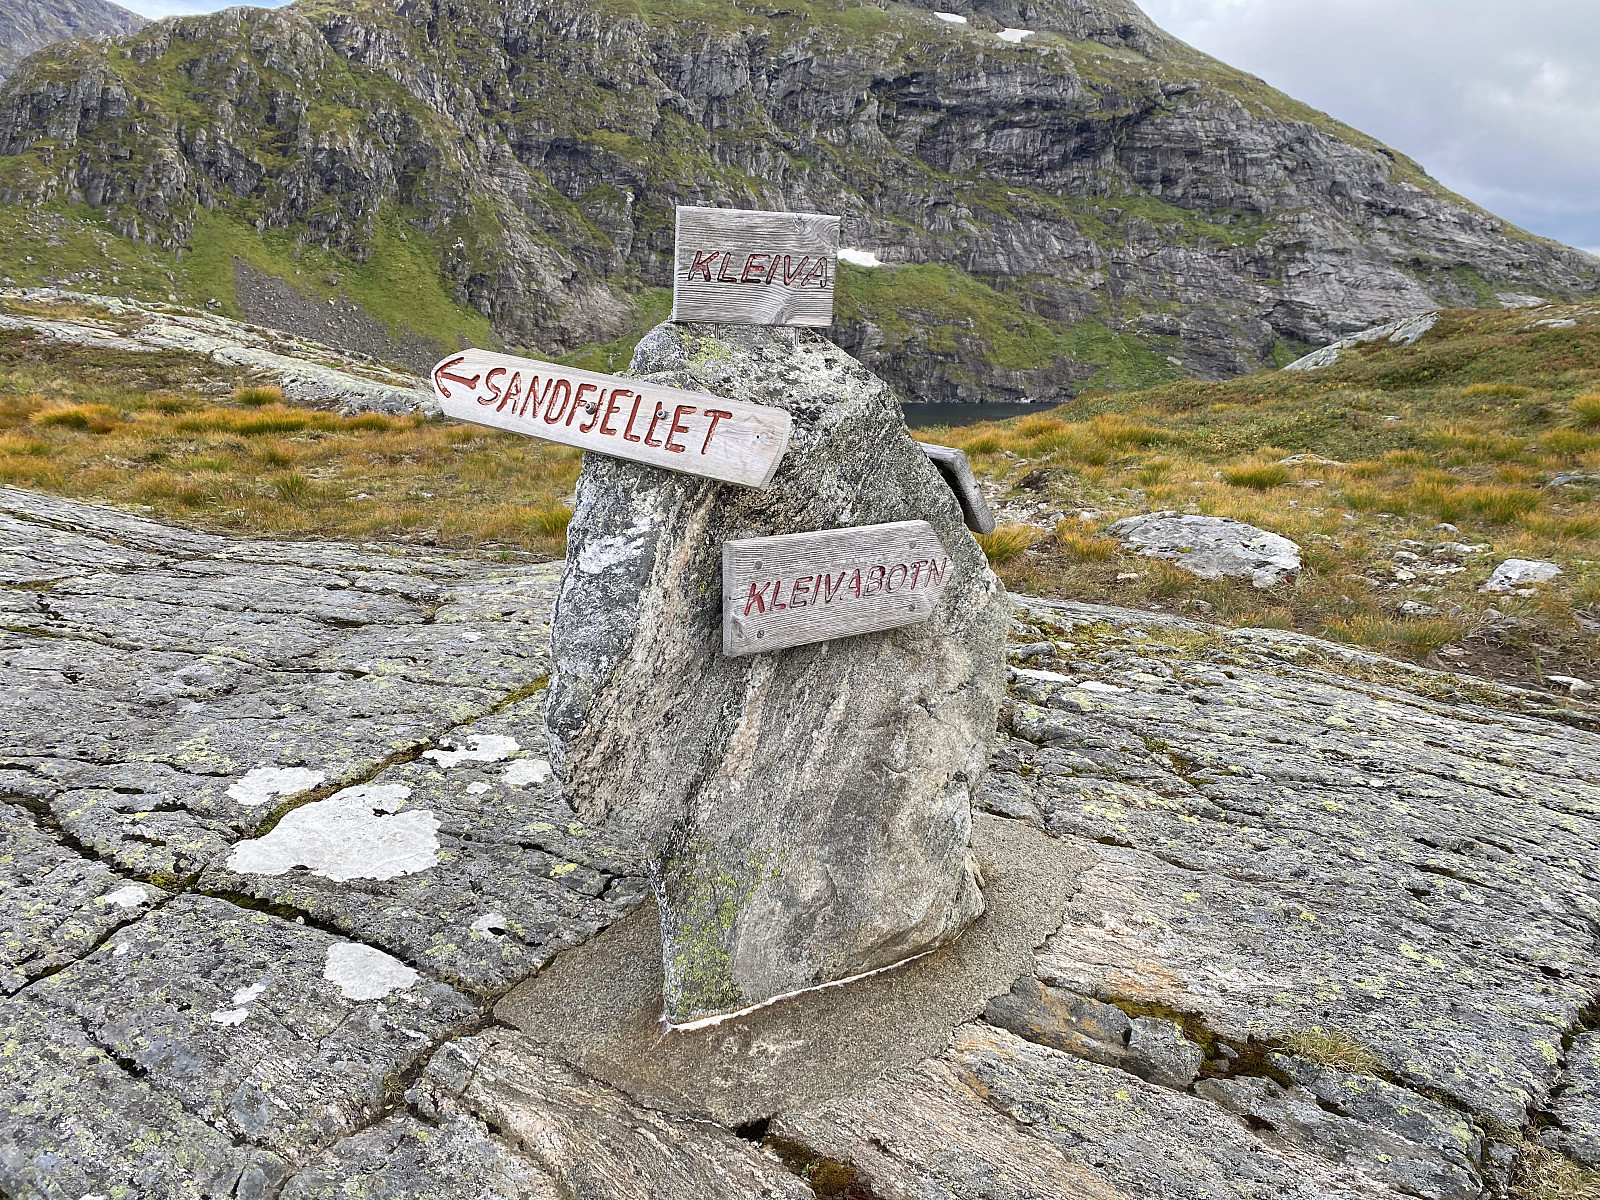
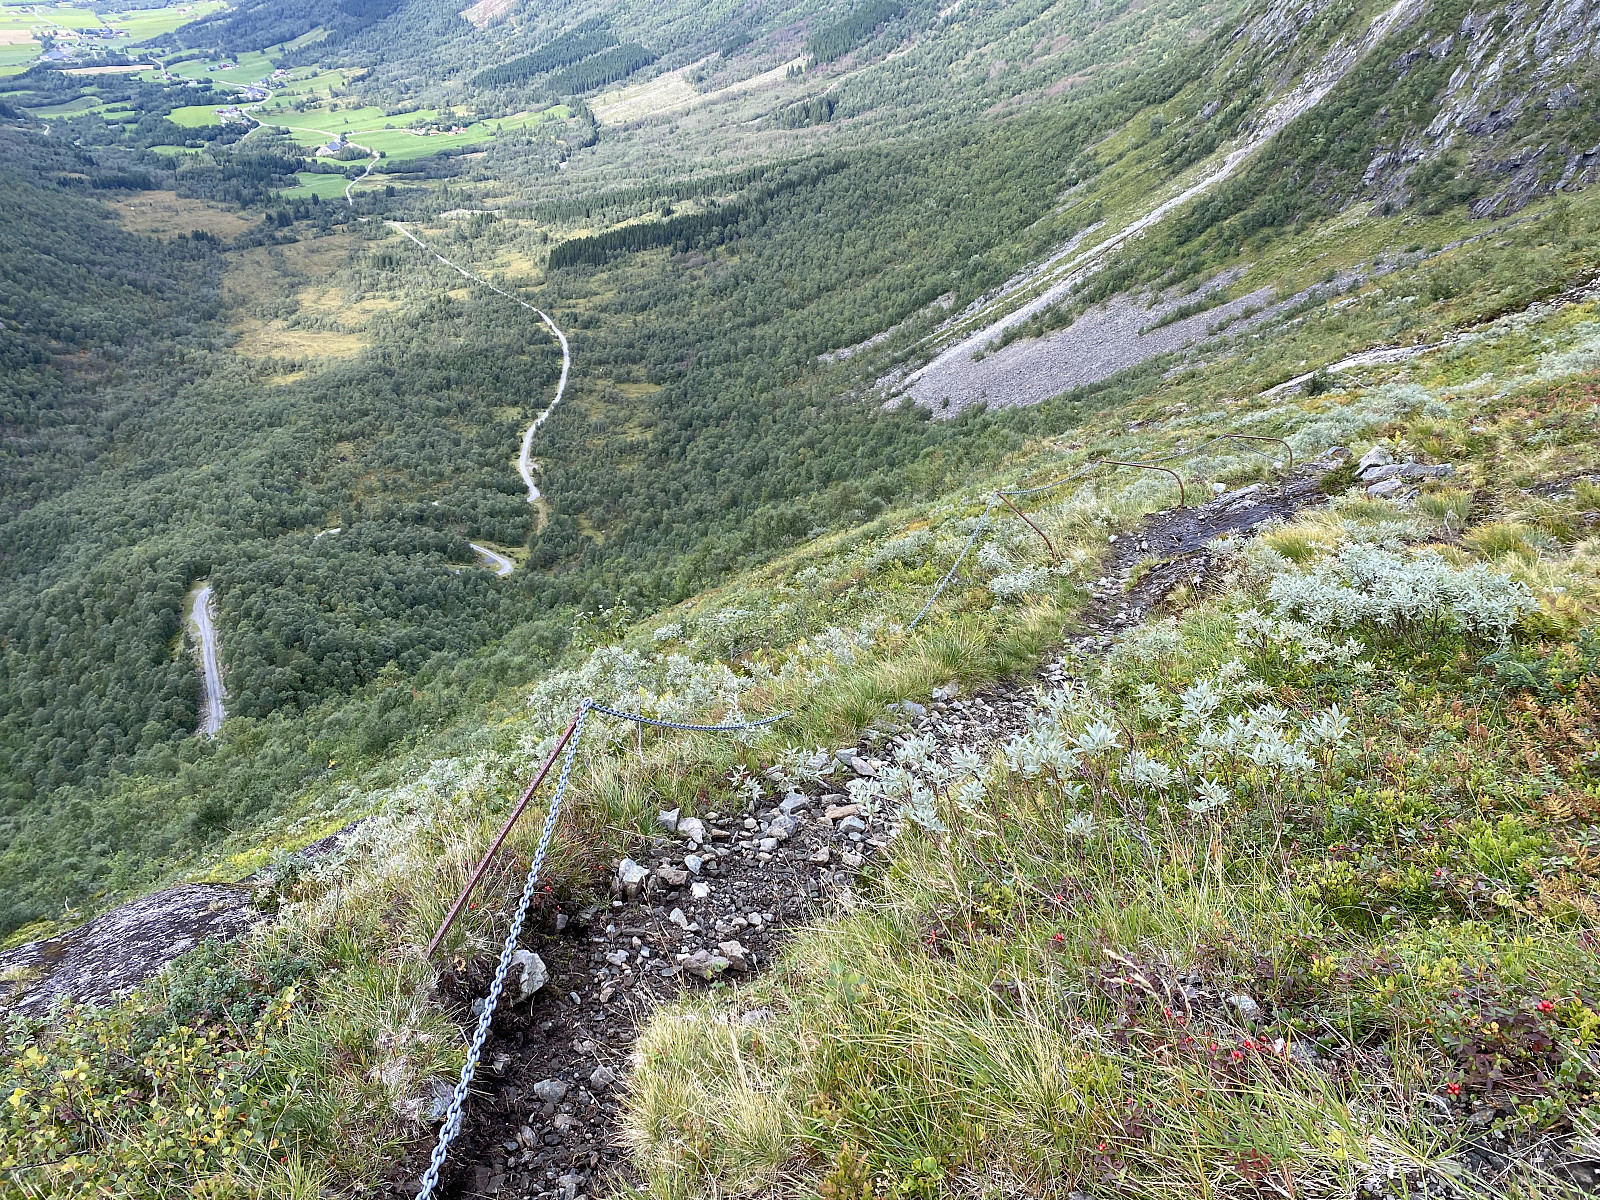
The Dalskleiva Parking Lot is located high up in the mountain side where Rypdalen Valley actually ends, so to say; and so the trail from there up to the plateau above the valley is quite steep (see images ## 2 & 3). Rails have once been placed along the steepest parts of the trail, but they have long ago been more or less torn down in part by corrosion, and in part by the heavy weight of snow during winter. On the plateau above the valley, at 611 m.a.m.s.l., there's a lake called Kleivavatnet (Images ## 4 & 17). A narrow ridge, or edge, is separating the lake from the valley, and the elevation of the ridge is about 633 m.a.m.s.l. at the lowest point. On this ridge there's an upright standing stone, attached to the rock beneath by concrete (image #4); and to this stone is attached several trail signs, one of which tells you to take left if you're heading for Mount Sandfjellet.
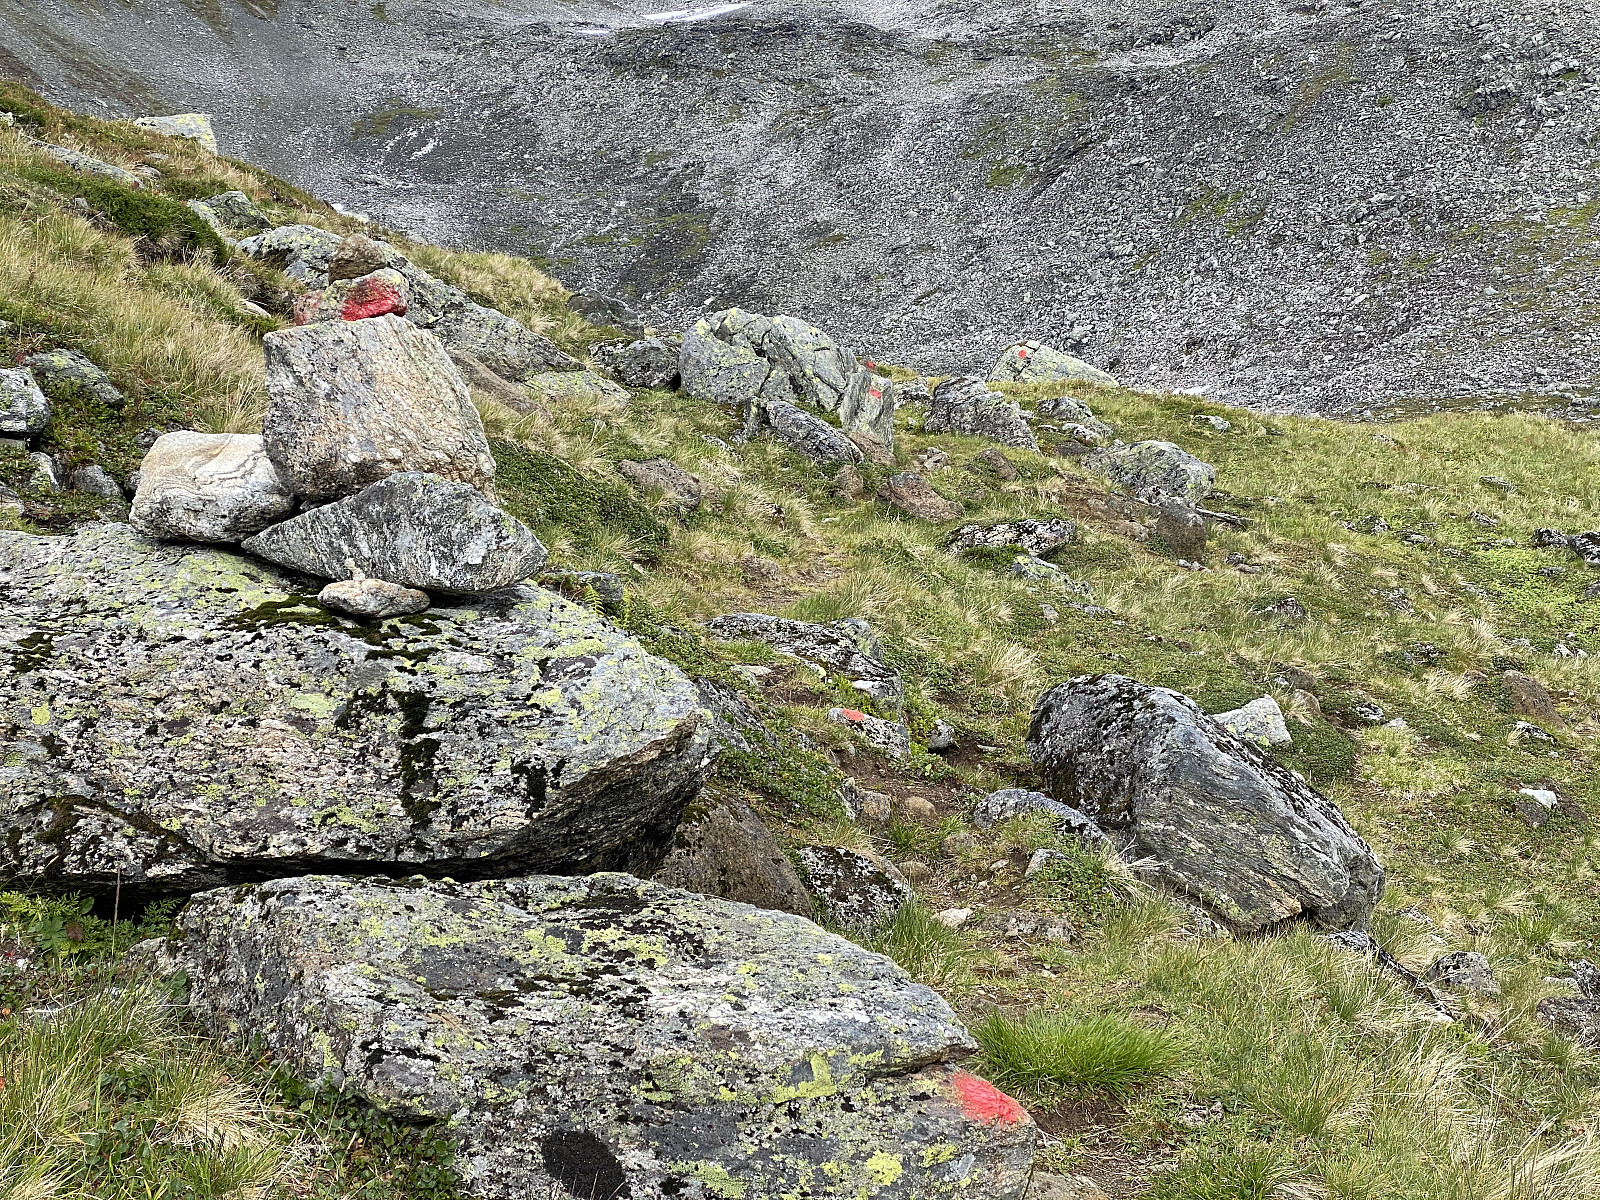
It took left as the trail sign read, and found myself walking on a quite nice trail that was clearly visible; and also was very well marked by red dots on stones and rocks along the route (image #5). I had been planning to deviate a little from the trail, however, as weather was nice, so that I wasn't in no way dependent on the trail, nor on the red dot marking. My plan was to follow the south west ridge up to the summit of Mount Sandfjellet, and then even pay a short visit to a little peak called Kvasstinden [1166 m.a.m.s.l.] on my way up. As I was following the marked trail, however, I all of a sudden realized I was no longer on the southwest ridge of the mountain, but rather heading into a hanging valley called Jolbotnen, located between the mountains of Sandfjellet and Mount Storbua, and so I abandoned the plan of climbing up the mountain along the ridge; as I would then have to go back half a kilometer or so, the idea of which I didn't quite like, and so I continued along the regular trail up Jolbotnen Valley.
![Image #7: The trail was still marked by red dots in the upper part of the valley, though the markings were more scattered up here, as I was climbing towards the ridge between Mount Kvasstinden [1375 m.a.m.s.l.] and Mount Sandfjellet.](https://images1.peakbook.org/images/14939/Solan_20210104_5ff24df7934de.jpg?p=xtralarge)
![Image #8: View from the ridge between Mount Kvasstinden [1375 m.a.m.s.l.] and Mount Sandfjellet towards Lake Kvassetindvatnet [880 m.a.m.s.l.] on the other side of the mountain (see map).](https://images1.peakbook.org/images/14939/Solan_20210104_5ff24e947b073.jpg?p=xtralarge)
And so, I continued up the trail in Jolbotnen Valley (Images ## 6 & 7). The trail was still marked by red paint dots, but they were more scattered up here; and so I tended to deviate a little bit from the trail every now and then, as I wasn't always able to actually see from one red dot to the next. The trail takes you up onto a mountain ridge connecting Mount Sandfjellet to Mount Storbua [1498 m.a.m.s.l.]. There's even on this ridge a peak called Kvasstinden (see map), but it's a different one from the one with the same name mentioned previously. This one has an elevation of 1375 m.a.m.s.l., and does somehow look like a real mountain; in contrast to the one with an elevation of 1166 m.a.m.s.l., which is just a narrow peak on the southwest ridge of Mount Sandfjellet. Now, in order to differentiate these two peaks from each other, I will hereafter in this tour description always put the elevation in brackets after the name; and refer to them as Kvasstinden [1166] and Kvasstinden [1375], respectively.
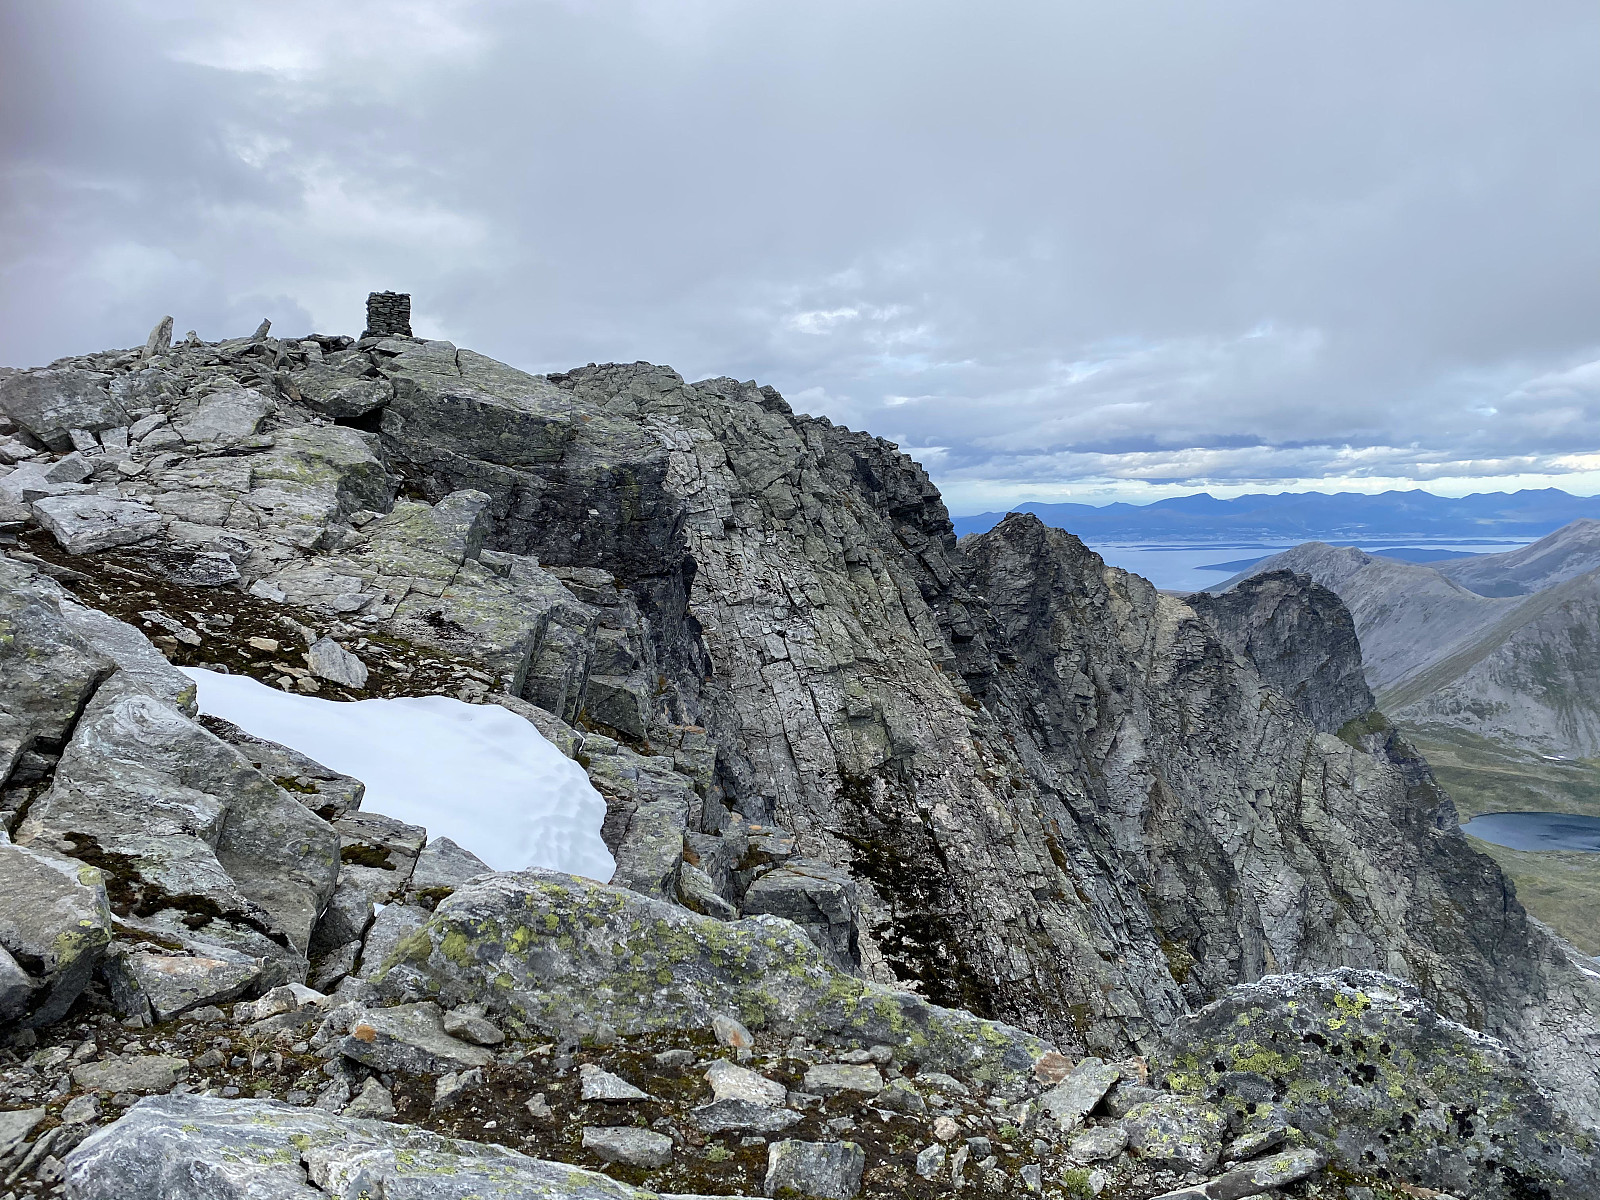
Once upon the ridge between Mount Kvasstinden [1375] and Mount Sandfjellet, it was just to follow the ridge in a northward direction. I had to cross a huge snow patch at one point, but the inclination at that point wasn't very steep, and so crossing the snow patch didn't really pose that much of a challenge. Soon you could see the cairn on the summit of Mount Sandfjellet (Image #9), and shortly after I was there. I shot a few images from the top of the mountain (Images ## 10, 11 & 12), and then started thinking of returning to the car.
![Image #11: The view from Mount Sandfjellet towards Mount Sandegga [1450 m.a.m.s.l.] and Mount Geitemjølktinden [1361 m.a.m.s.l.].](https://images1.peakbook.org/images/14939/Solan_20210105_5ff4a86f00be3.jpg?p=xtralarge)
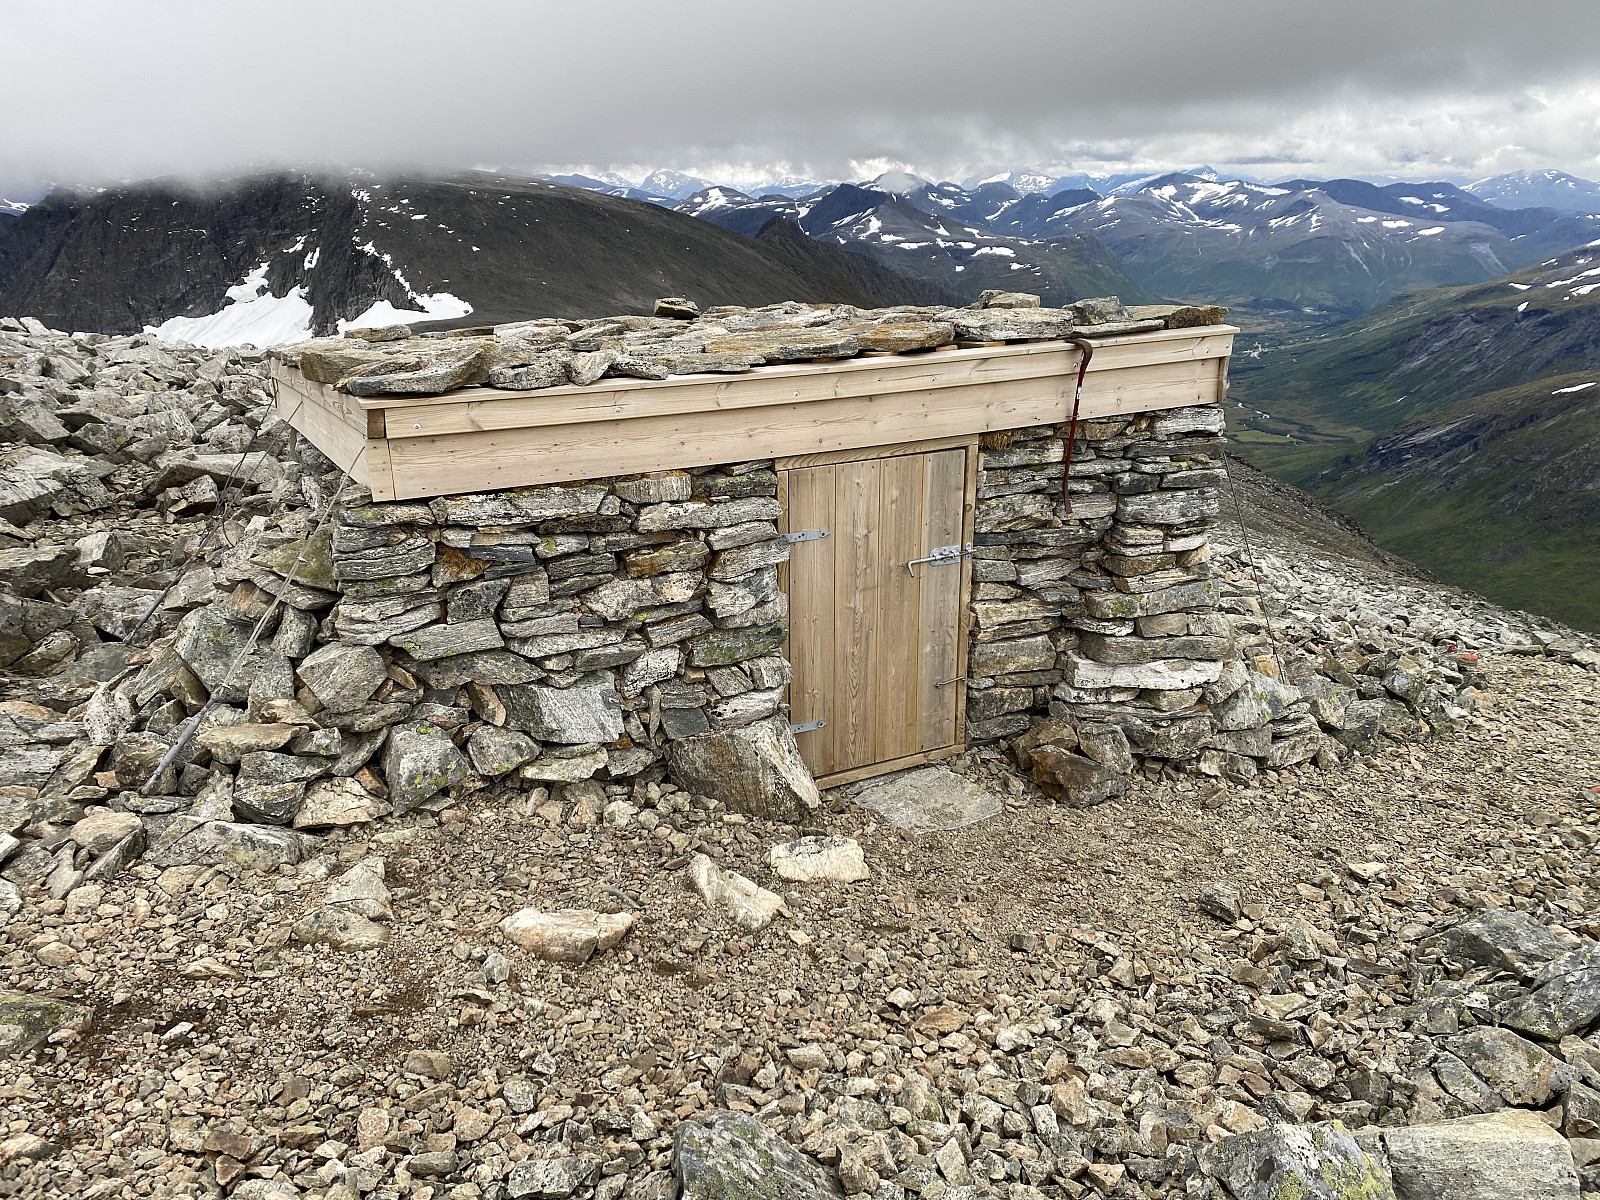
I had been pushing myself a little bit during the climb up to the summit, and so I had been sweating a bit, and my pullover was a bit wet. There is a little cabin located close to the summit, and since I was feeling a bit cold by now, I entered into the cabin, and inside there I opened my backpack, where I found my winter hat and my jacket; which I put on before I embarked upon the hike back down to my car. The cabin was dark inside, however, with no windows, and so I didn't remain inside it for my lunch; but just grabbed something to eat and drink from my backpack, and then started walking as I was eating and drinking.
![Image #13: Looking back at the ridge between Mount Sandfjellet and Mount Kvasstinden [1166 m.a.m.s.l.], as I was descending towards the latter.](https://images1.peakbook.org/images/14939/Solan_20210105_5ff4aac530a79.jpg?p=xtralarge)
![Image #14: Heading towards Mount Kvasstinden [i.e. "The Sharp Peak], which is, as the name indicates, a somewhat sharp peak on the southwest ridge of Mount Sandfjellet.](https://images1.peakbook.org/images/14939/Solan_20210105_5ff4abc837ad9.jpg?p=xtralarge)
Since I had failed to follow the southwest ridge when climbing the mountain, I decided to make an attempt at descending along it, and that proved feasible. On the right [i.e. north] side of the ridge the mountain was way too steep for me to climb down without any climbing gear, but I figured I would be fine as long as I was sticking to the very edge of the ridge, and some places to the left [i.e. south] side of it. As I continued down the ridge, it gradually flattened out (Image #13), and then it started ascending again, i.e. towards the summit of Kvasstinden [1166]. The literal meaning of the name Kvasstinden is "The Sharp Peak" [Kvass = Sharp, and Tind = Peak in Norwegian], hence a lot of peaks that have a somewhat sharp appearance have been given that name by various people; which explains why even two peaks not very far apart have been given the same name. Kvasstinden [1166] was probably so named by people living in Rypdalen Valley (as the peak is visible from where they live); whereas Kvasstinden [1375] was given the same name by people living in Måndalen Valley on the other side of this mountain massif, as that peak looks pretty sharp from where they live (see the map to get an idea of what I mean).
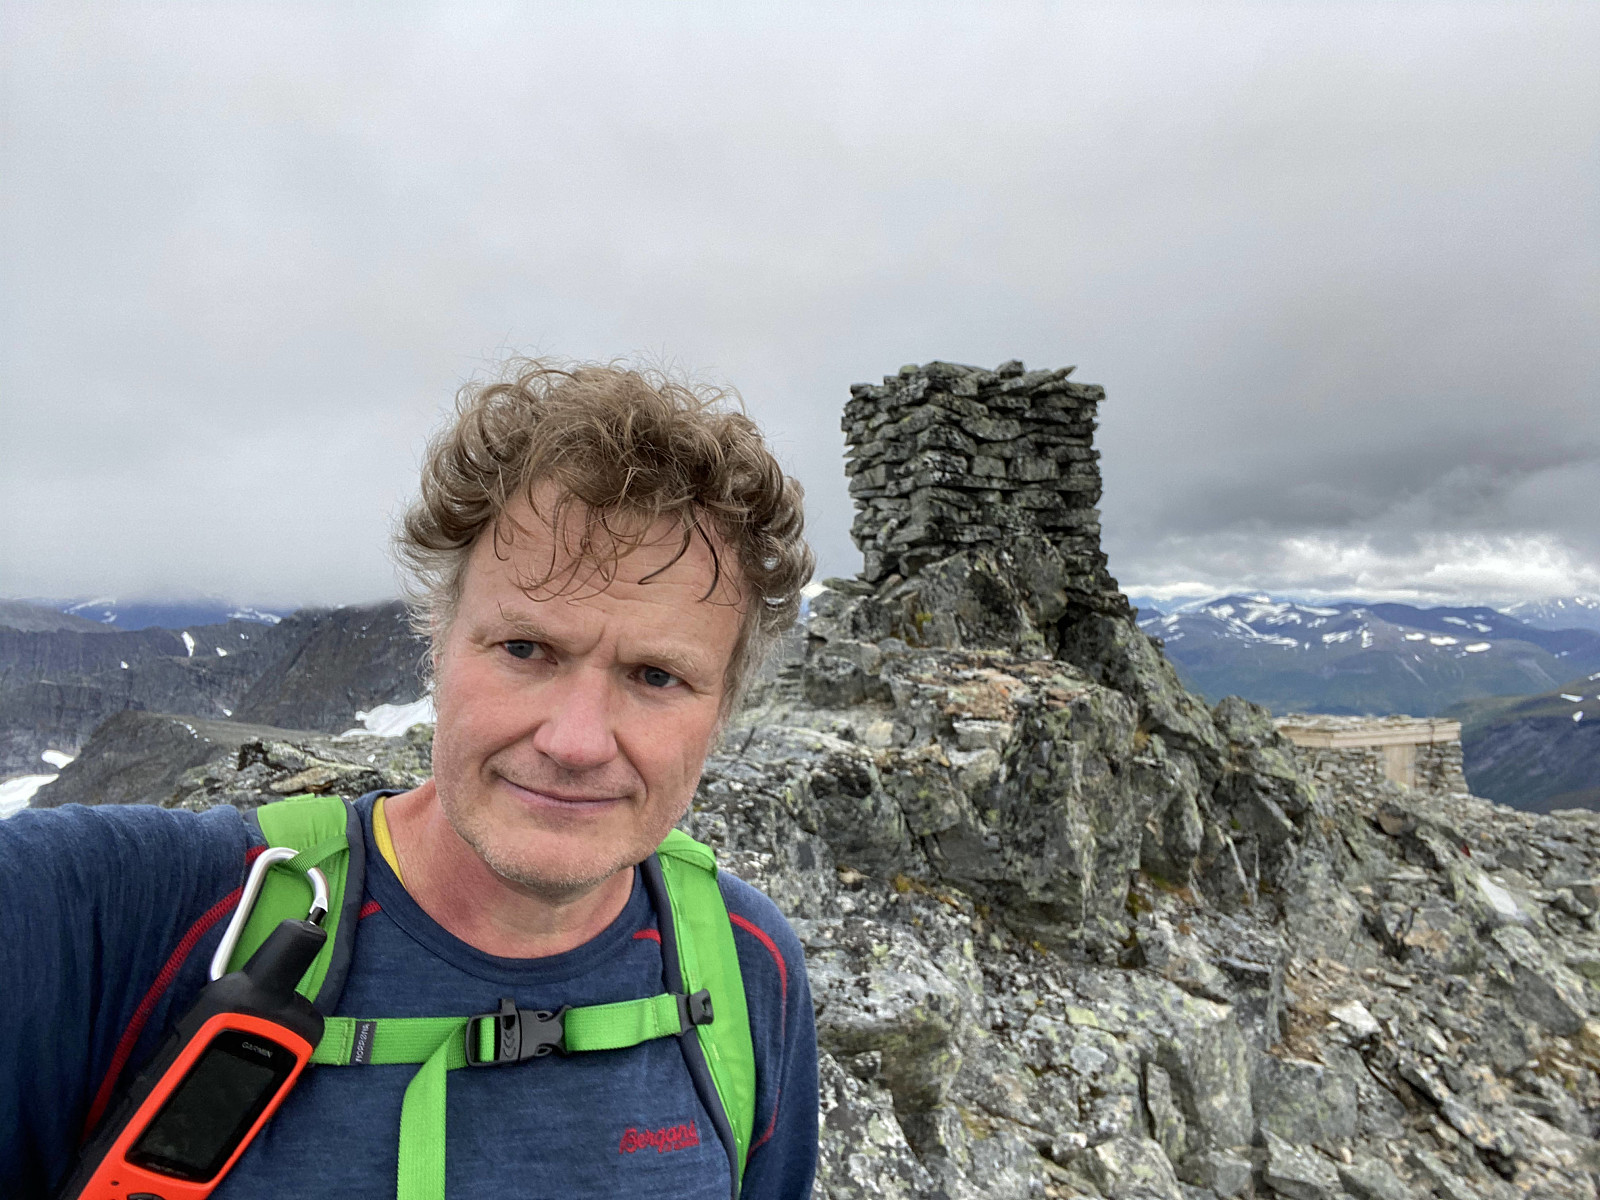
![Image #15:On top of "The Sharp Peak", i.e. Mount Kvasstinden [1166 m.a.m.s.l.]. The cairn on this peak is quite old, and almost completely overgrown by lichen. Mount Sandfjellet is seen in the background.](https://images1.peakbook.org/images/14939/Solan_20210105_5ff4ac8216ece.jpg?p=xtralarge)
The ascent of Kvasstinden [1166] involved a little bit of climbing, but no climbing gear was necessary; and I reached the summit of the peak without any problems (Image #15). The climb down on the other side of the peak was a little bit more challenging, but even this was feasible without any climbing equipment. And should anyone feel a bit uncomfortable with the climb down on the southwest side of the peak, you can always go back towards Mount Sandfjellet for 20 meters or so, and then circumvent the peak of Kvasstinden [1166] on the south side in order to get onto the southwest ridge without the steep downward climb directly from the summit of Kvasstinden [1166]. From this point on, there was a clearly visible trail along the ridge, which then gradually flattened out again; and continued onto the ridge separating Lake Kleivavatnet from Rypdalen Valley. The trail soon merged with the marked trail that I had been using when I ascended Mount Sandfjellet earlier this day, and from there I just followed this regular trail back down to the car.
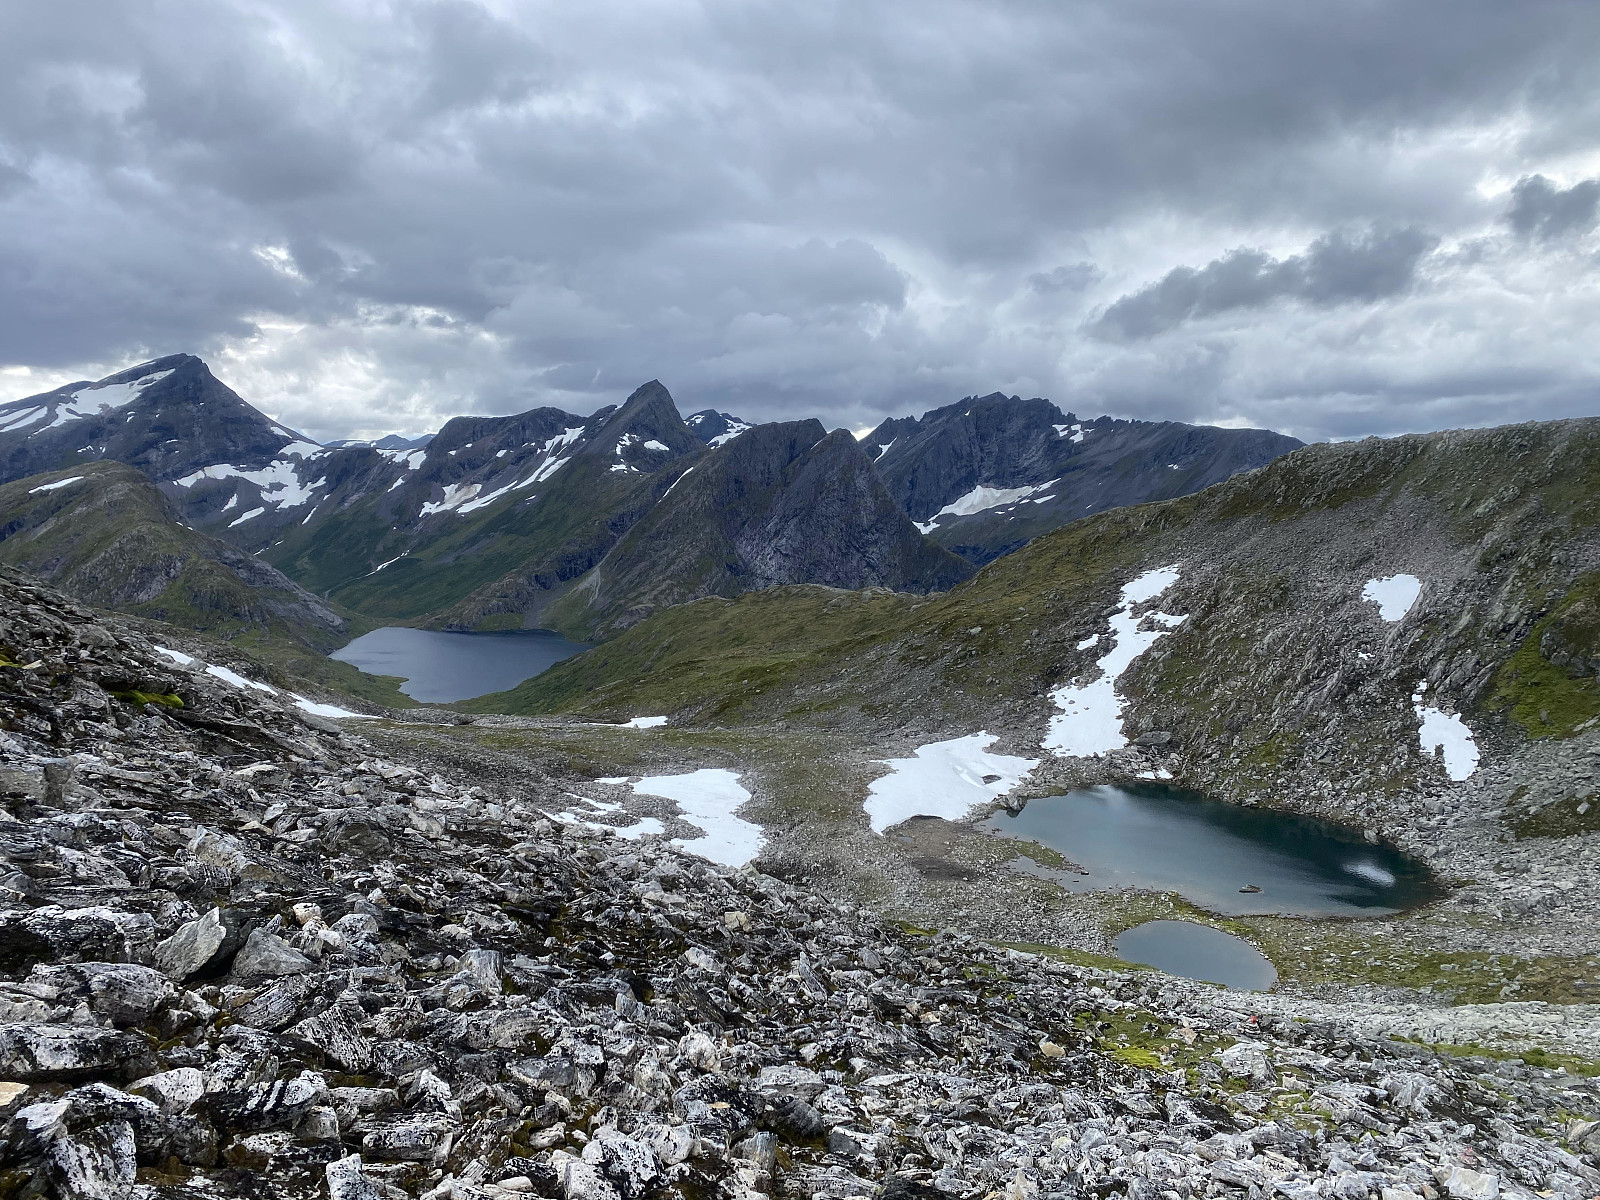
![Image #16: Looking back at Mount Kvasstinden and the ridge up to Mount Sandfjellet as I was descending towards Lake Kleivavatnet [611 m.a.m.s.l.].](https://images1.peakbook.org/images/14939/Solan_20210105_5ff4ae66bb60a.jpg?p=xtralarge)
![Image #17: Heading down from Mount Kvasstinden [1166 m.a.m.s.l.] towards Lake Kleivavatnet [611 m.a.m.s.l.] The mountain to the left of the lake is Mount Storlihornet, the one in the far is Mount Ørastolen, and on the right side of the lake are seen Mount Rollsbottshornet and part of Mount Litleskorkja.](https://images1.peakbook.org/images/14939/Solan_20210105_5ff4af8e3bc99.jpg?p=xtralarge)


Benutzerkommentare