
Reconnaissance Hike to Mount Nordre Trolltind (15.08.2020)


Skrevet av Solan (Atle Solholm)

| Startsted | Soggemoen (50moh) |
|---|---|
| Sluttsted | Soggemoen (50moh) |
| Turtype | Alpintur |
| Turlengde | 6t 15min |
| Distanse | 12,8km |
| Høydemeter | 1597m |
| GPS |
|
| Bestigninger | Middagsbarna (1390moh) | 15.08.2020 13:49 |
|---|---|---|
| Norafjellet (959moh) | 15.08.2020 13:49 | |
| Nordre Trolltinden (1482moh) | 15.08.2020 13:49 | |
| Andre besøkte PBE'er | Norafjellet - parkeringslomme (50moh) | 15.08.2020 13:49 |
I've read somewhere here on Peakbook, about various groups of people that have climbed from Mount Nordre Trolltind [i.e. Northern Troll Peak] up to Mount Store Trolltind [i.e. Greater Troll Peak]. The two peaks are interconnected with a very steep ridge, and all those that have done the climb; or at least all those that I have read about, have used advanced climbing gear including ropes. I would indeed like to do that climb as part of a climbing team at some time in the future, and so on this day I decided to climb Mount Nordre Trolltind just as a reconnaissance climb/hike; in order to learn more about the two mountains. I did not bring any climbing gear with me on this trip, however, as I wasn't going to climb beyond Mount Nordre Trolltind; but I had with me a pair of binoculars, so as to be able to study the ridge upwards to Store Trolltind from a distance.
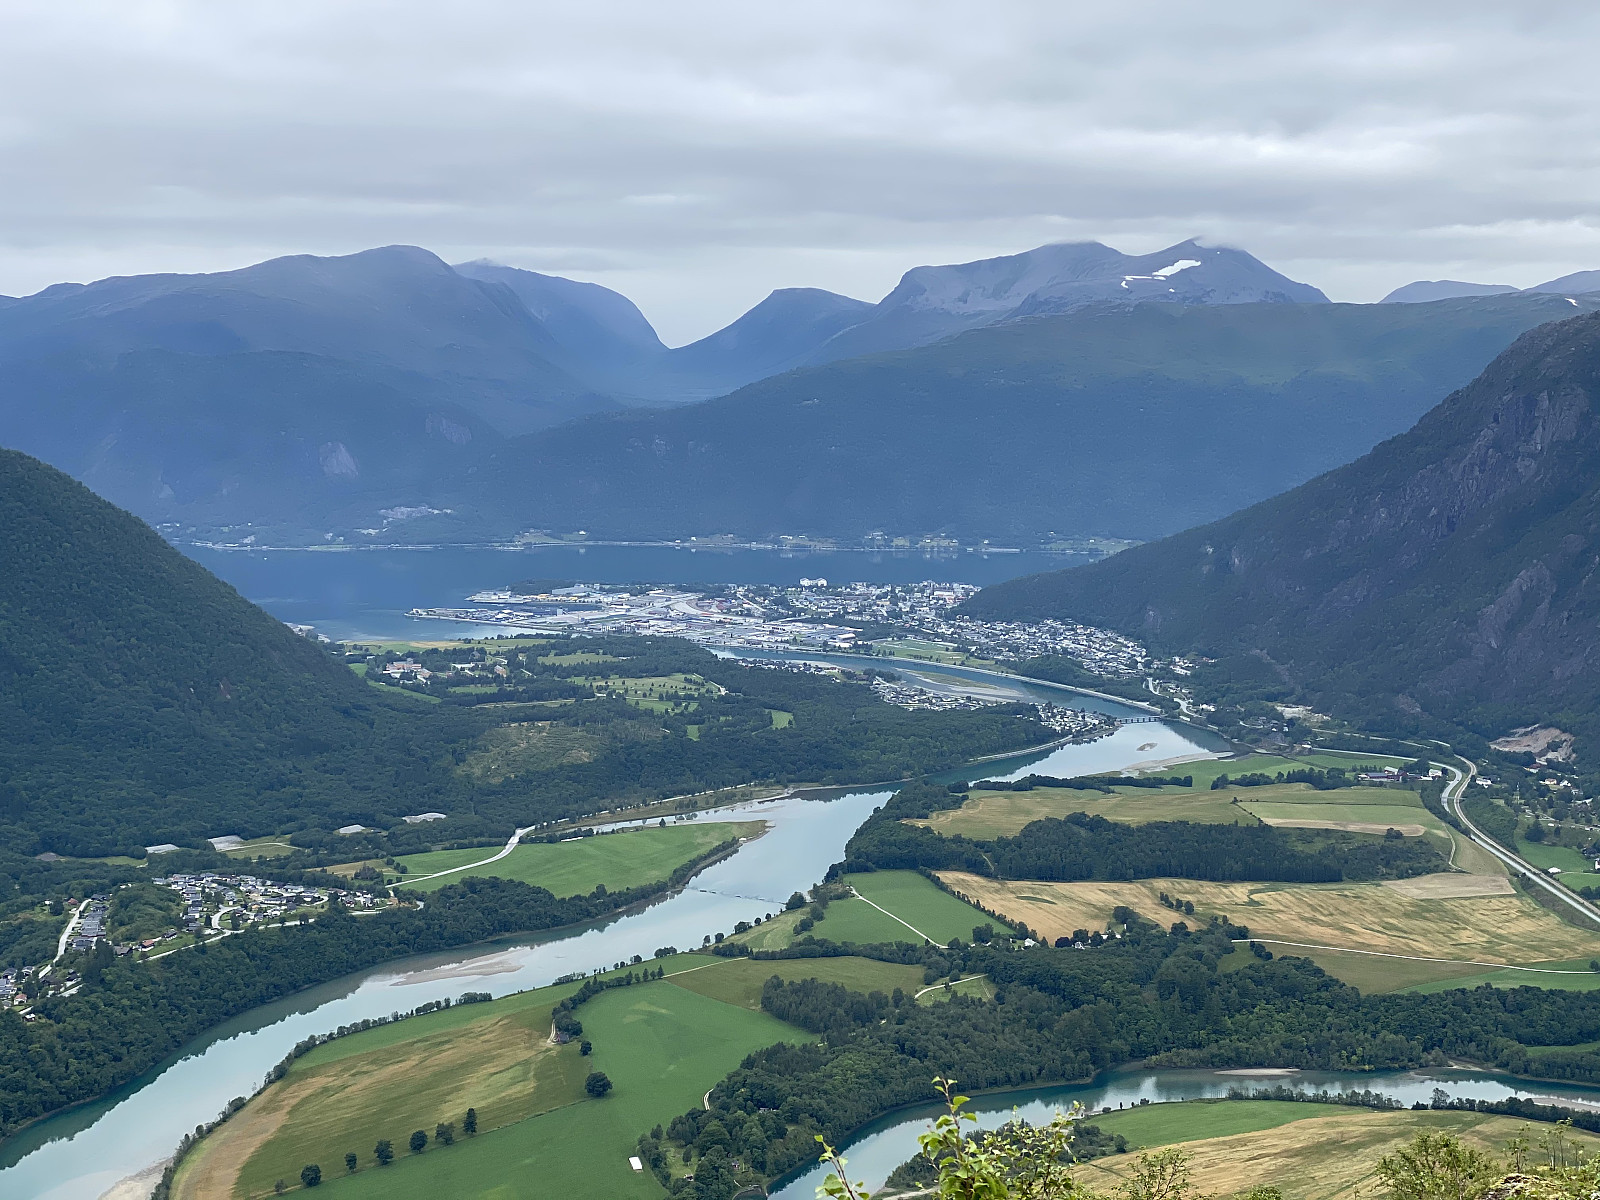
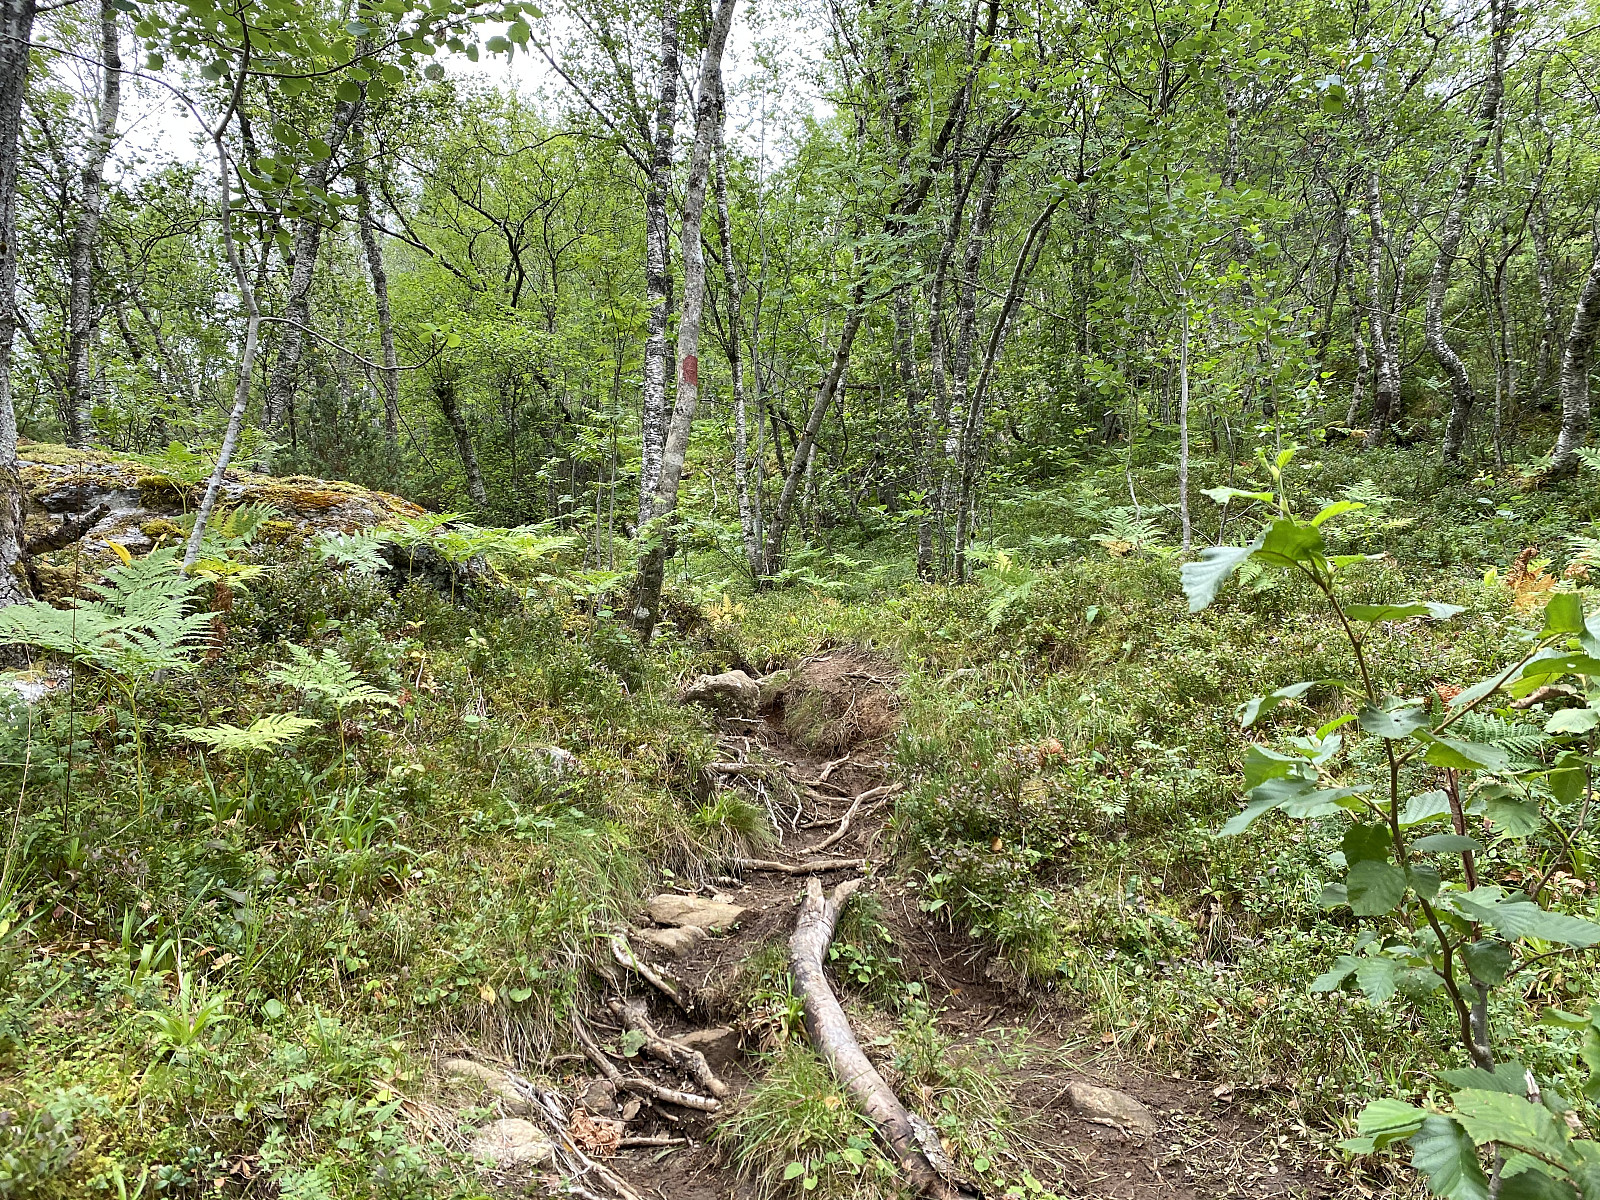
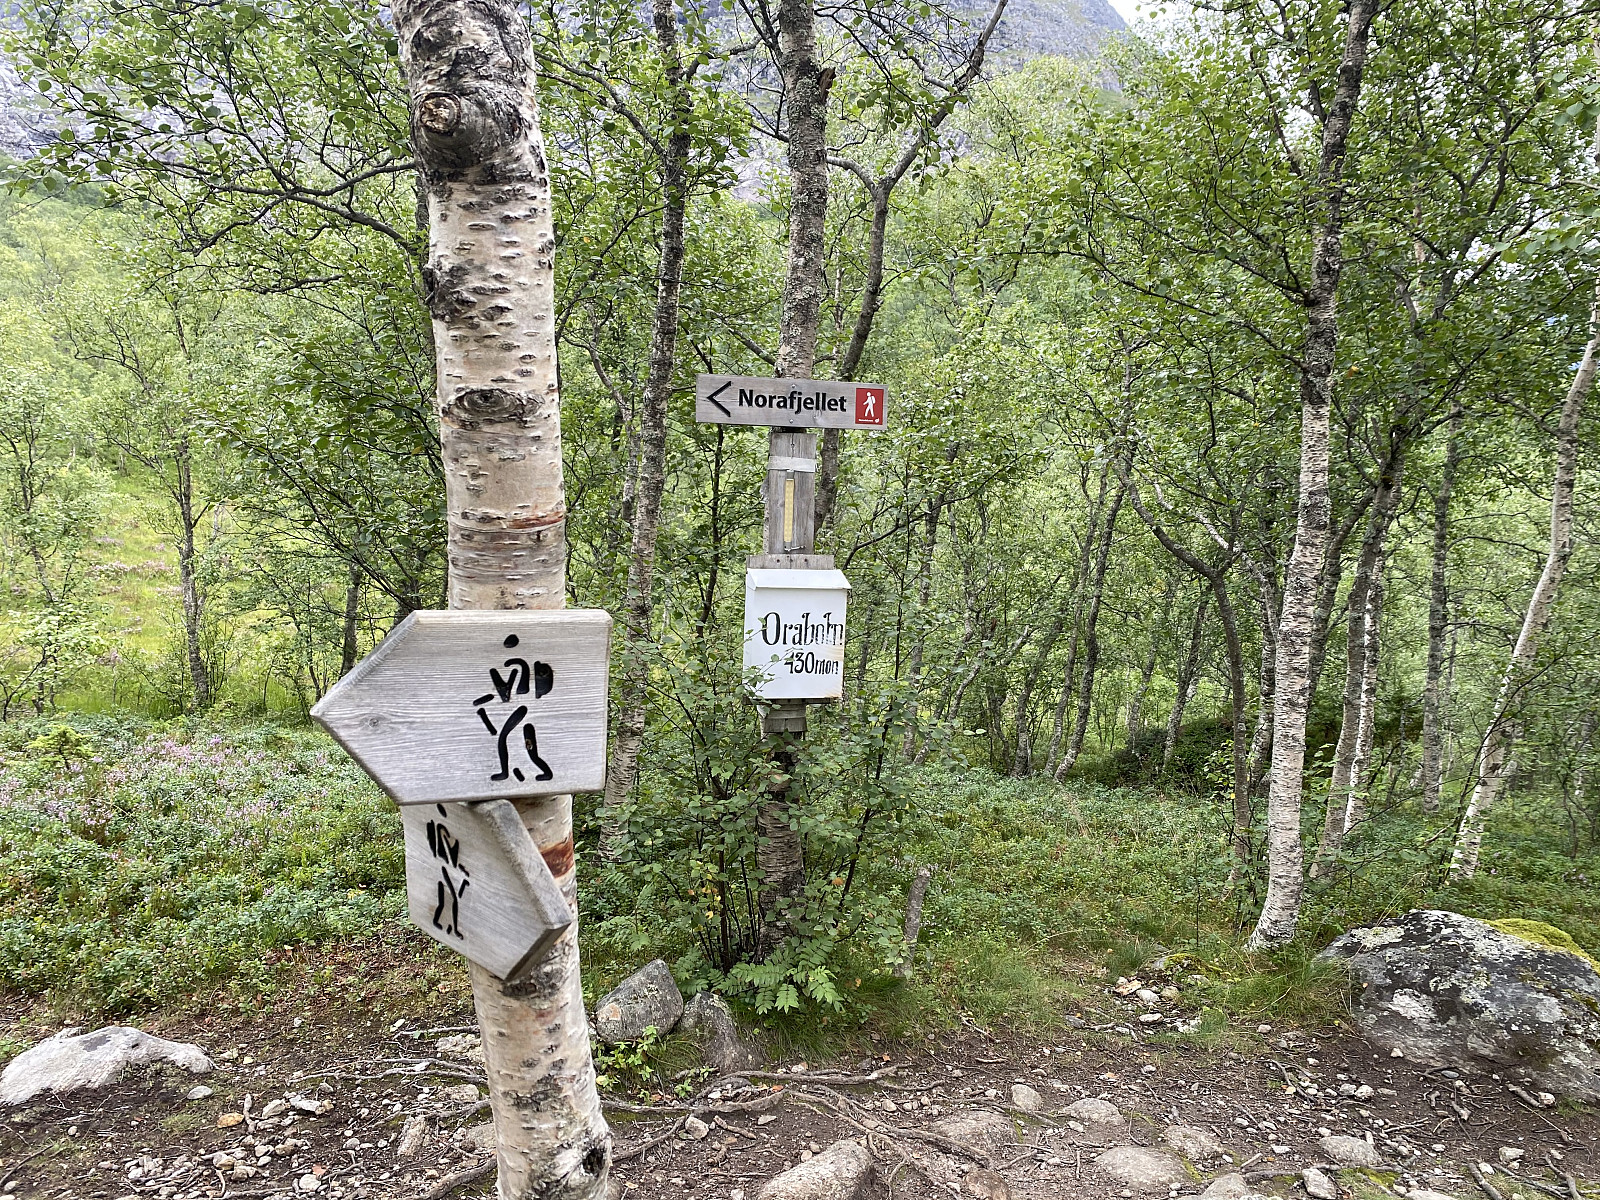
I started out from a spot called Soggemoen, not far from the town of Åndalsnes. There's a camping facility located at Soggemoen, and I parked the car on a little parking lot along county road #63, just opposite the camping site. There's a nicely marked, and readily visible path starting out from the parking lot; and it takes you through the forest up the mountain side. The trail first takes you to a hill or knoll called Soggehaugen; and then onto another knoll called Mount Norafjellet (959 m.a.m.s.l.). The view from Mount Norafjellet is amazing, and in nice weather you do get a fabulous overview of the mountain range called Romsdalseggen, as well as the Rauma Valley, and the mountain called Romsdalshorn, along with Mount Store Venjetind.
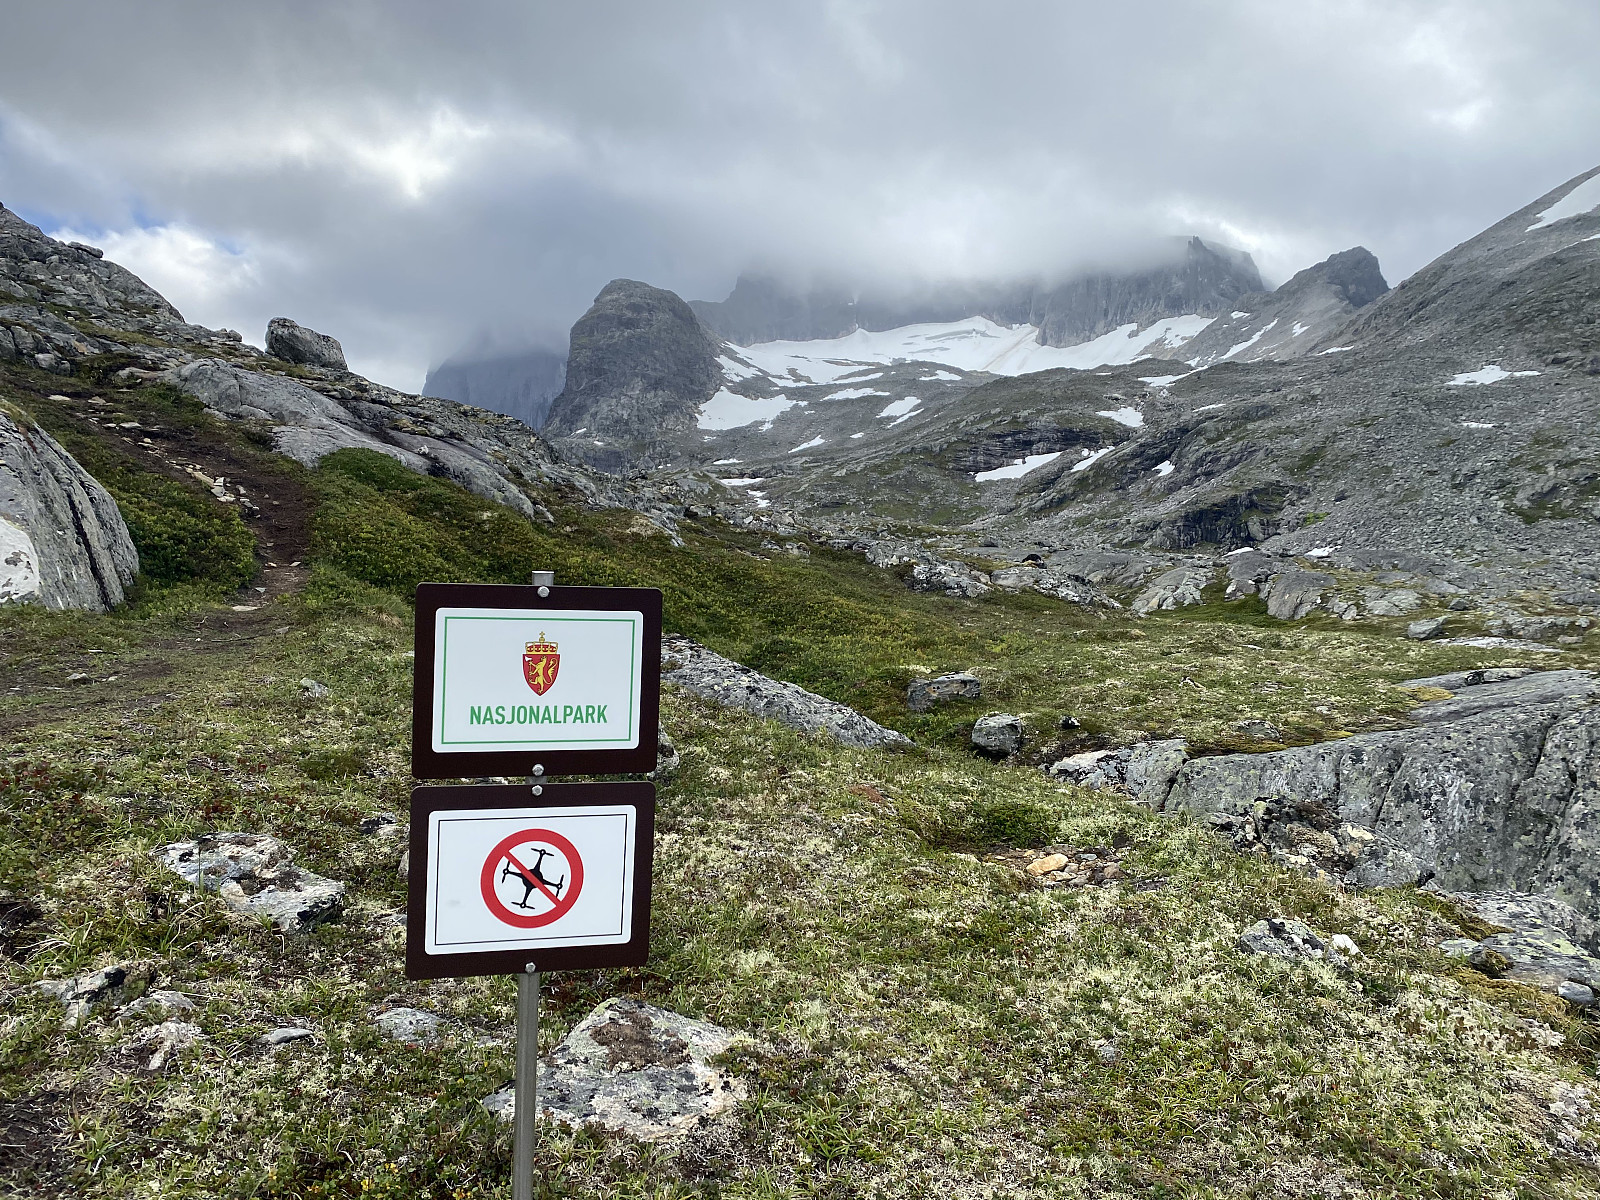
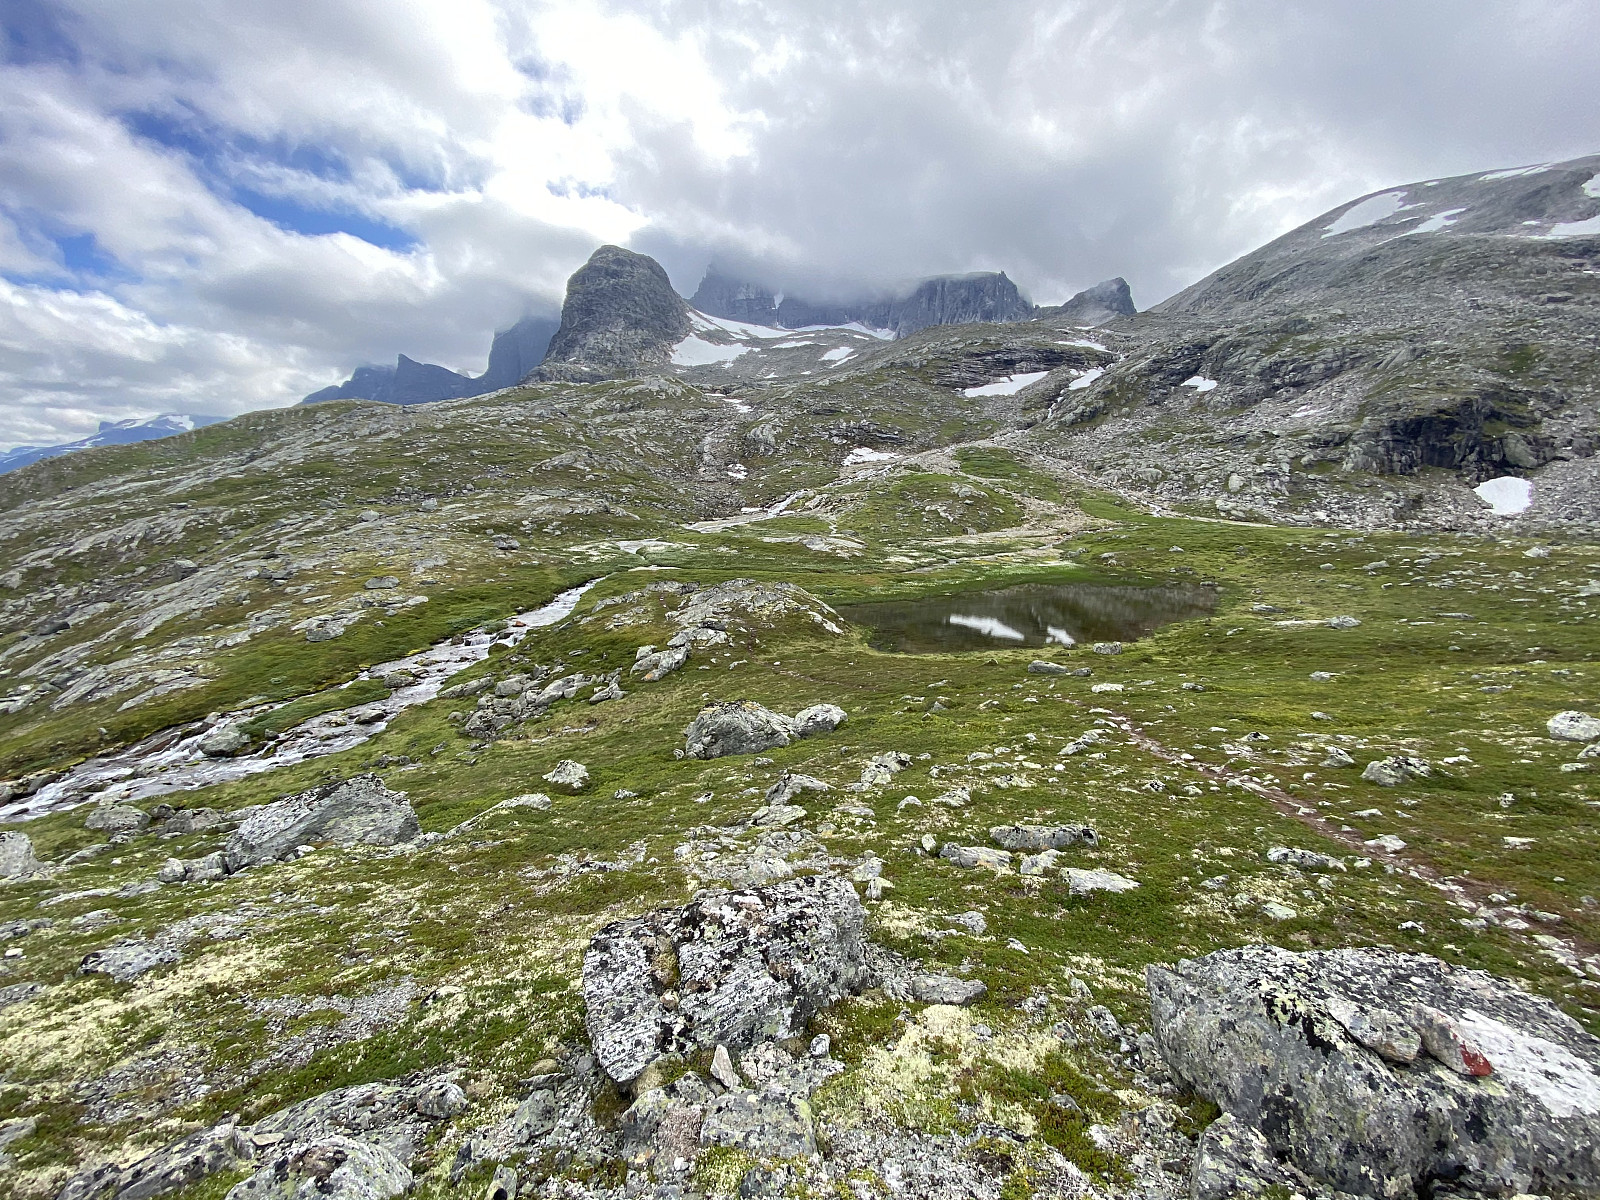
If you look in a southward direction from Mount Norafjellet, you'll look into a hanging valley flanked by two mountain ridges. On the right side of the valley you have Nonshaugen [1194 m.a.m.s.l.], Soggefjellet [1357 m.a.m.s.l.], and Mount Setergjeldstinden [1436 m.a.m.s.l.]; whereas on the left hand side you have Mount Adelsfjellet [1314 m.a.m.s.l.], Mount Middagsbarna [1390 m.a.m.s.l.], and Mount Nordre Trolltinden [1482 m.a.m.s.l.]. In the upper part of the valley between these two ridges, there's a little glacier called Adelsbreen [i.e. "The Nobility Glacier"]. (The glacier actually feels quite large when you're standing upon it, but when you look it up in a map, and compare it to other glaciers, you realize it's just a small glacier).

I descended from the top area of Mount Norafjellet, crossed a mound that has been named the south peak of Mount Norafjellet here on Peakbook, and then I came down to a beautiful spot, with a creek as well as a little pond surrounded with mire. The creek, which is almost like a little river, has its origin high up in the above mentioned valley, and just northeast of this extremely picturesque spot, the it tumbles down the mountain side to make a waterfall. I found a place where the creek wasn't too broad, and then made the jump across it; but I did throw my backpack across in advance, in order to lighten my weight so as to make sure I would be able to jump across.
![Image #10: A view of Mount Romsdalshorn with the main summit to the left, Lillehornet [i.e. "The Little Horn"] in the middle, and Hornaksla ["The Horn Shoulder"] to the right.](https://images1.peakbook.org/images/14939/Solan_20201203_5fc8a8f08e791.jpg?p=xtralarge)
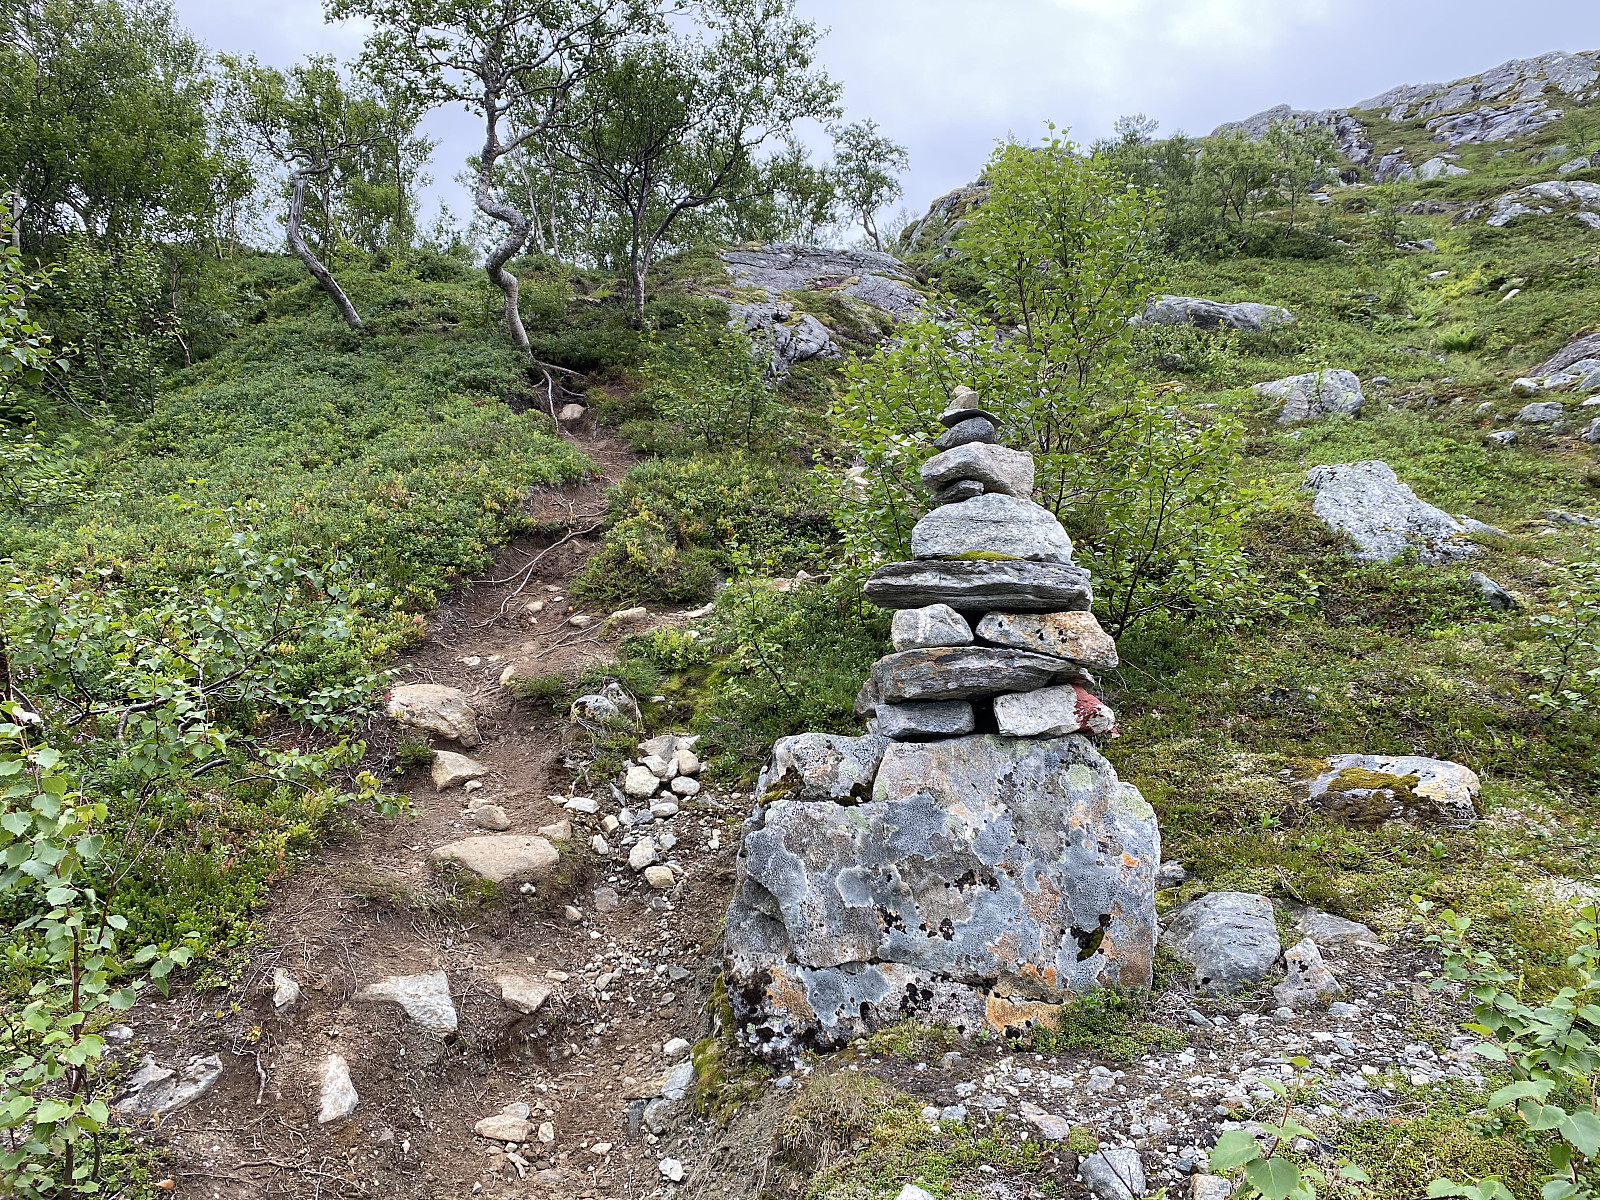
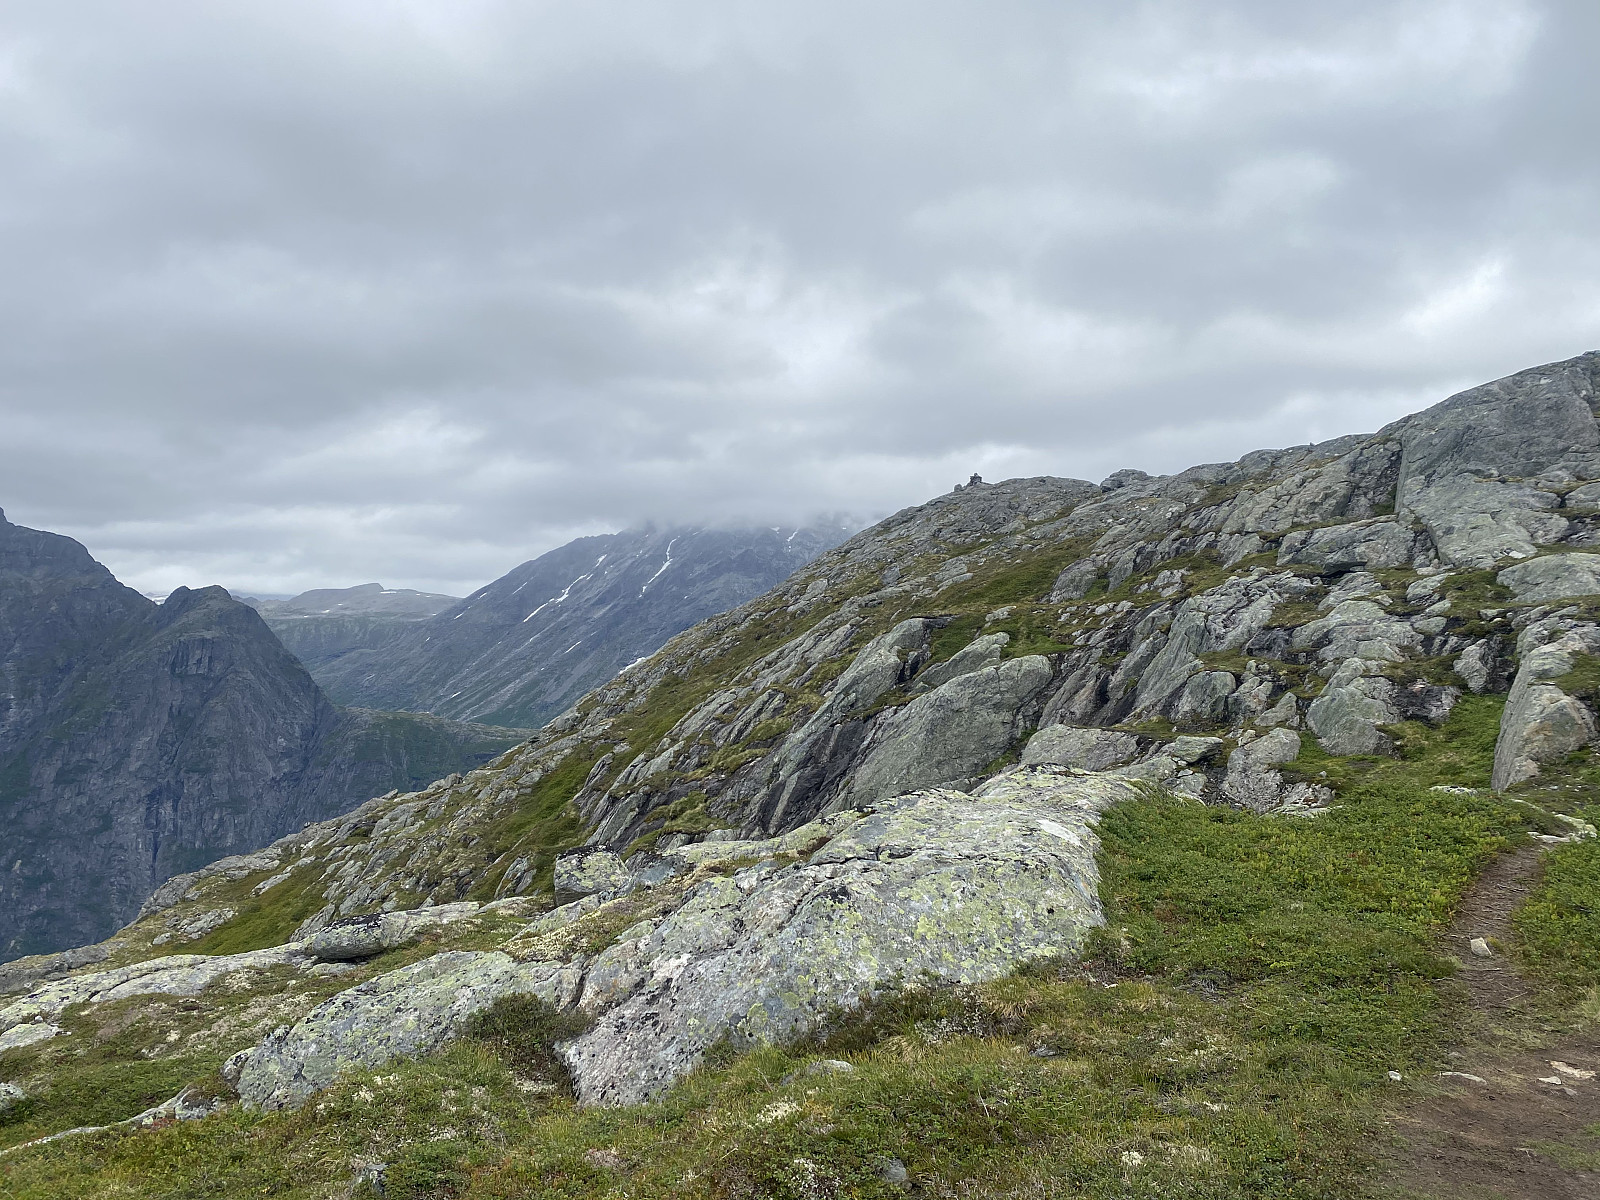
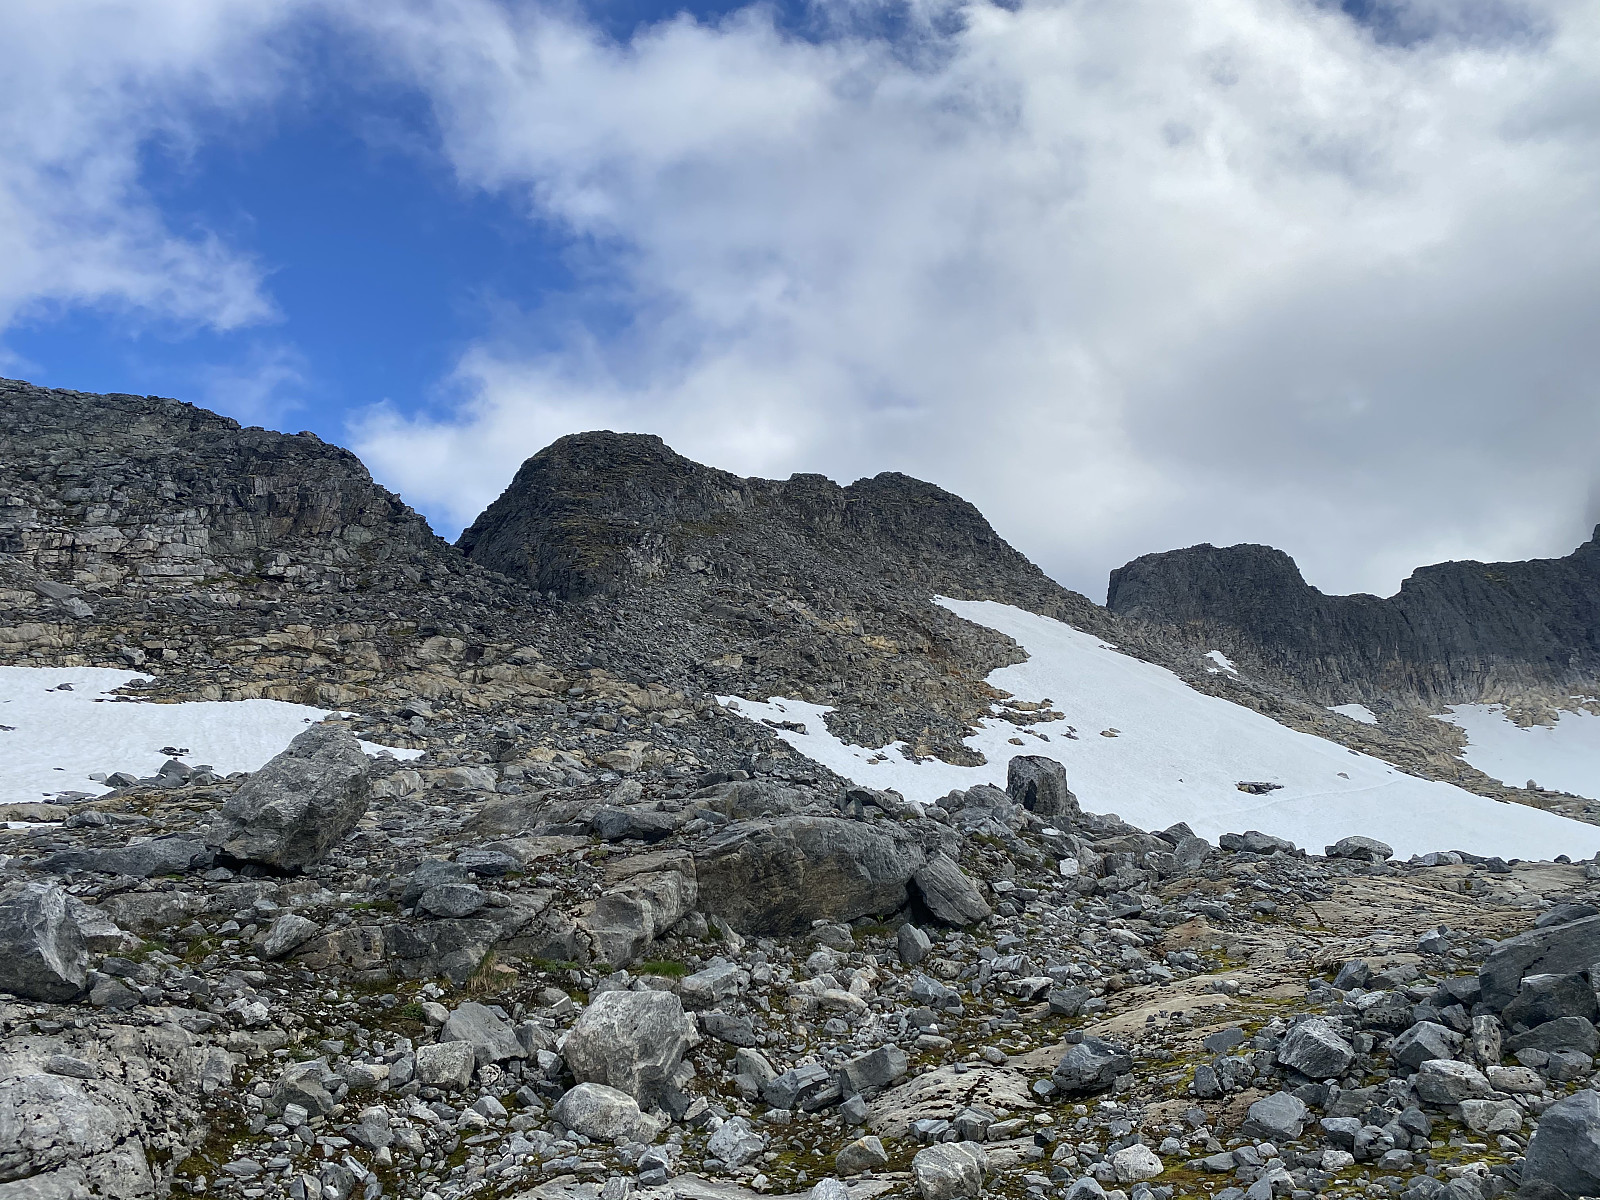
Had I had plenty of time for this trek [i.e. if I had set out in early morning], I would have climbed all the mentioned mountains on the right and left side of the valley; but as it was already late afternoon, and the days aren't as long as they were in June and July, I had to be content with visiting one or two of them. After you've crossed the creek, there's no longer any vegetation to speak of, and the trail becomes quite stony; hence you'll largely be bouncing from stone to stone, as you continue up the valley towards the glacier. I kept quite close to Mount Adelsfjellet [i.e. "The Nobility Mountain"], as I was heading towards Mount Nordre Trolltind; but due to the limited number of hours before darkness, I didn't climb it. As I approached Mount Middagsbarna, however, I realized it would be quite easy to traverse from this mountain to Mount Nordre Trolltind, and so I decided to climb it. Both Mount Middagsbarna and Mount Nordre Trolltind are quite rocky, and the climb becomes somewhat like bouldering; nevertheless they were nowhere so steep as to demand special climbing equipment, nor did I at any time feel the need for security measures such as ropes and climbing harness etc.
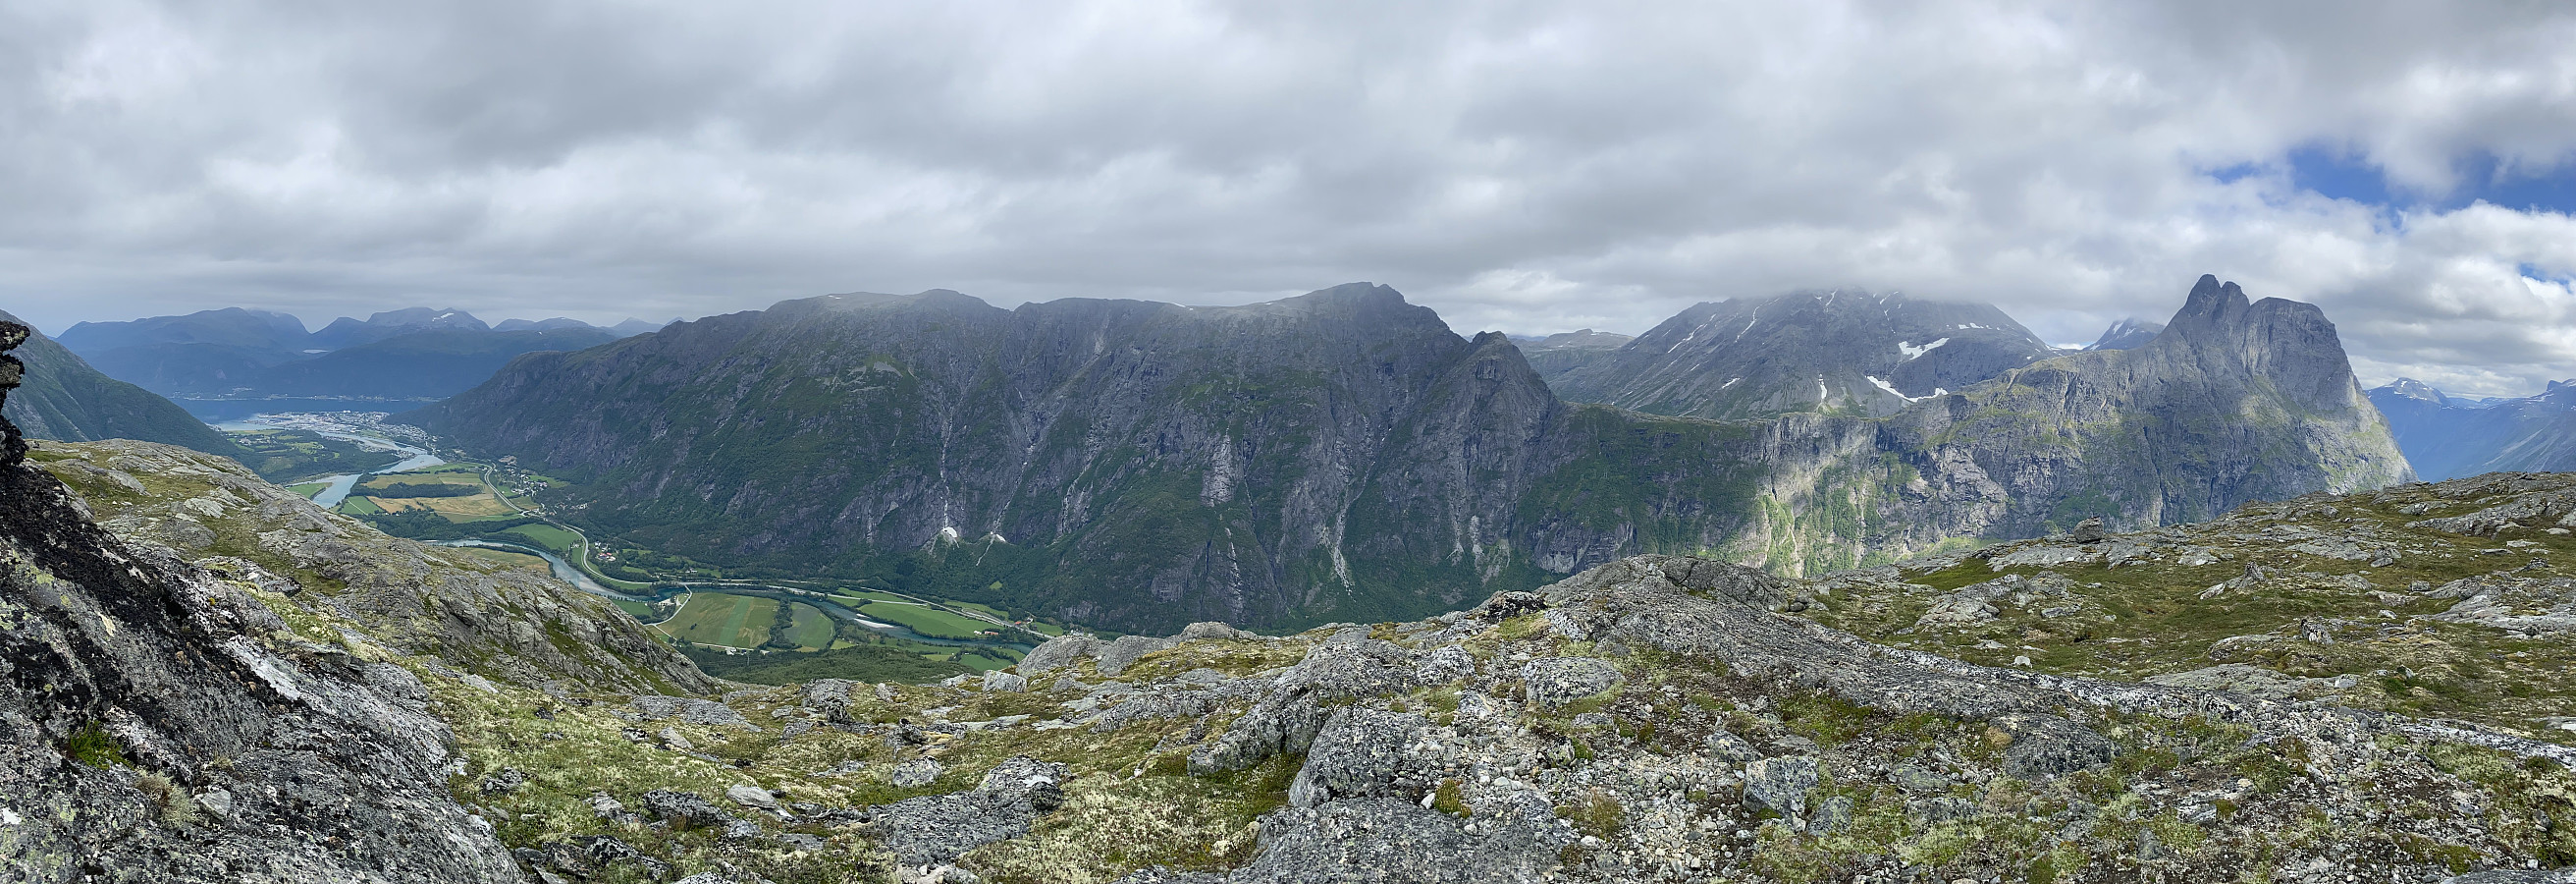
From the top of Mount Middagsbarna you have a fabulous view overlooking the Rauma Valley. When you're making it to the top of this mountain, you're actually approaching it from the west side; whereas once upon the summit, you realize that the east side is more or less a vertical drop of more than 1000 meters down to the farmland in the valley below. I shot some pictures, and then descended from the mountain along the ridge stretching towards Mount Nordre Trolltind, and then climbed that mountain; which was my ultimate goal for the day. Again, some bouldering to get to the top, but no real need for special gear, provided you're used to climbing, and provided that you have a pair of good shoes, and that it's not raining, so as to make the stones slippery.

![Image #15: View of Mount Adelsfjellet [i.e. "The Nobility Mountain"] from Mount Middagsbarna. The town of Åndalsnes, as well as the mountain range called Romsdalsegga, is seen in the background.](https://images1.peakbook.org/images/14939/Solan_20201203_5fc8b46da56f4.jpg?p=xtralarge)
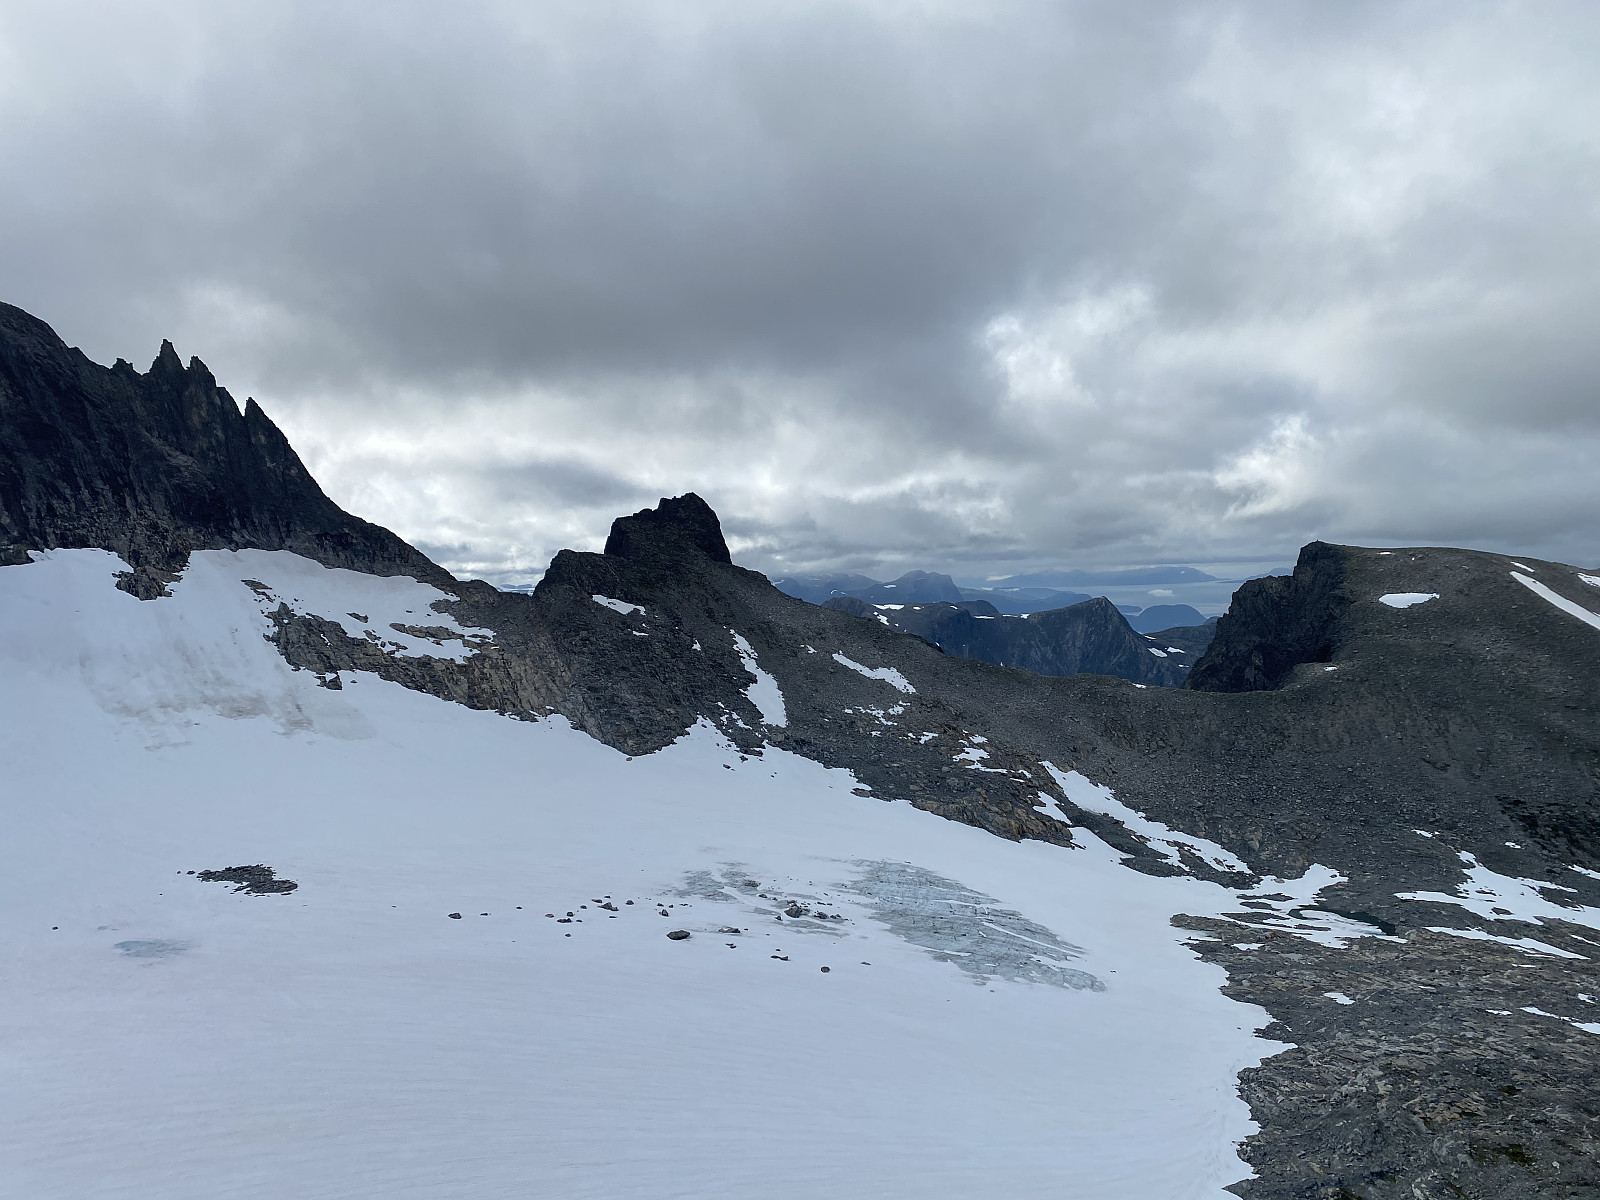
On top of Mount Nordre Trolltind, I did again shoot a number of photos, before I had something to eat and drink. The view from this spot is largely the same as from Mount Middagsbarna, but you get even closer to the huge cliff called Trollveggen [i.e. "The Troll's Wall], as well as to the peaks flanking the top of that cliff. Before descending from this peak, I took time to study the ridge up to Mount Store Trolltind [i.e. Greater Troll Peak] through my binoculars; including the first part of the ridge where it actually descends a little from Mount Nordre Trolltind. The climb from Mount Nordre Trolltind to the summit of Mount Store Trolltind is indeed very steep, and needs to be done with ropes and appropriate climbing gear. (I think even most of those who frequently enjoy doing "free solo" climbing, would climb it with security gear a few times in order to get familiar with the route, before embarking upon doing it "free").
The hike back down to my car was rather straight forward. I pretty much followed the route that I had been following up the mountain, though in the upper part of the trek there isn't any vegetation, and so for the most part no visible trail. Nevertheless, in nice weather like this, it's no problem to find the way; and had it been cloudy and foggy, I would've used my GPS to follow my own trail back down from the mountain. From about the spot where you cross the creek mentioned above, the trail is again visible, and it was just to follow it back down to the parking lot.
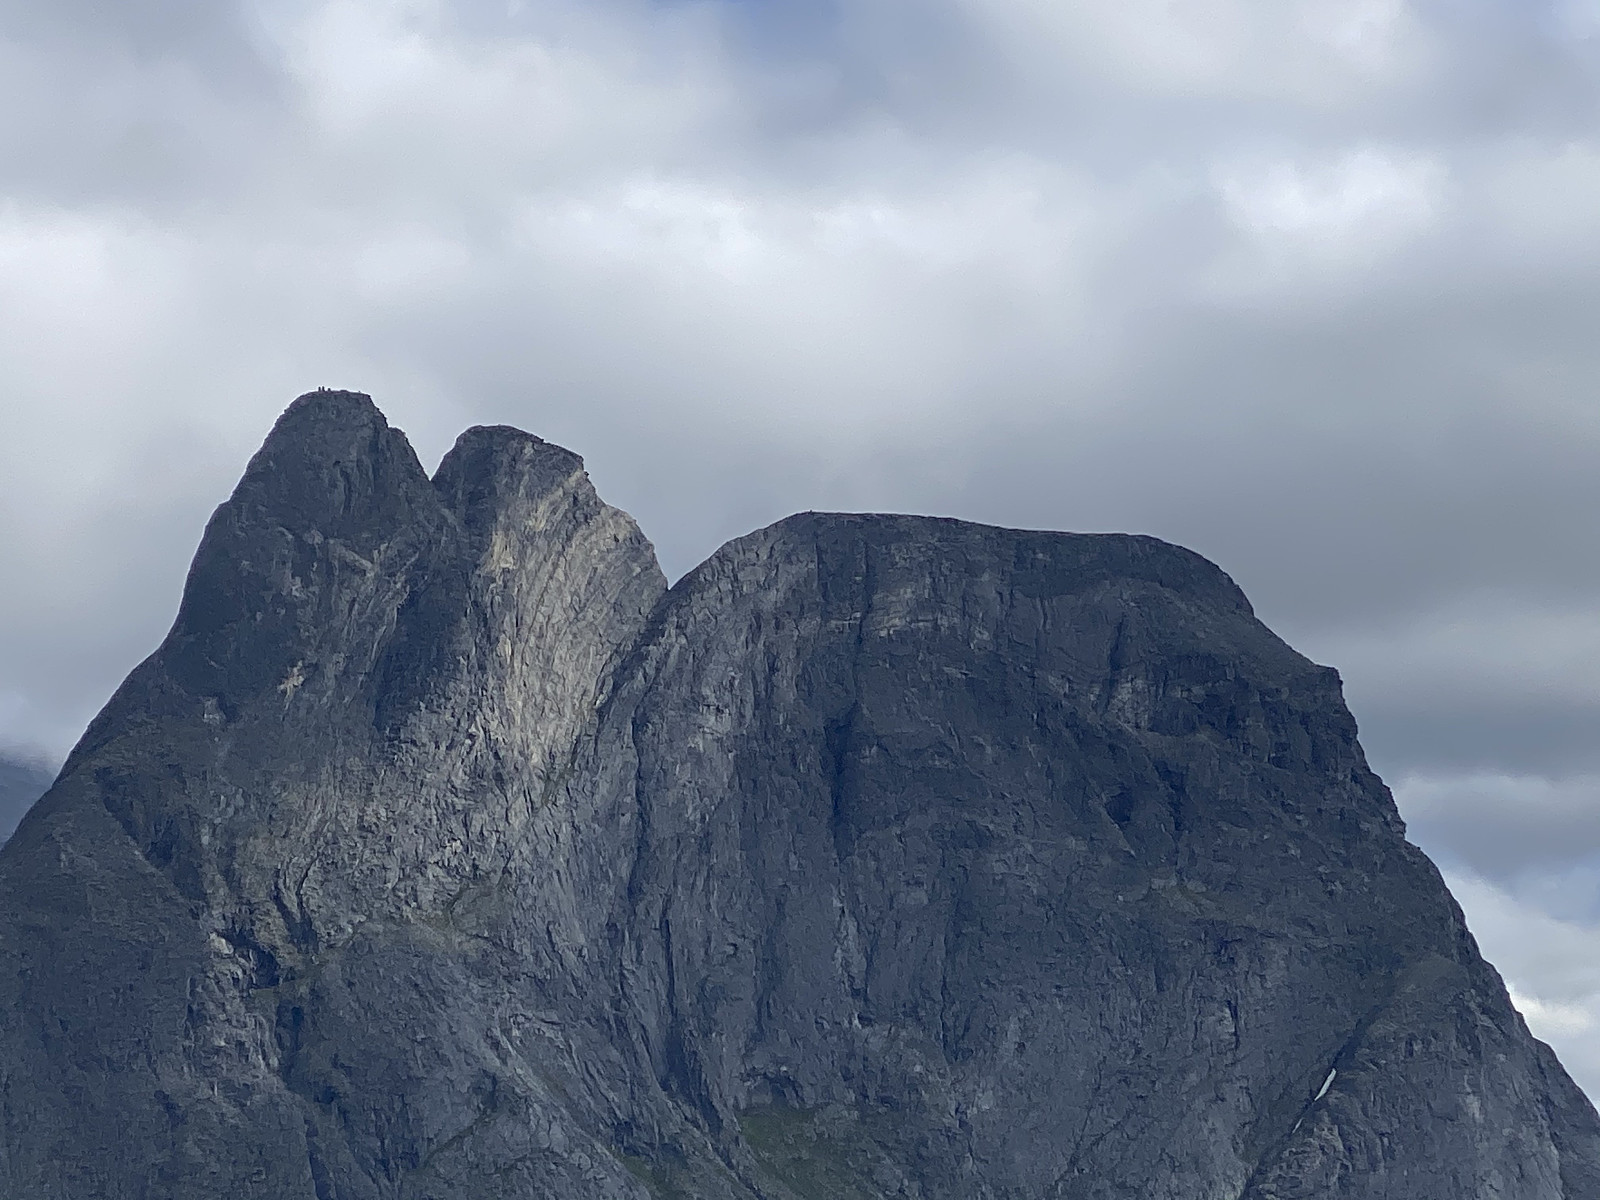
![Image #18: View of vertical cliff called Trollveggen [i.e. "The Troll Wall"] as seen from Mount Nordre Trolltind. The larger peaks flanking the top of the cliff, are Store Trolltind [i.e. "Greater Troll Peak"], Brudgommen [i.e. "The Bridegroom"], Trollryggen ["The Troll's Back"], and Mount Breitinden [i.e. "The Broad Peak"]. The vertical cliff into the Rauma valley is about 1000 meters high, with the bottom of the valley being about 1700 meters below the peaks on top of the cliff.](https://images1.peakbook.org/images/14939/Solan_20201203_5fc8b84fe0553.jpg?p=xtralarge)
![Image #19: Another view of the ridge connecting Mount Nordre Trolltind [i.e. "The Northern Troll Peak"] with Mount Store Trolltind ["The Greater Troll Peak"]. The ridge is also visible on the previous image. There are several trip reports her on Peakbook from people that have actually climbed this ridge; and I would very much love to come back some day and do that. Such a climb has to be done with proper climbing equipment, however, so on this day I was content with just being able to study the ridge carefully with my binoculars.](https://images1.peakbook.org/images/14939/Solan_20201203_5fc8b9e8bab53.jpg?p=xtralarge)


Kommentarer