
Round Trip over Mountains Oterfjellet, Storhaugen and Melen (30.05.2020)


Written by Solan (Atle Solholm)

| Start point | Reset Parking Lot (308m) |
|---|---|
| Endpoint | Reset Parking Lot (308m) |
| Characteristic | Mixed climbing |
| Duration | 6h 15min |
| Distance | 15.0km |
| Vertical meters | 1,602m |
| GPS |
|
| Ascents | Melen (806m) | 30.05.2020 |
|---|---|---|
| Melen nord (767m) | 30.05.2020 | |
| Oterfjellet (728m) | 30.05.2020 | |
| Storhaugen i Vestnes (771m) | 30.05.2020 | |
| Visits of other PBEs | Reset p-plass (305m) | 30.05.2020 |
| Melsvinduet (730m) | 30.05.2020 16:20 |
When trekking a very high mountain, it's usually sufficient to ascend one at a time. When climbing smaller mountains, however, it's often quite feasible to ascend two, three or four in a row; especially if they're interconnected by some sort of a ridge, so that you don't have to descend too much when traversing from one mountain to the next. Now, there are three mountains in the Vestnes Municipality in the County of Møre & Romsdal that I had never climbed before, and which I wanted to climb on this particular day. I have seen all three of them multiple times from afar, but I had not ascended any of them until now.
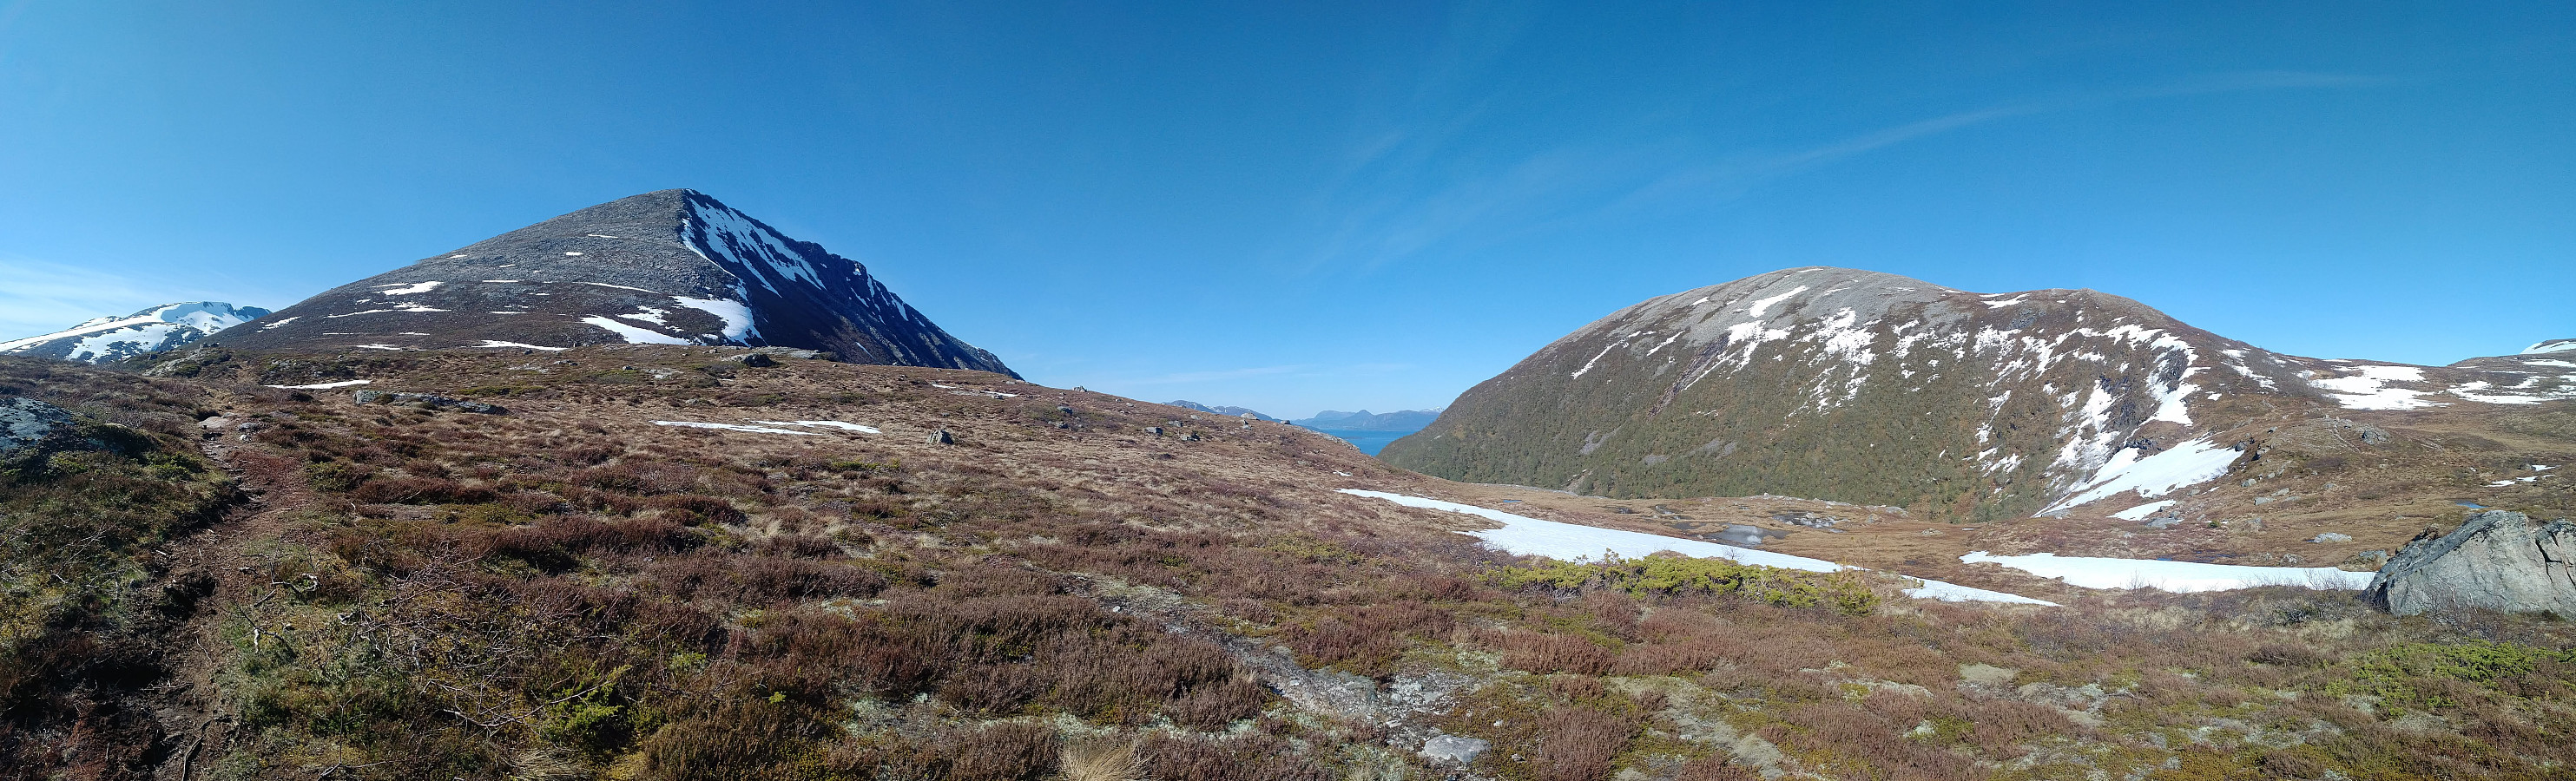
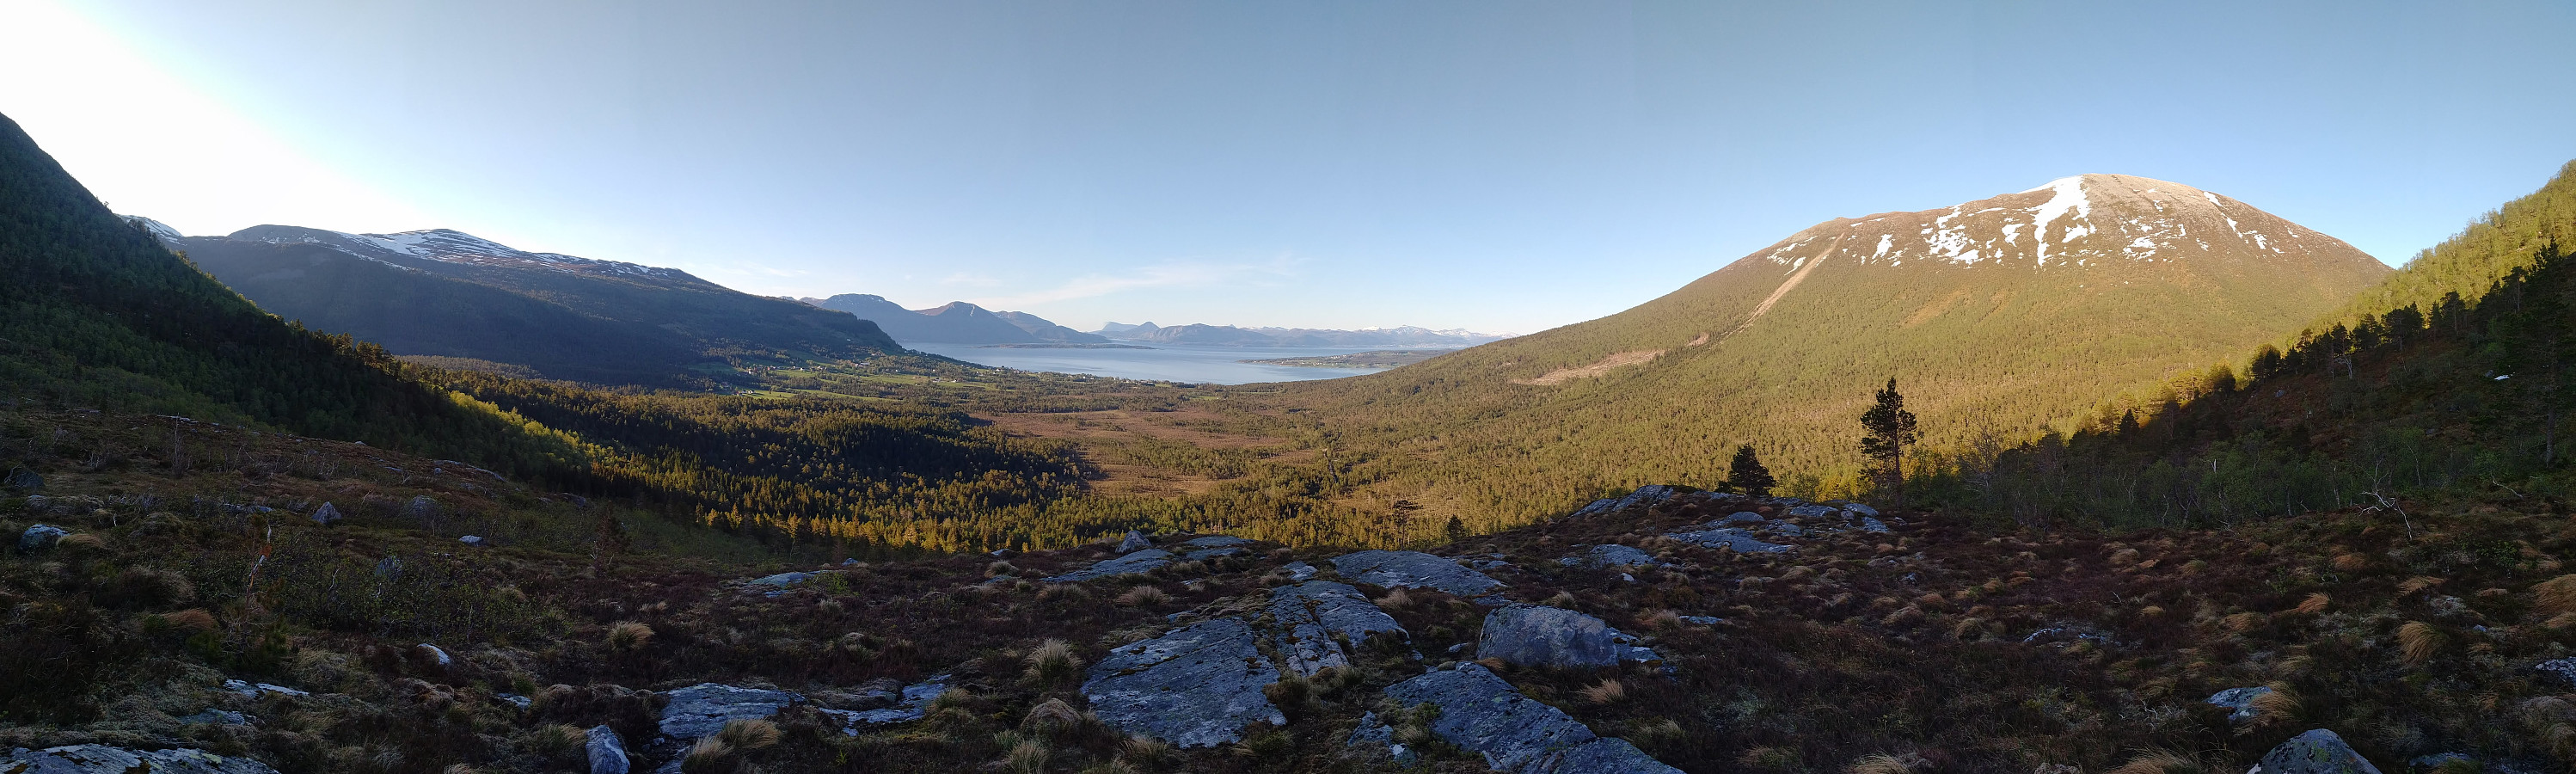
I drove to the Reset Parking Lot (see map and GPS-track) just on the border between the Municipalities of Ålesund and Vestnes, and started trekking from there. I passed south of Mount Melen shortly after I had set out from the parking lot (Image #1). The three mountains that I intended to climb this day was Mount Melen, Mount Oterfjellet and Mount Storhaugen. Mount Melen was the one closest to the parking lot, however, and therefore the most accessible of the three mountains, and already as I was planning the hike while having breakfast early this morning, I had therefore decided to wait with that mountain till after I had climbed the other two.
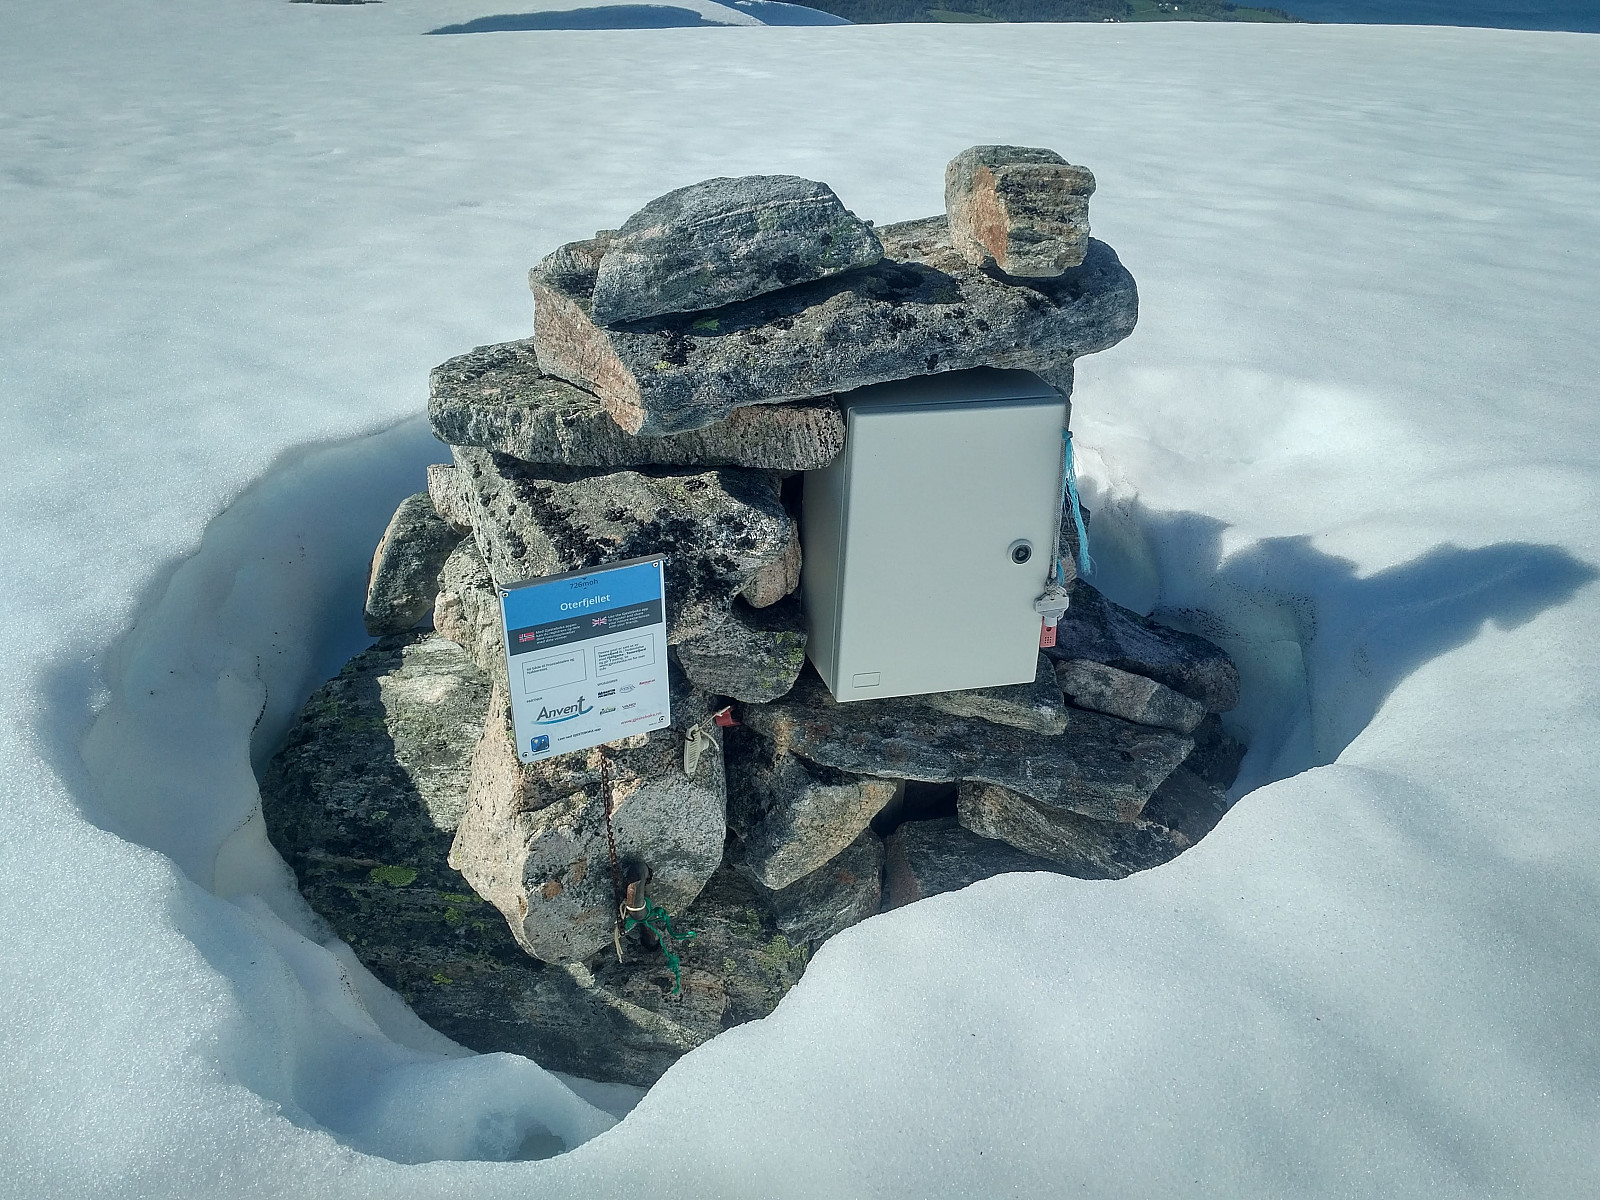
The trail up to the summit of Mount Oterfjellet [i.e. The Otter Mountain] was pretty well marked by red paint to begin with, and later on by small cairns; and so the trail was easy to follow up to the summit. As you gain altitude on this mountain, the vegetation becomes scarce, and the ground more stony to walk on; just as is the case with hundreds of Norwegian mountains. A few minutes before I reached the top of the mountain, I passed an elderly couple that were enjoying their lunch sitting somewhat sheltered in between some large stones. It was indeed a beautiful day with bright sunshine, so they were really having a good time.
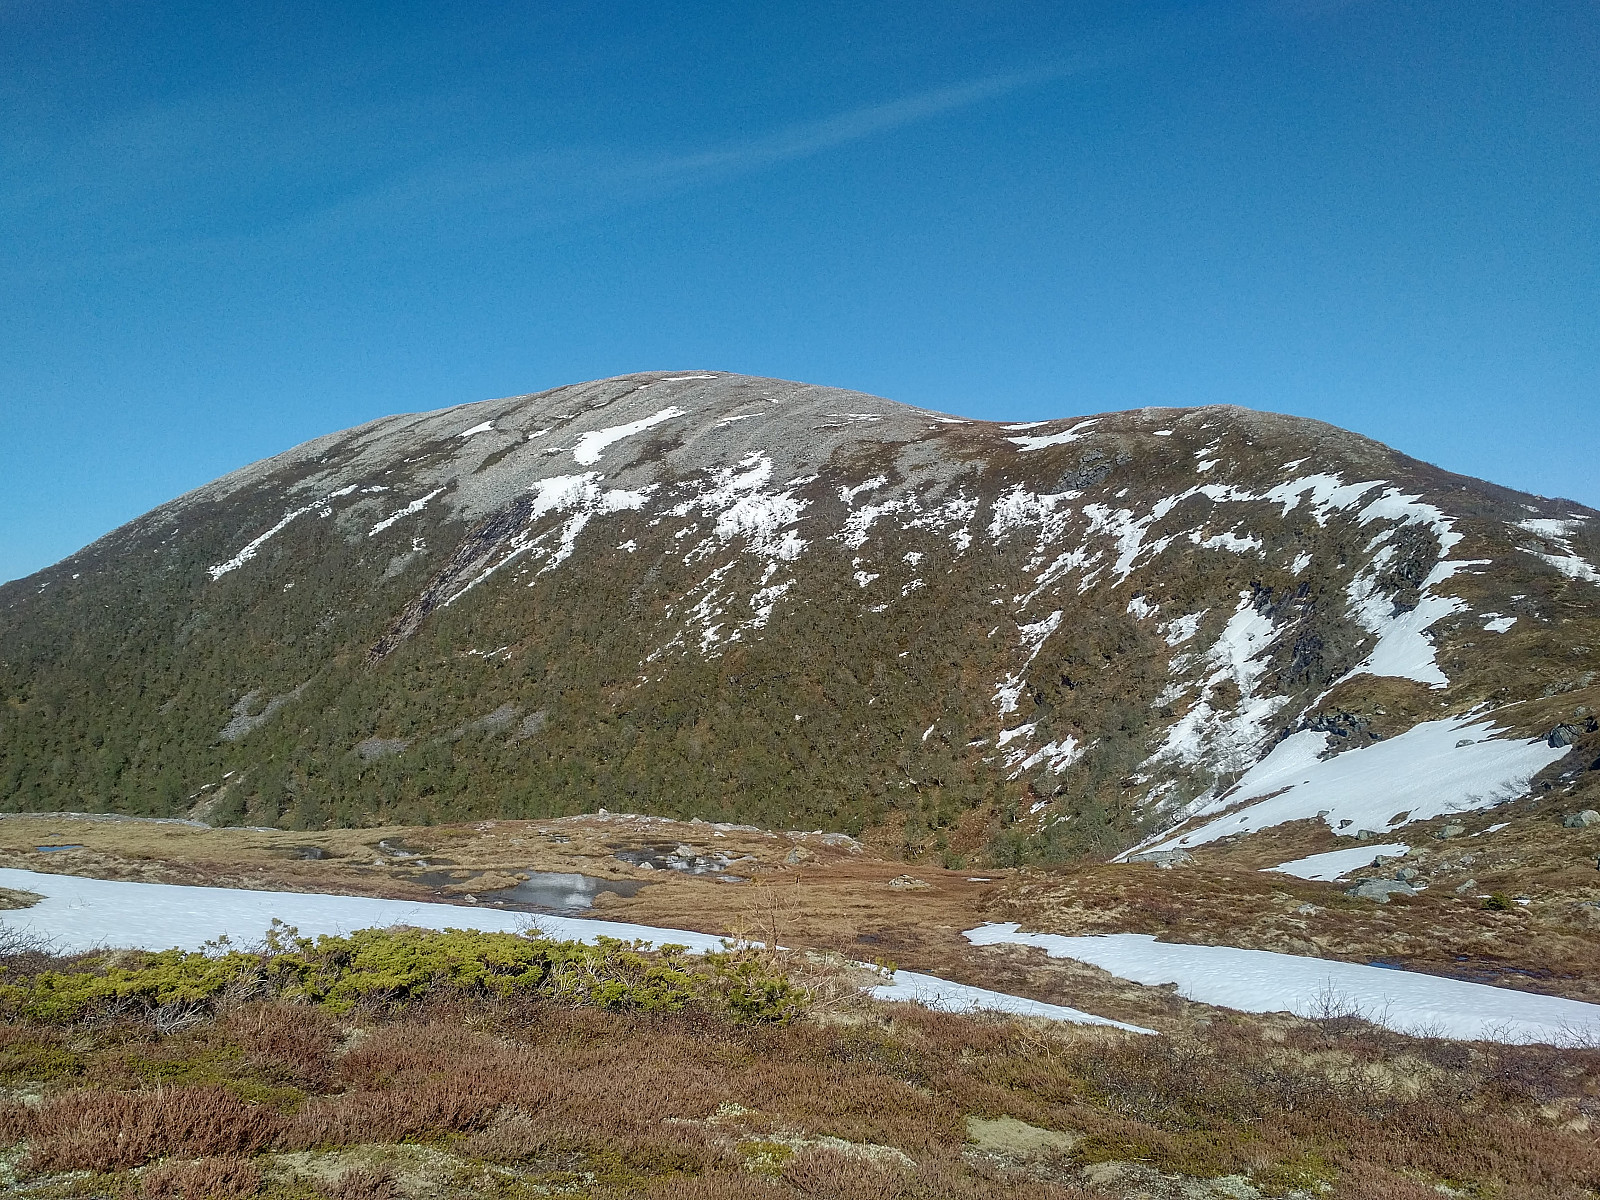
![#6: Mount Storfjellet [literally: The Big Mountain] as seen from the top of Mount Oterfjellet. The village of Tomrefjord is seen in the background.](https://images1.peakbook.org/images/14939/Solan_20200605_5edaac35019f4.jpg?p=xtralarge)
On top of Mount Oterfjellet there was a large snow patch, and it was difficult to see if it was still having a snow shelf on the northeast side. I better avoid walking too close to the edge, I thought to myself, and decided to circumvent the snow patch on the south side. That actually proved to be a wise decision, as Mount Oterfjellet has a very steep cliff on the northeast side [i.e. the side facing towards Mount Storhaughen]; hence no matter whether there was a snow shelf or not, you need to descend the mountain more or less directly in an eastward direction, along a ridge connecting the mountain to Mount Storhaugen; in order to easily get onto that next mountain.
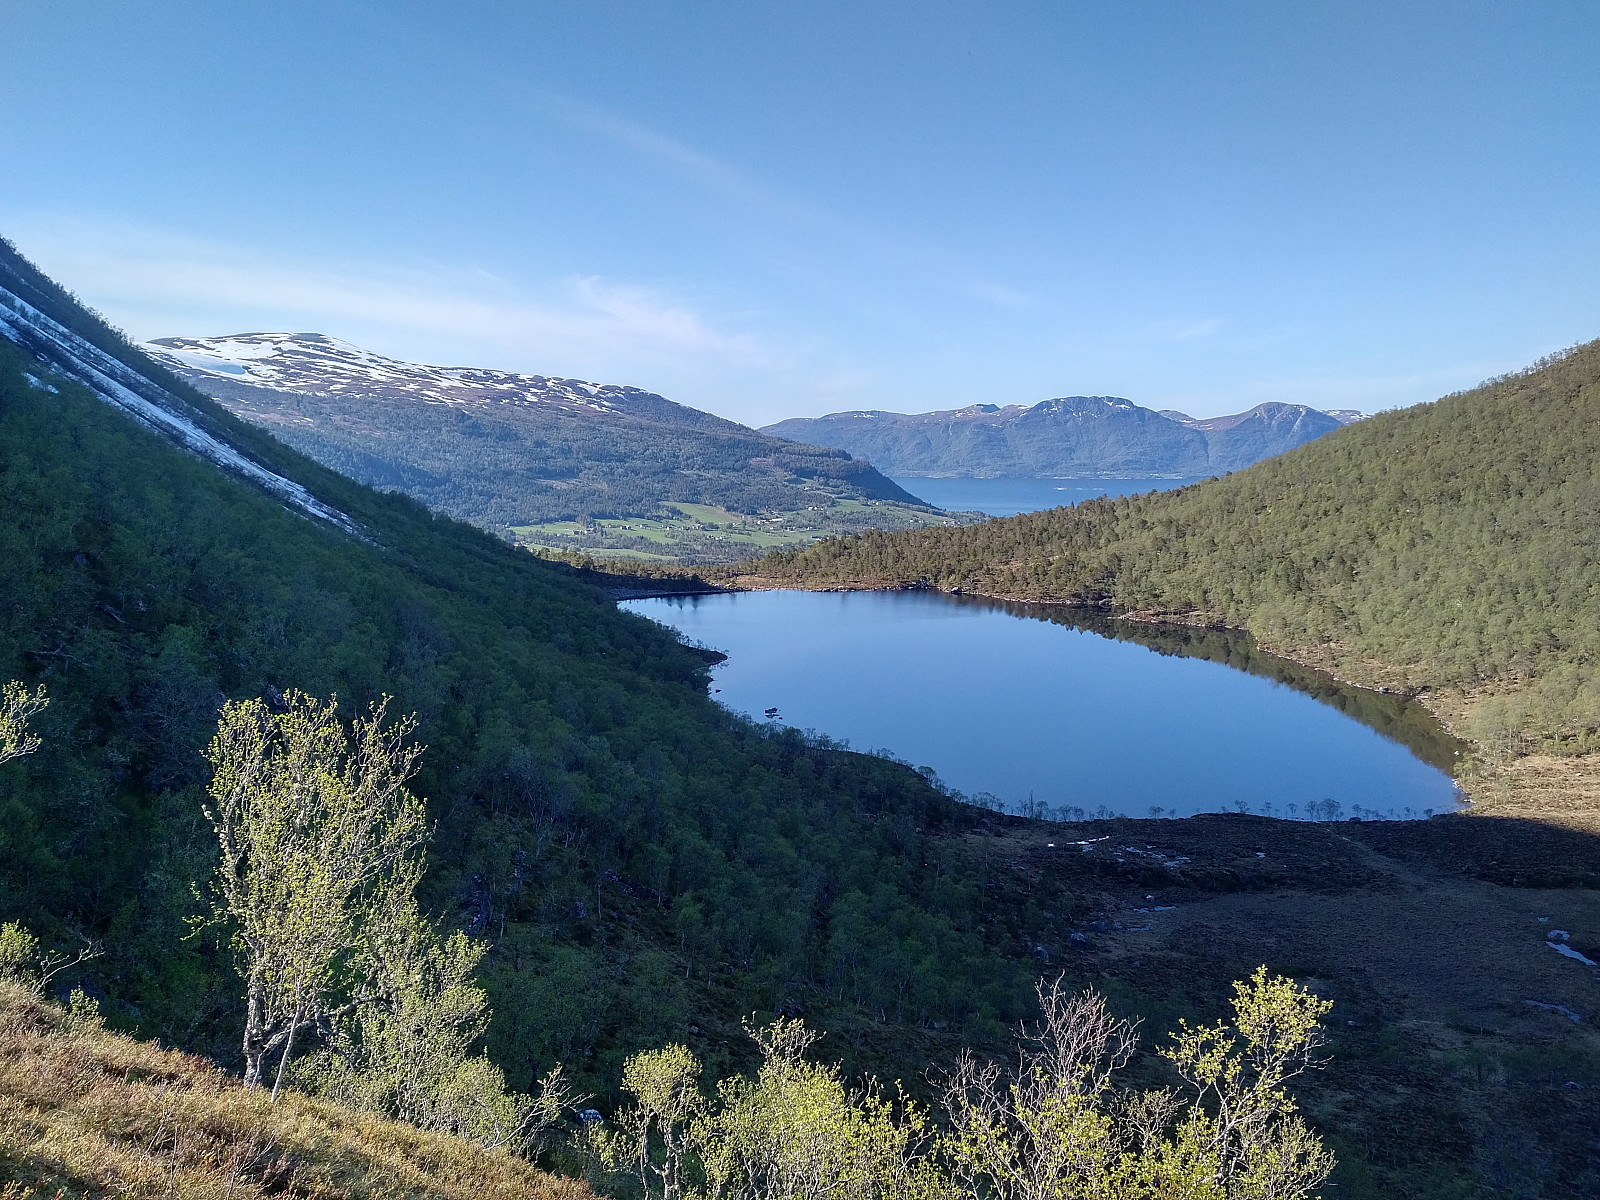
Along the ridge between Mount Oterfjellet and Mount Storhaugen there were remnants of a trail, and even remnants of markings on the trees here and there, but as I got down into the birch forest, the trail was pretty much overgrown, and the remaining markings were all too scattered to make them feasible to follow. Nevertheless, I somehow made my way through the forest, and soon I was climbing the south ridge up Mount Storhaugen, and along that ridge, for some reason, the trail was visible, and actually quite easy to follow. While at the bottom of the ridge between the two mountains, I voices. There were no one to see in the forest close to me, but then I noticed there were some people camping with tents at the other end of Lake Oterskarsvatnet.
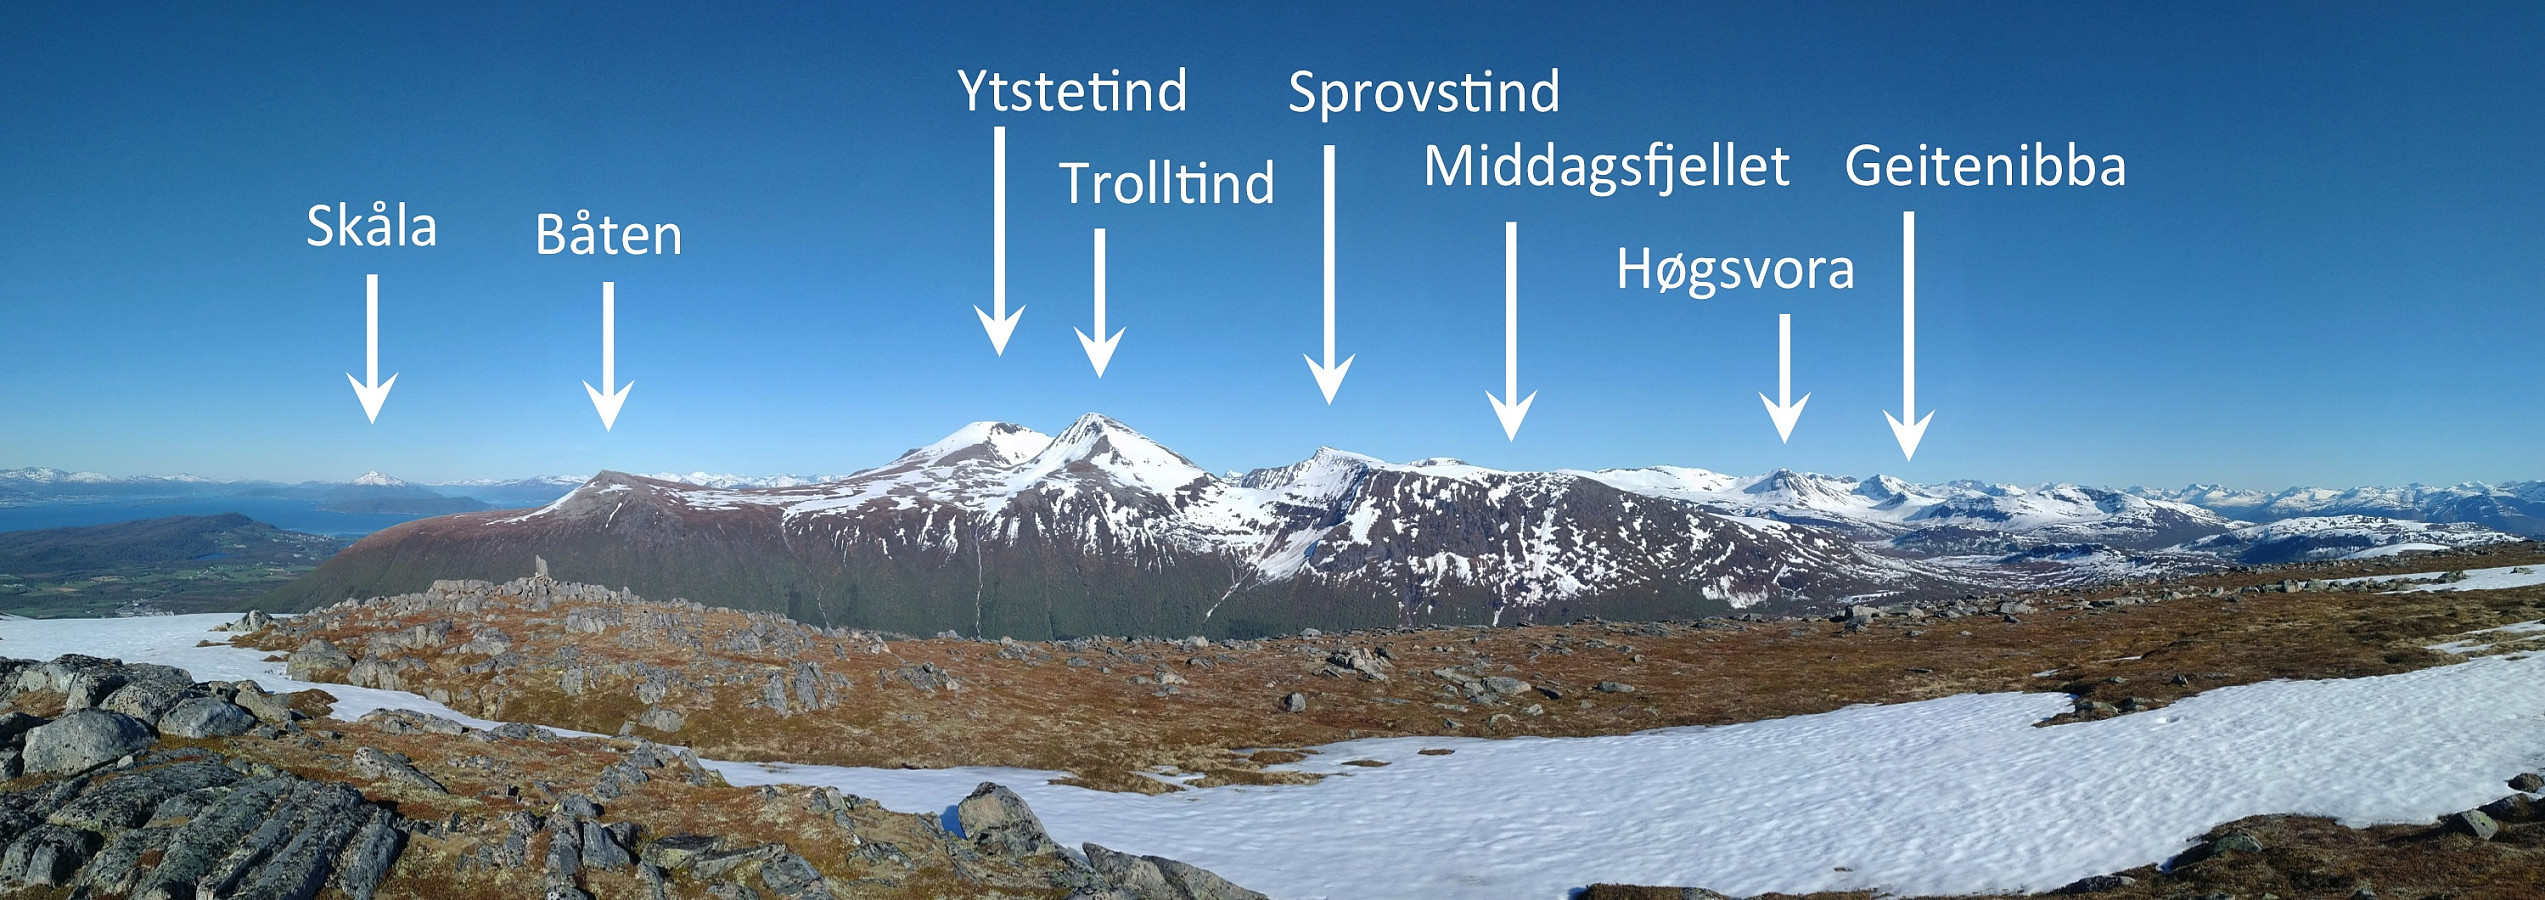
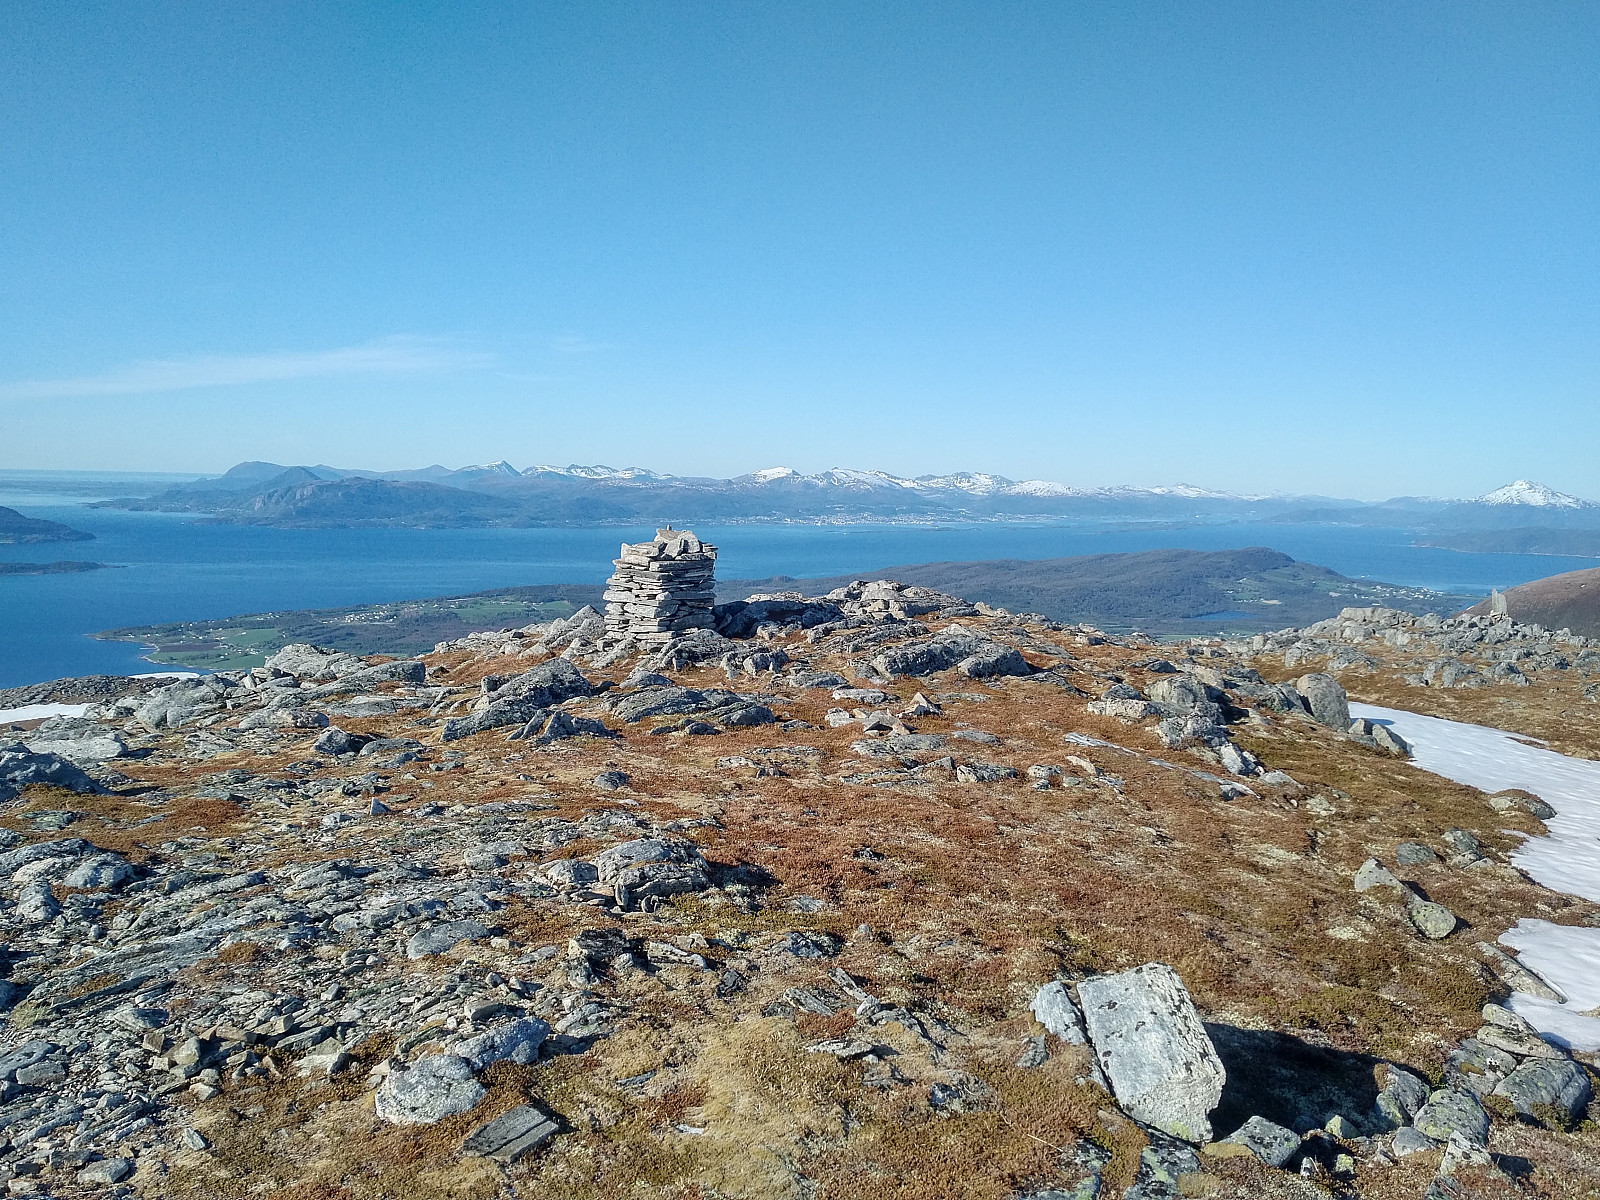
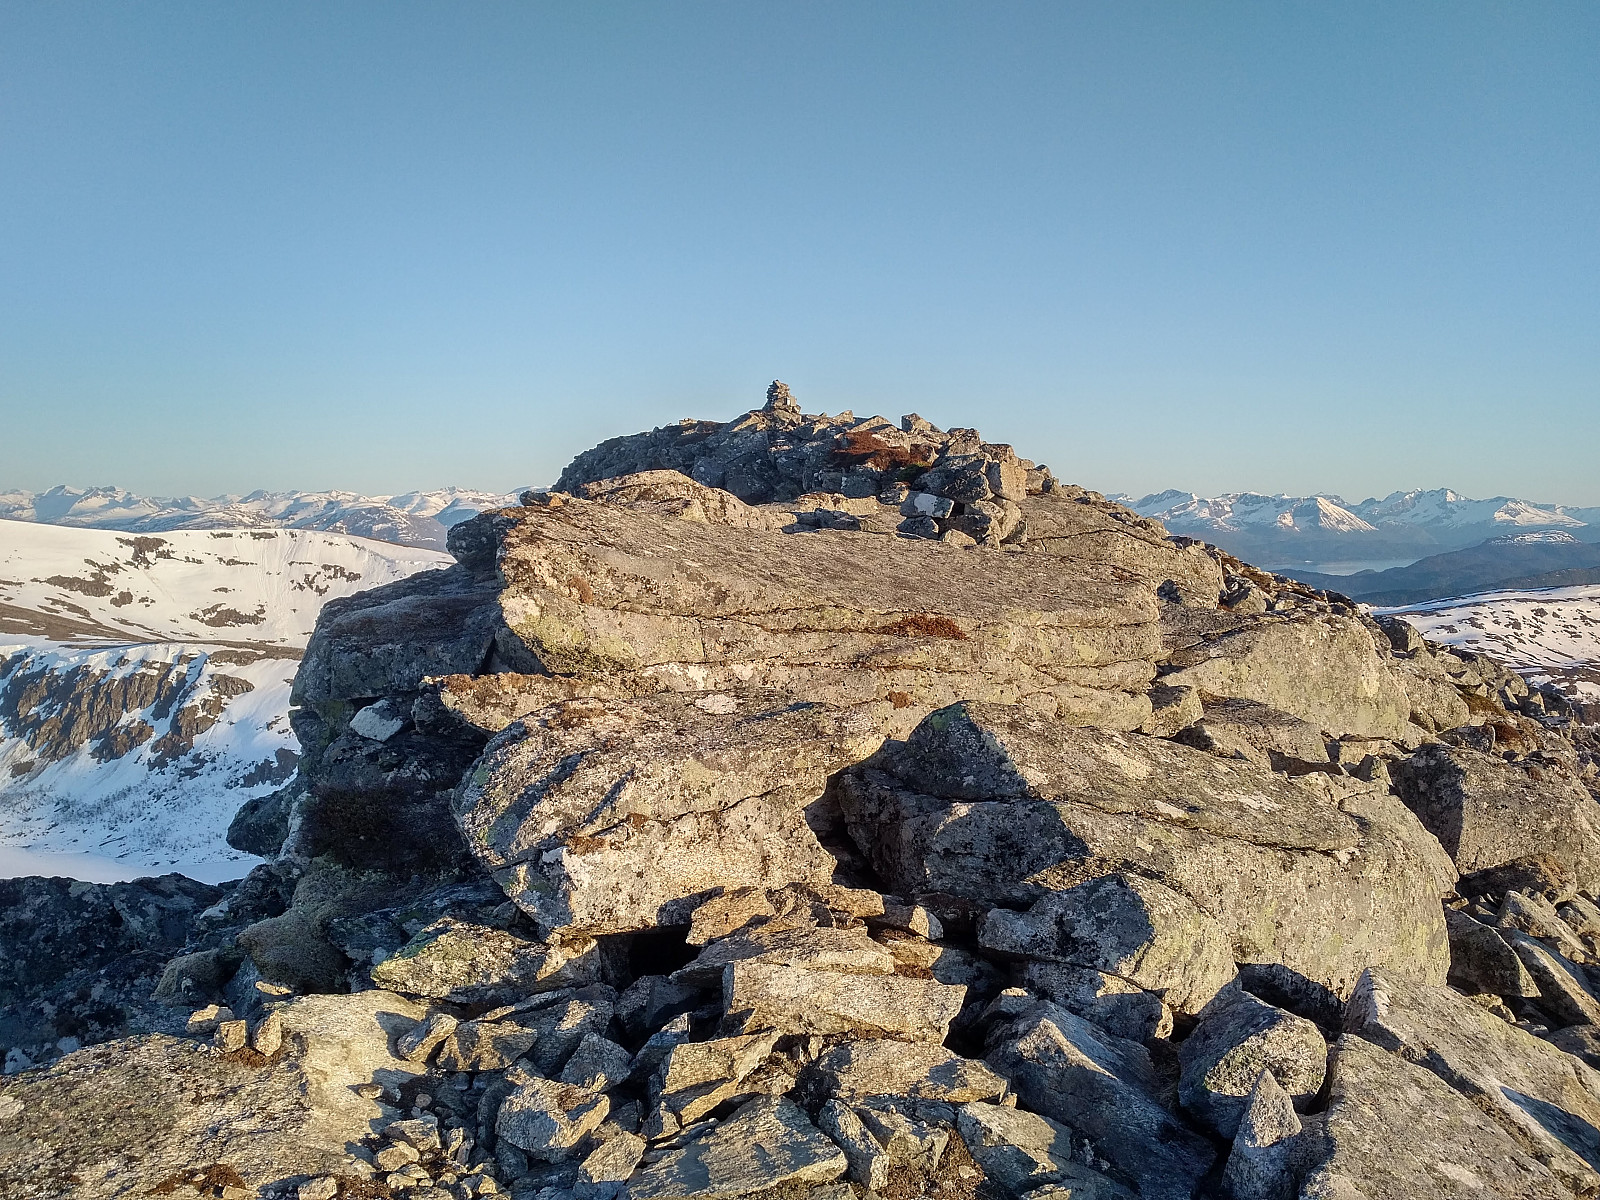
On the summit of Mount Storhaugen the view was amazing, and one could see a number of well known mountains that I've previously climbed (Image #9). The day was hotter than I had expected, and unfortunately I hadn't brought with me anything to eat or drink; but there was plenty of snow on top of this mountain, hence both here and as I descended the mountain on the west side, I put a substantial amount of snow in my mouth, and swallowed it as it was melting in order to avoid dehydration.
From Mount Storhaugen I just descended in a westward direction. There was no trail in that direction, as it's in no way a common route for ascending or descending that mountain. I wanted to go more or less directly towards the north ridge of Mount Melen, however, and so I deliberately chose this unconventional route down. As I approached the bottom of the valley between the two mountains, however, there was again a rather dense birch forest; but then I came across some kind of a trail, whether it really was a trail or just an animal track I'm not quite sure of; but I followed it downwards, and it eventually brought med down to the north end of the lake between Mount Storhaugen and Mount Oterfjellet, i.e. Lake Oterskarsvannet.
As I approached the shores of the lake, the voices from the campers that I had heard earlier on grew stronger; but then all of a sudden, I realized this wasn't at all an adult camping group as I had imagined, it was a group of children from a primary school class or something like that, having with them only two or three adults to look after them. I said hello to the children, and then continued towards Mount Melen. Now I followed for a while the nice and broad trail leading up from the village of Fiksdal towards this beautifully located lake. After a while I realized, however, that I could very well be that this trail only merged with the trail from Lake Melskarsvatnet (see map) several kilometers down the valley; and so I took of from the trail, and just walked through the forest along the foot of Mount Oterfjellet, all the time heading towards the north ridge of Mount Melen.
Traversing the forest along the north side of the foot of Mount Oterfjellet took some time, though I eventually found something resembling an old trail, though it could also just be an animal track. After a while I came to a broad trail or tiny mountain road leading up to some cabins by Lake Melskarsvatnet. I crossed the trail, and then the river coming down from the lake; and then I had some water to drink from the river, before I embarked on climbing the east side of the north ridge of Mount Melen. This part of the climb went through rather dense forest, and it was quite steep. Nevertheless, climbing was not difficult, as there were plenty of trees to hold onto as you were climbing. At one point I heard a sudden noise just meters away from me, and then the sound of an animal moving away from me. It probably was a deer or a stag, but I never got the chance to actually see the animal due to some huge stones that I looked into as I turned in the direction of the sound; hence I don't know for sure what it actually was.

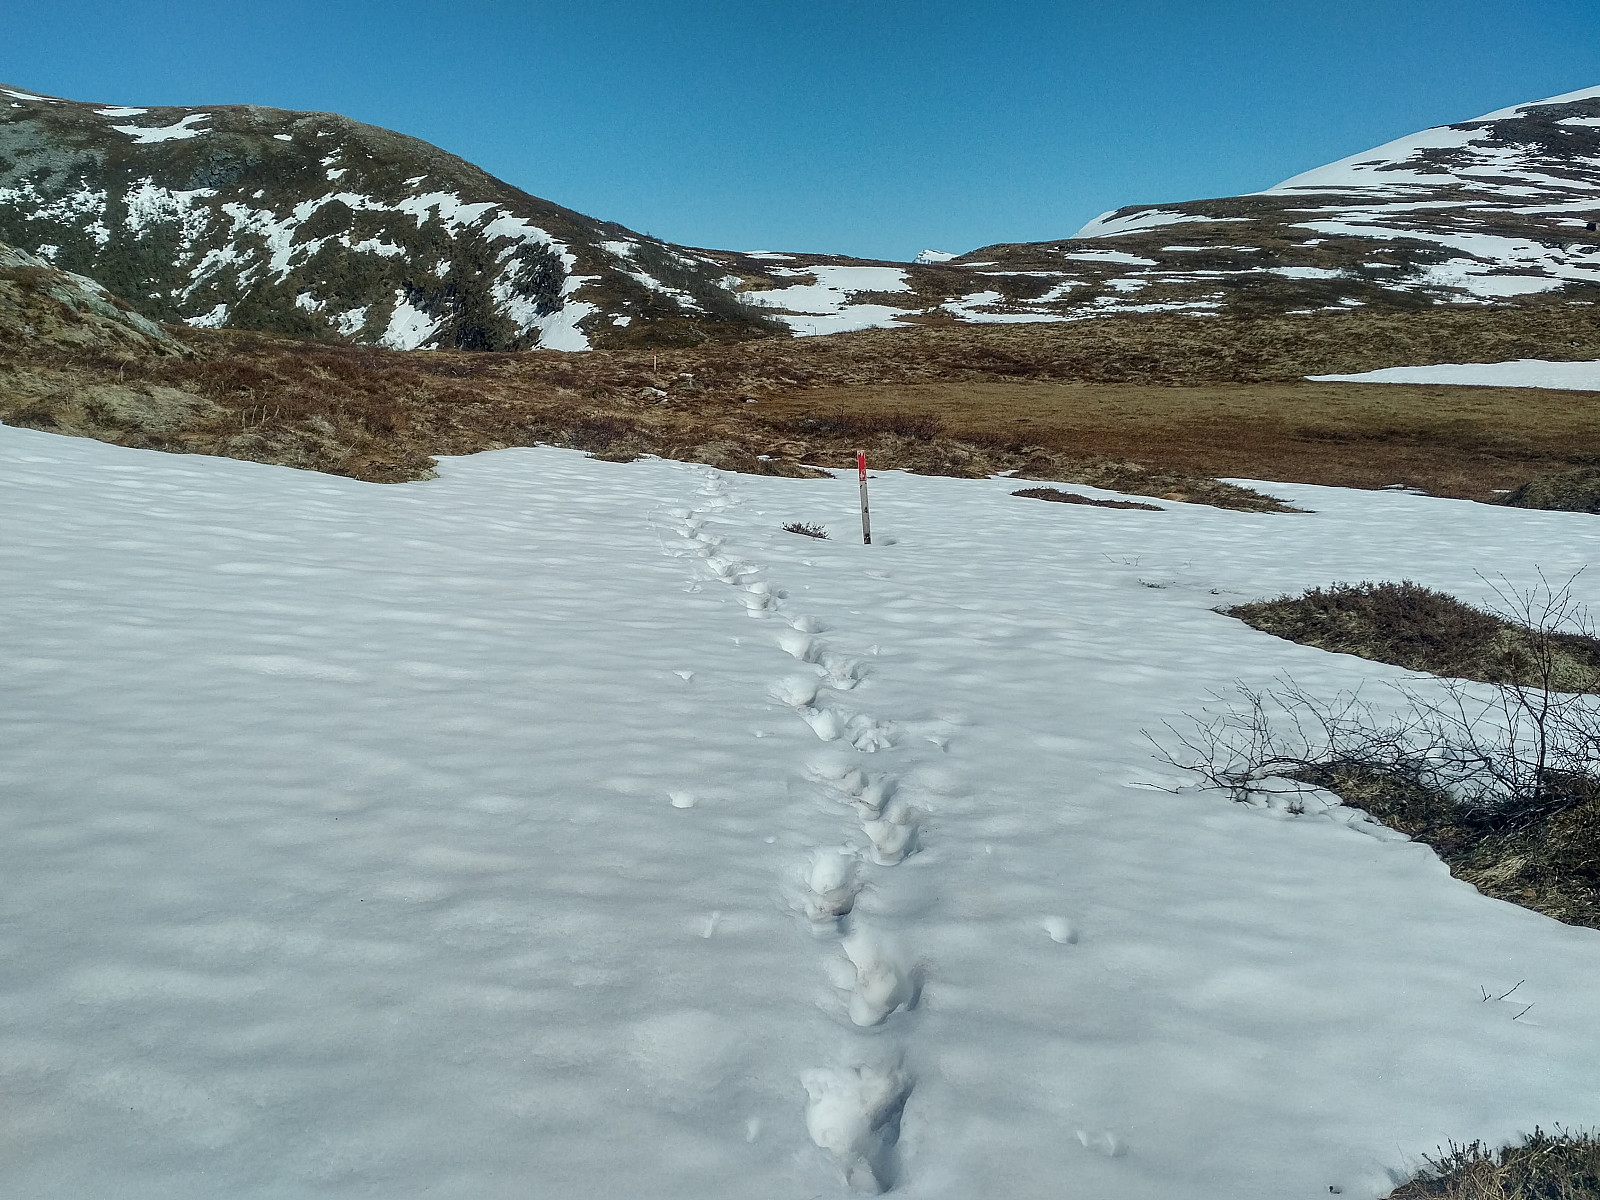
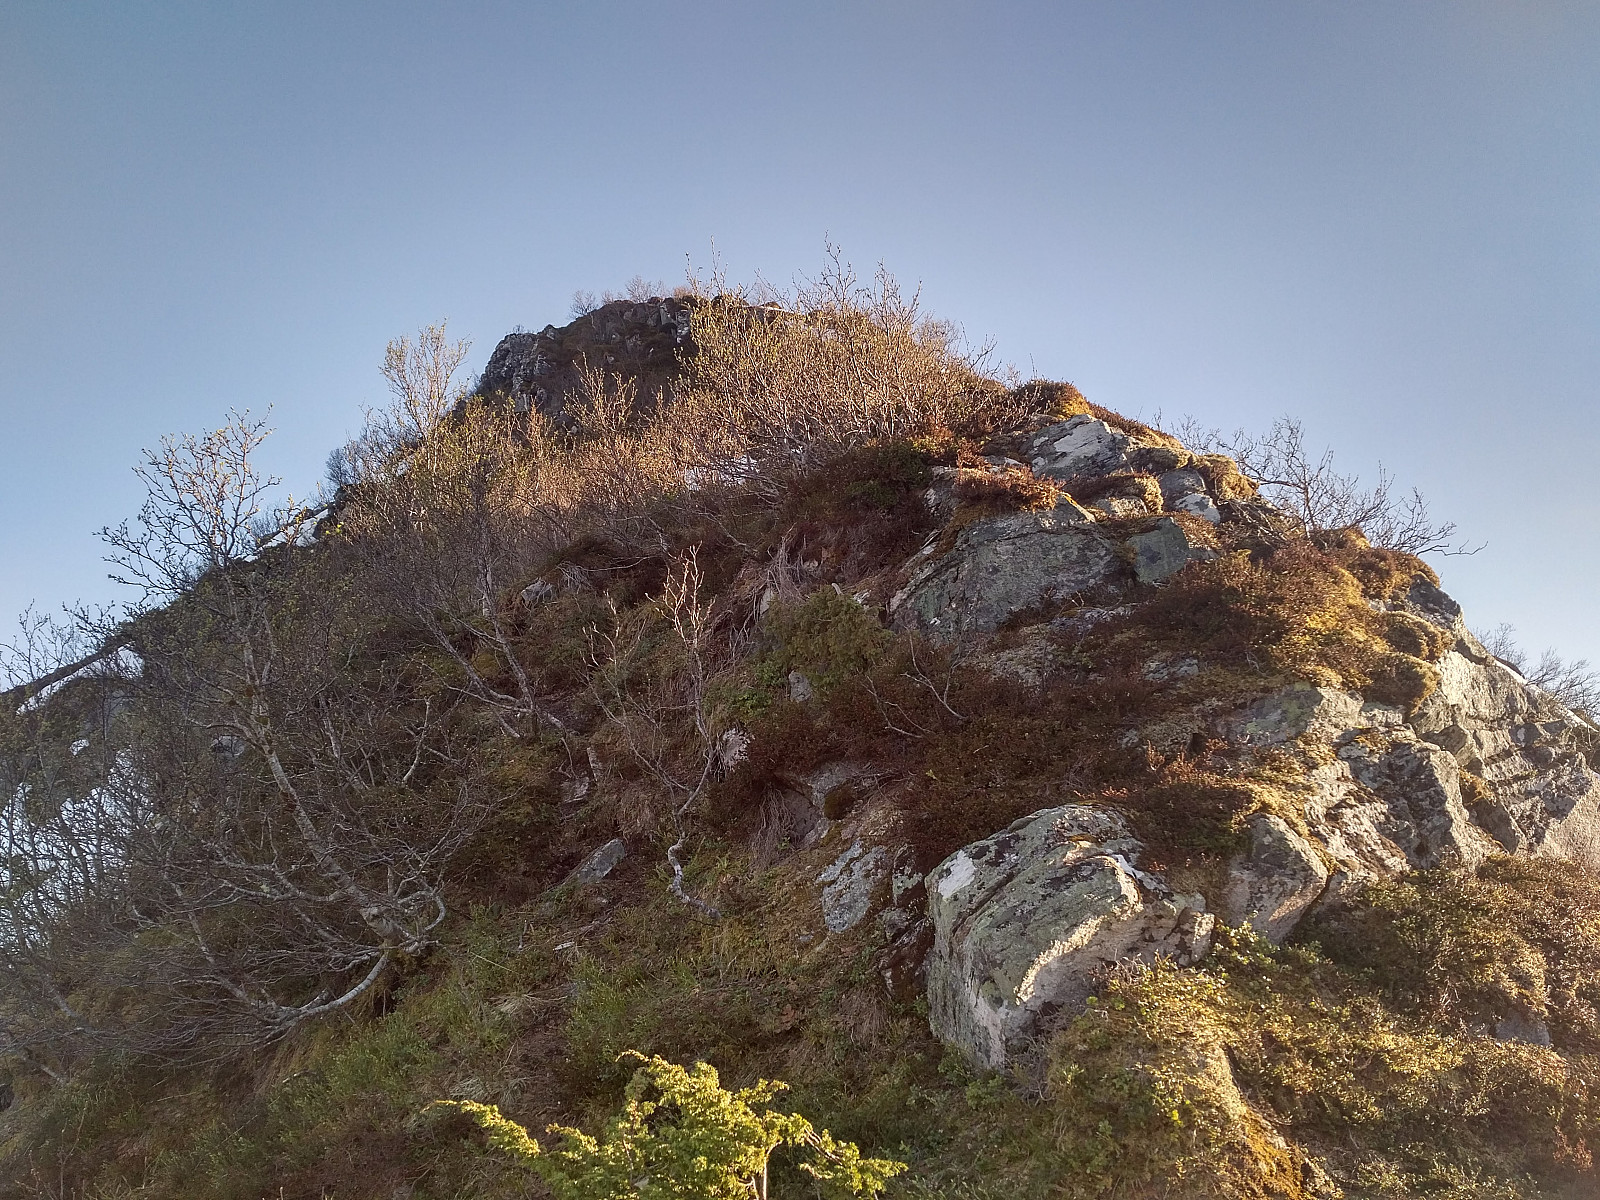
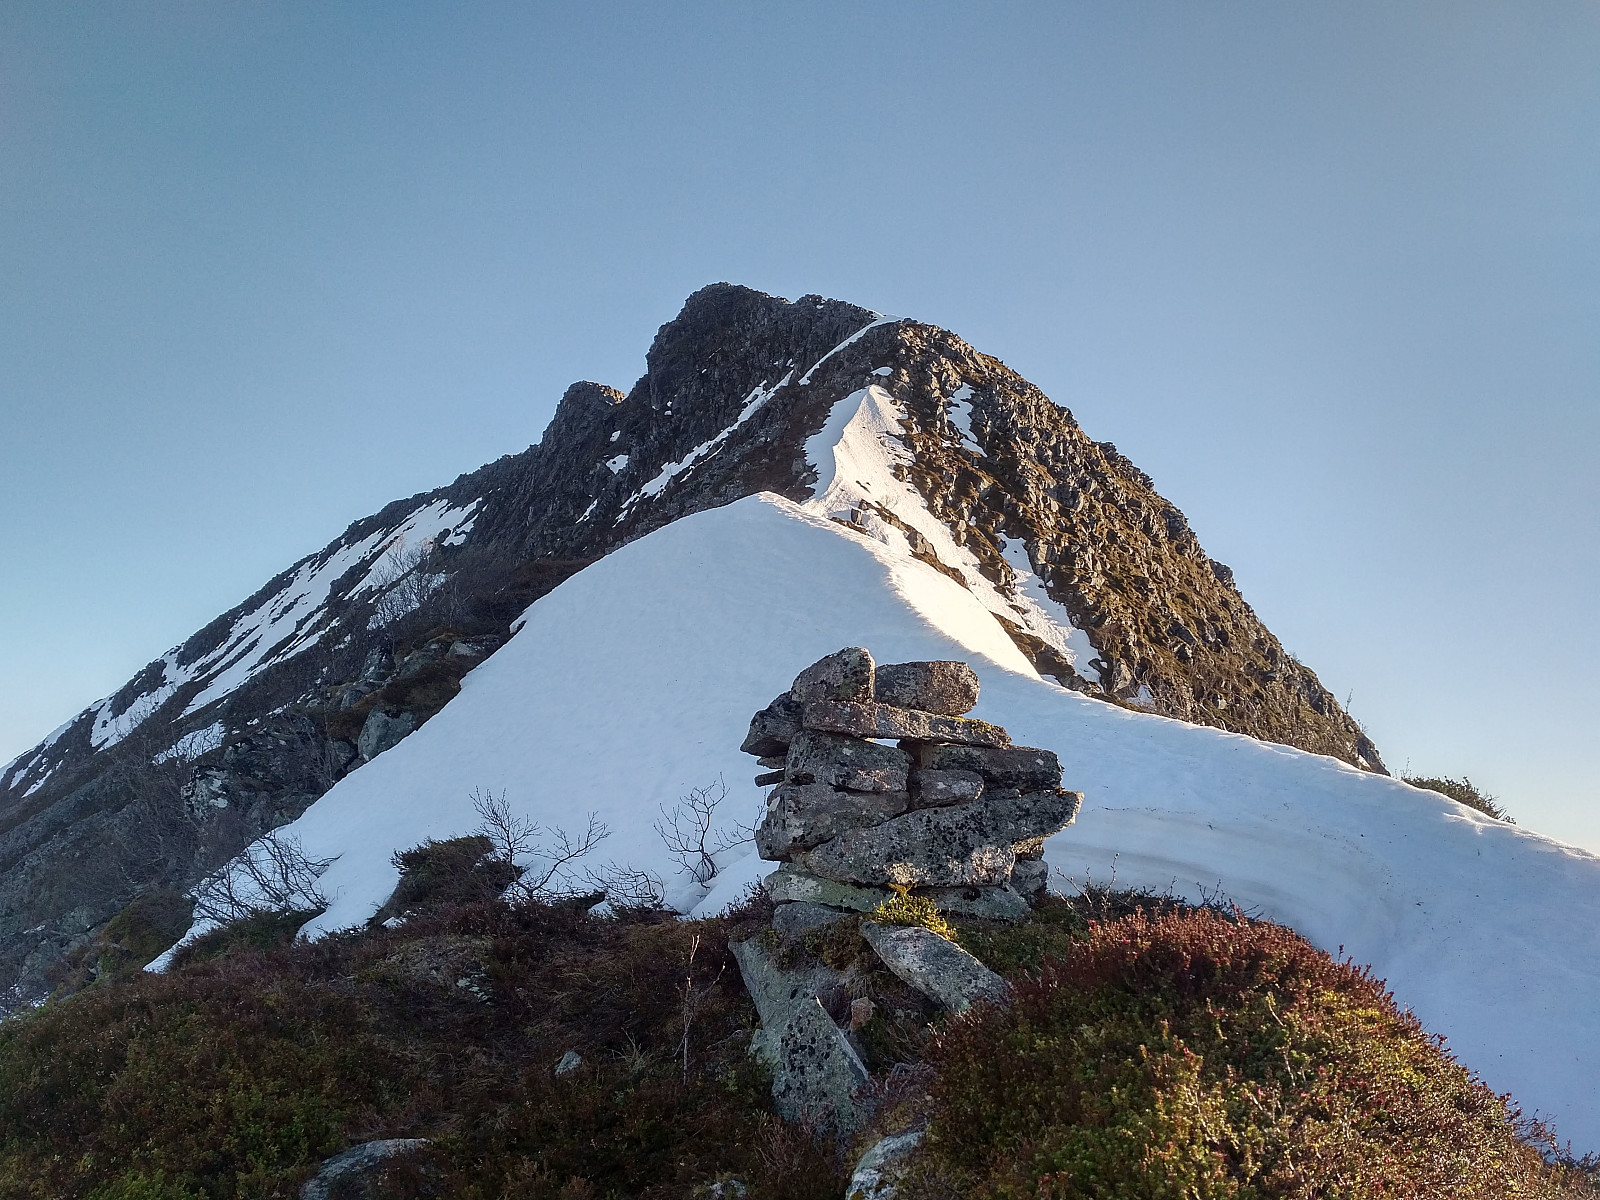
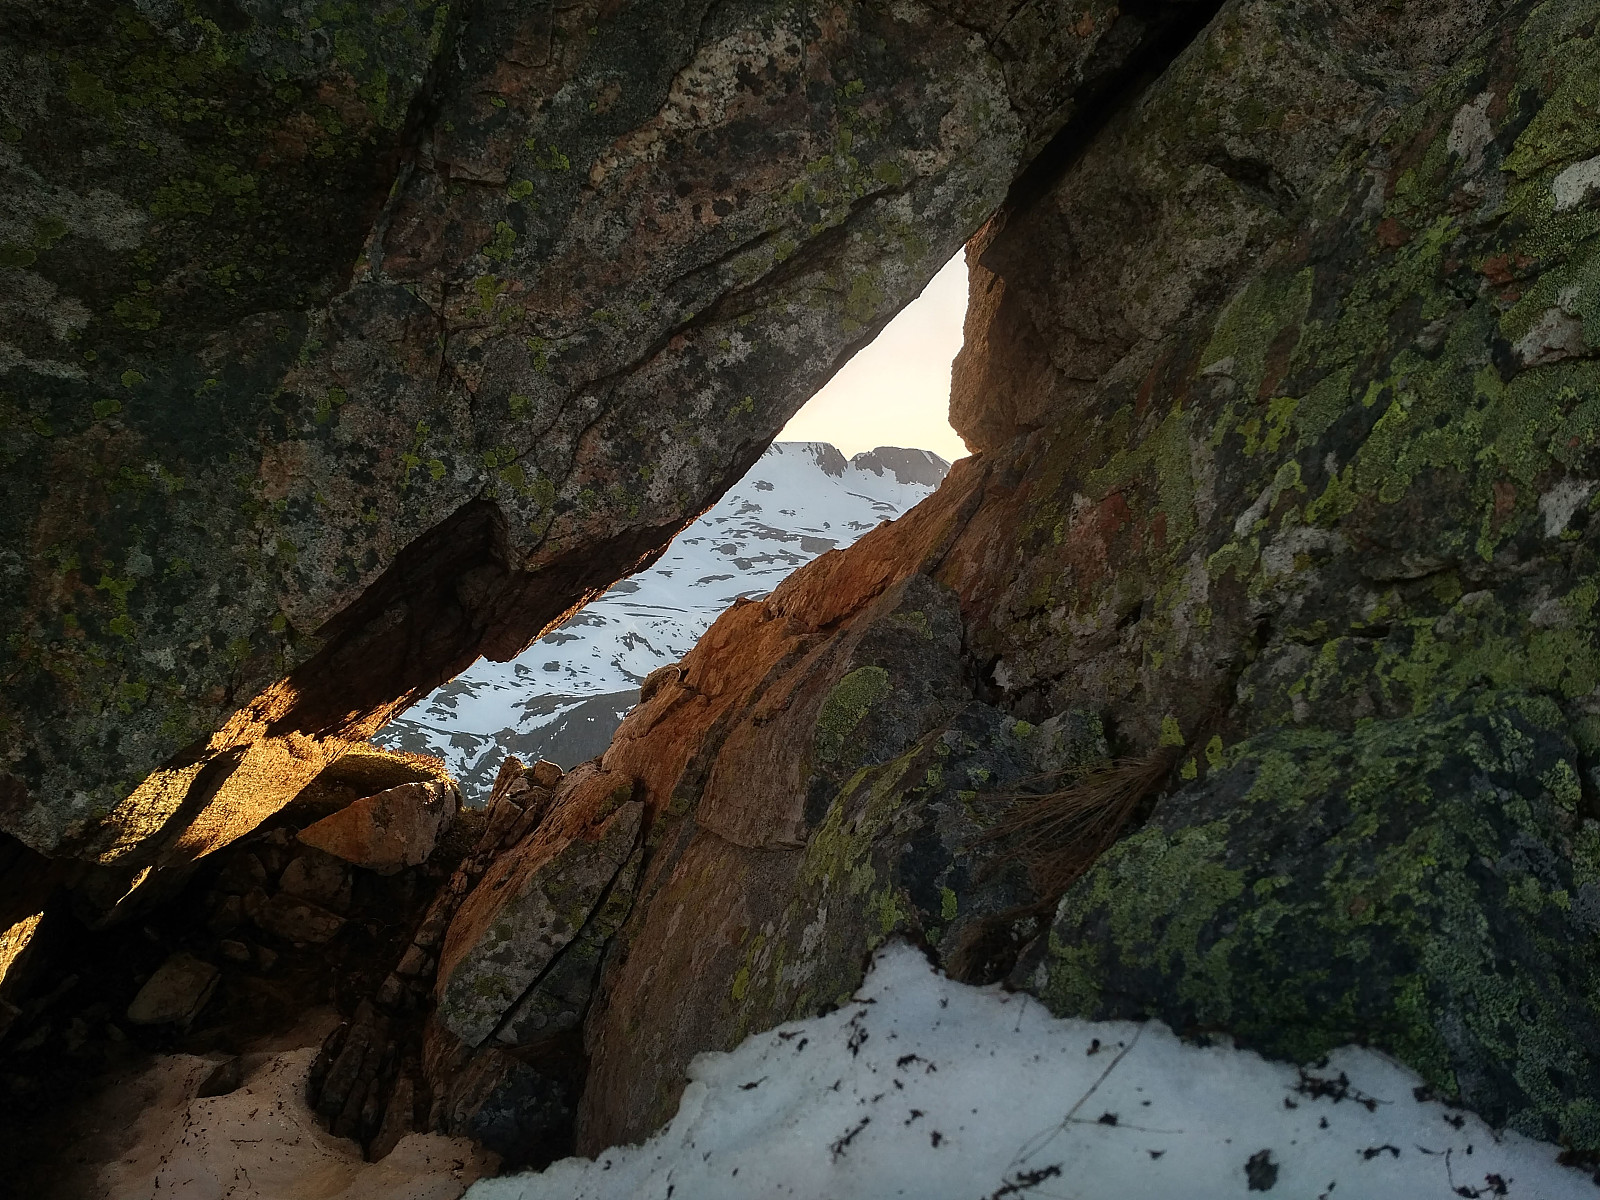
When I reached the edge of the north ridge of Mount Melen, climbing became a bit easier (see images ## 11 & 12), and so I could move a bit more quickly. That was, until I came to some patches of snow that was covering the ridge (Image #13). When looking back at my pictures after the hike, i realize I should just have walked upon the snow along the very ridge of the mountain, but unfortunately, I didn't. In an attempt to circumvent the snow, I went on the right (i.e. western) side of the snow, which was feasible to begin with; but then I came to a place were the snow extended more than a hundred meters down a very steep chute on the west side of the mountain, and so the options available was to either go back to where I first encountered the snow, or just try to cross the snow in the chute. Had I brought with me crampons and an ice axe, crossing would've been pretty straight forward. With just regular hiking shoes on, however, I had to walk sideways, facing the mountain, and then drive the toes of my boots rather deep into the snow for every single step I was taking, to make sure I had an attachment solid enough to prevent me from sliding down this entire tongue of snow, which would've been hazardous. Having traversed this snow tongue, I continued up the north ridge of the mountain, and after just a few minutes I came to a second, similar tongue of snow, that I had to cross in similar manner. As I continued up the ridge, I then came to a spot were I noticed a hole, or a window, in the mountain. A closer look at it revealed that you could actually have a nice photo of the nearby Mount Blåskjerdingen through the window (Image #14). If you're there at the right time of the year, you may probably even take a photo of the sunset through the window, but sunset is quite late in Norway now that we're approaching midsummer; and I wasn't actually in the mood to sit up there and wait for the sunset. For those interested, the coordinates of the window is 62,587596° north and 6,816152° east, the and elevation is about 730 m.a.m.s.l., and I have registered the window here on peakbook as Melsvinduet.
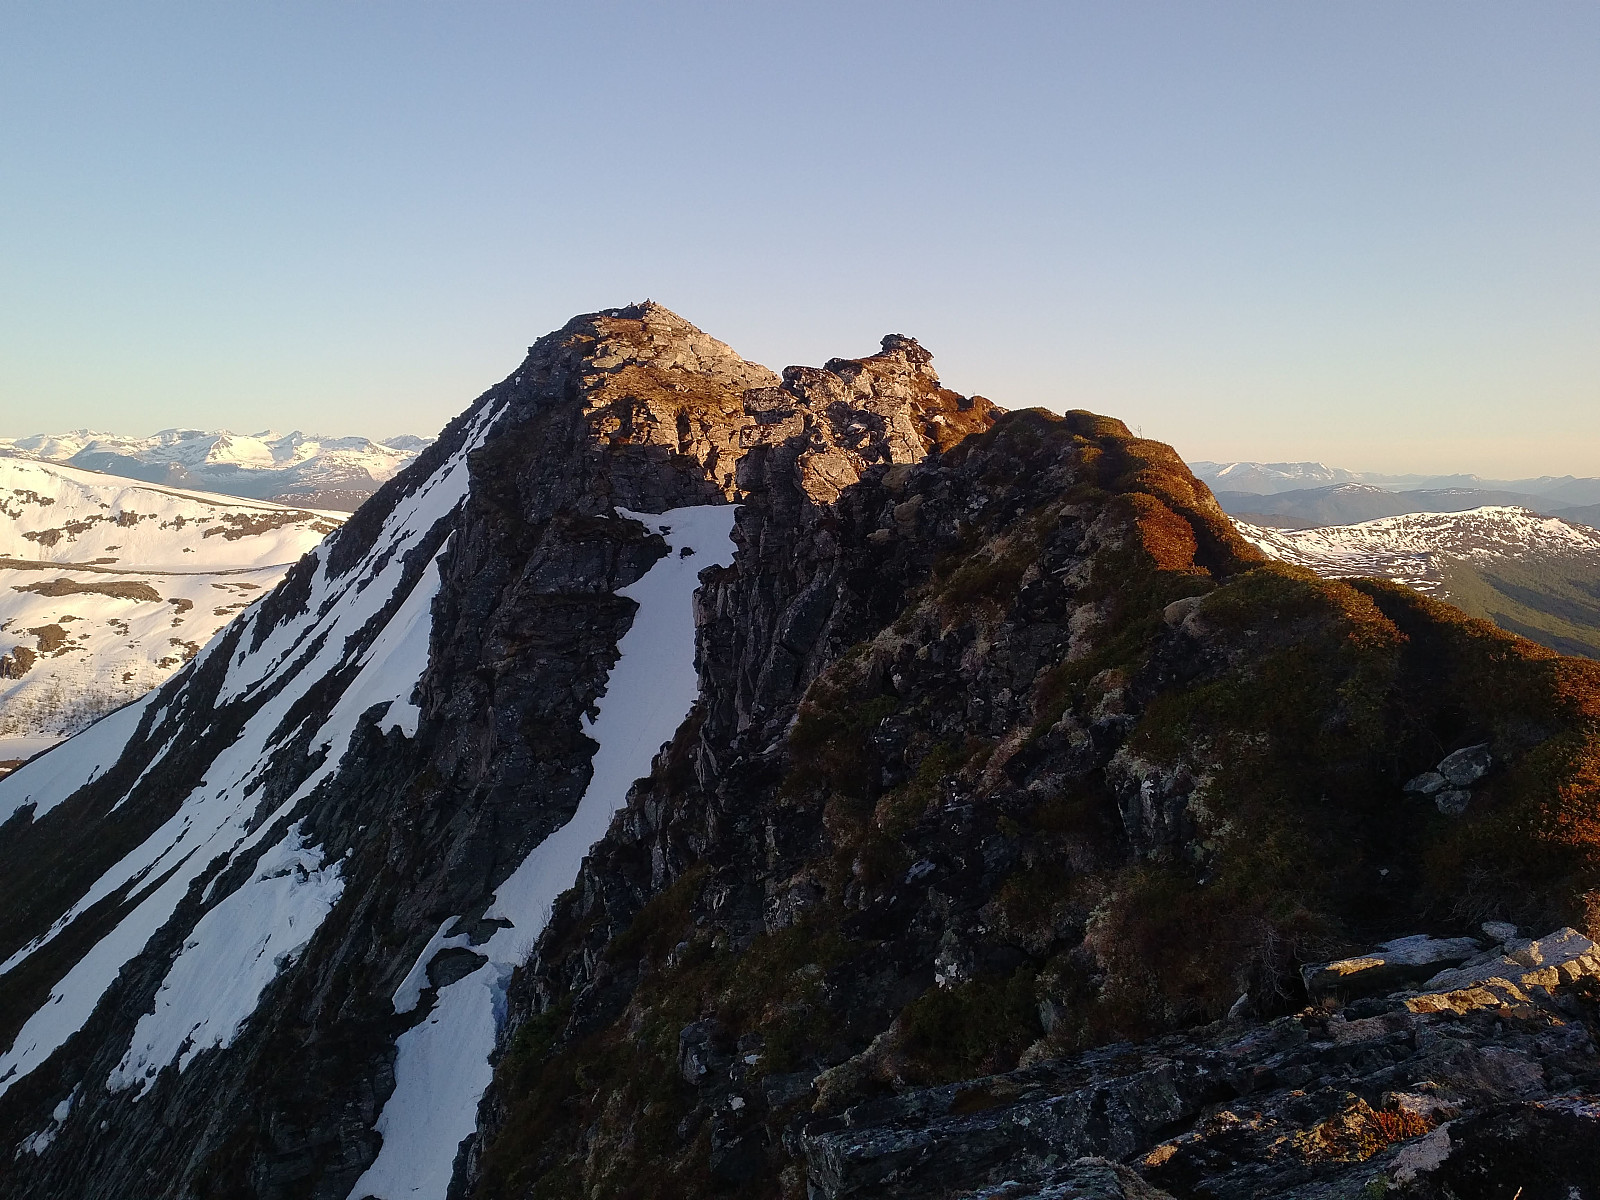

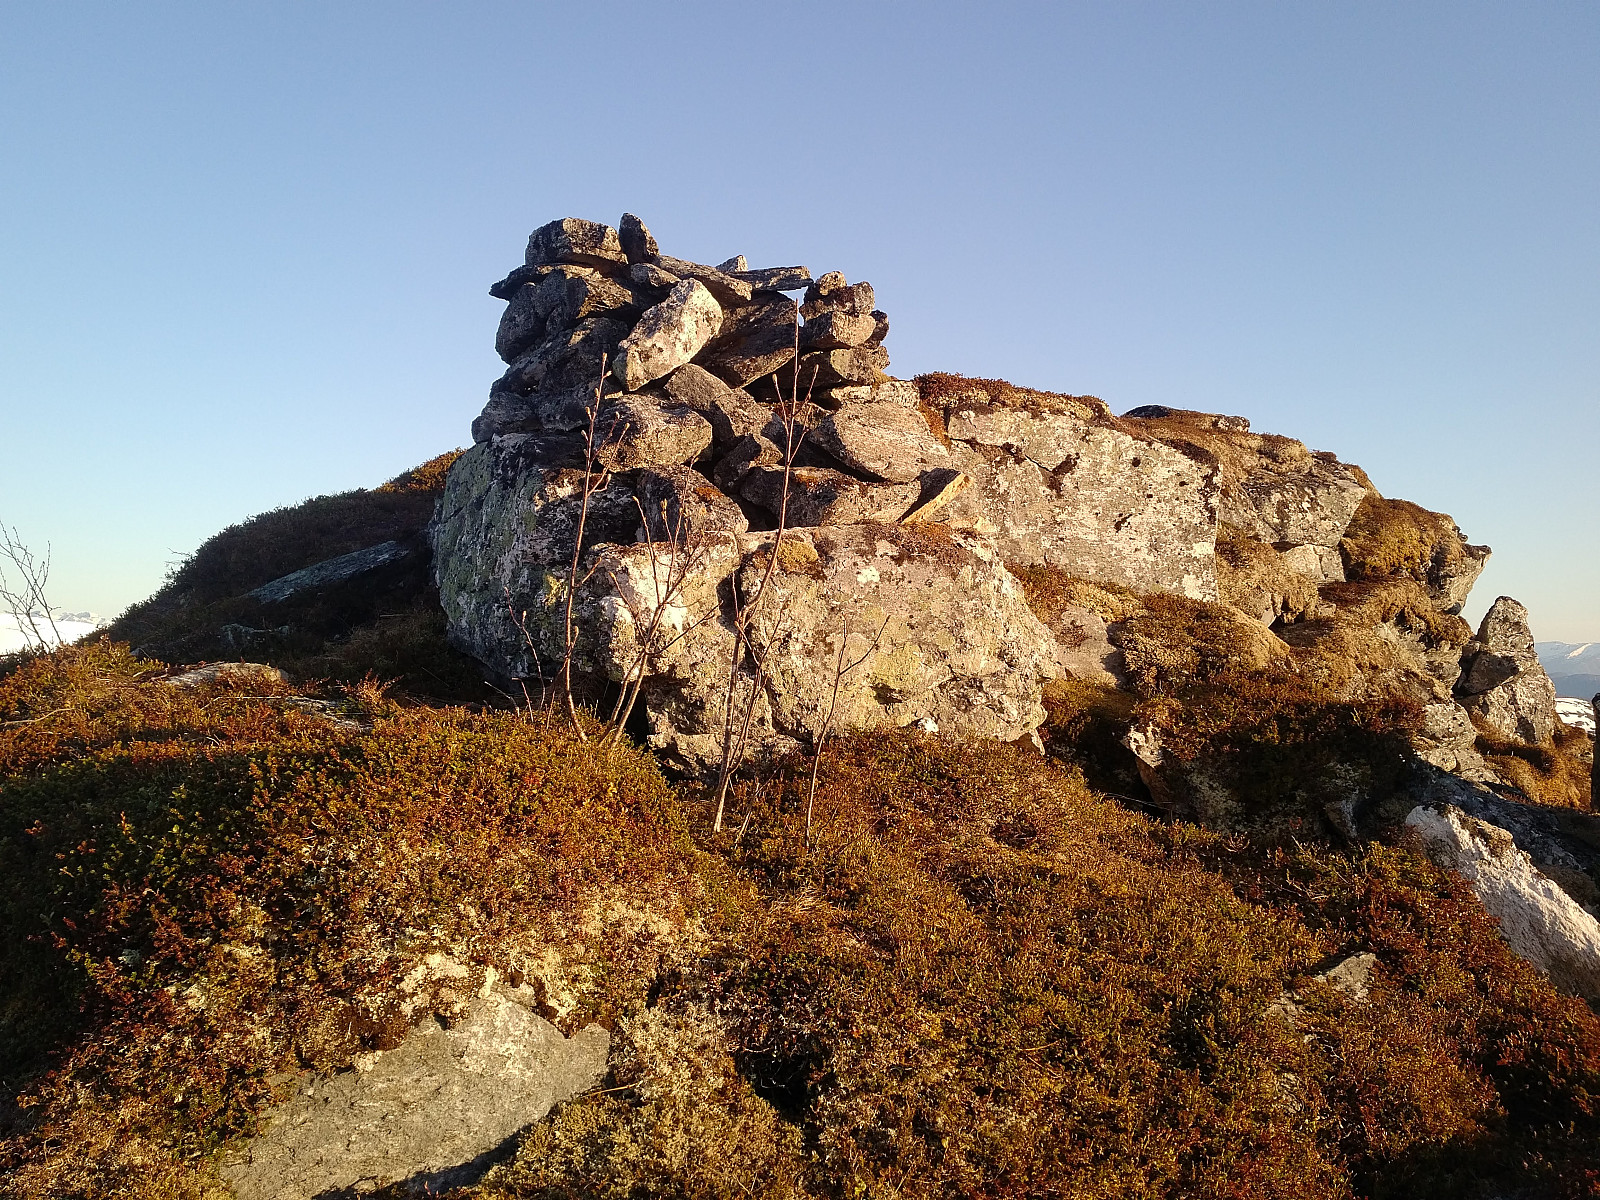
From the window I continued along the ridge first to the North Peak of Mount Melen, and then onto the main peak (Images ## 15-20). There's a lot of loose stones along this upper part of the mountain ridge, but otherwise this part of the trek was without any problems. The trek from the main peak back down to the parking lot was rather straight forward, though I had been trekking quite long by now, and my legs were exhausted. About a 100 elevation meters down from the summit I met a young couple that asked me how long they still had up to the summit, and I answered it was about 10 minutes. Shortly before arrival at the parking lot I had once again some water to drink from a little mountain creek that was there. It's amazing how well natural water tastes when you're exhausted. Nevertheless, I was by now looking forward to enter my car and drive homewards.


User comments