Hiking to "The Pulpit Rock" With One of My Daughters (27.06.2017)

| Start point | Preikestolhytta (270m) |
|---|---|
| Endpoint | Preikestolhytta (270m) |
| Characteristic | Hike |
| Duration | 1h 33min |
| Distance | 4.6km |
| Vertical meters | 1,134m |
| GPS |
|
| Visits of other PBEs | Preikestolen (604m) | 27.06.2017 |
|---|

I had previously visited The Pulpit Rock [Norwegian: Preikestolen] on one occasion, i.e. on August 8th 2015, when I made this trek with my youngest son. On the current occasion, however, I had been to the city of Stavanger to help my oldest daughter move from one apartment to another, and as we were heading north along the coast of Norway by car, we decided to stop a couple of places and do some mountain climbing on our way. From Stavanger there's two ways to get to the Pulpit Rock: You either drive via Sandnes to Lauvvika, where a ferry will take you across the fjord Høgsfjorden. Or: You take the ferry from Stavanger to Tau across the fjord Hidlefjorden, from where you drive to Jøssang, where you take a tiny road [i.e. road #4642] to lake Revsvatnet, where Preikestolhytta [i.e. The Pulpit Rock Cabin] is located. Around the cabin there's plenty of parking space for cars as well as for motorhomes. It does cost a bit to park there, but in connection with the parking lot you have access to toilets and kiosk facilities, and if you want to spend the night at the location, you may even book a room there, though in the high season capacity may seem a bit limited, hence you'd need to do the booking well in advance of your trip.
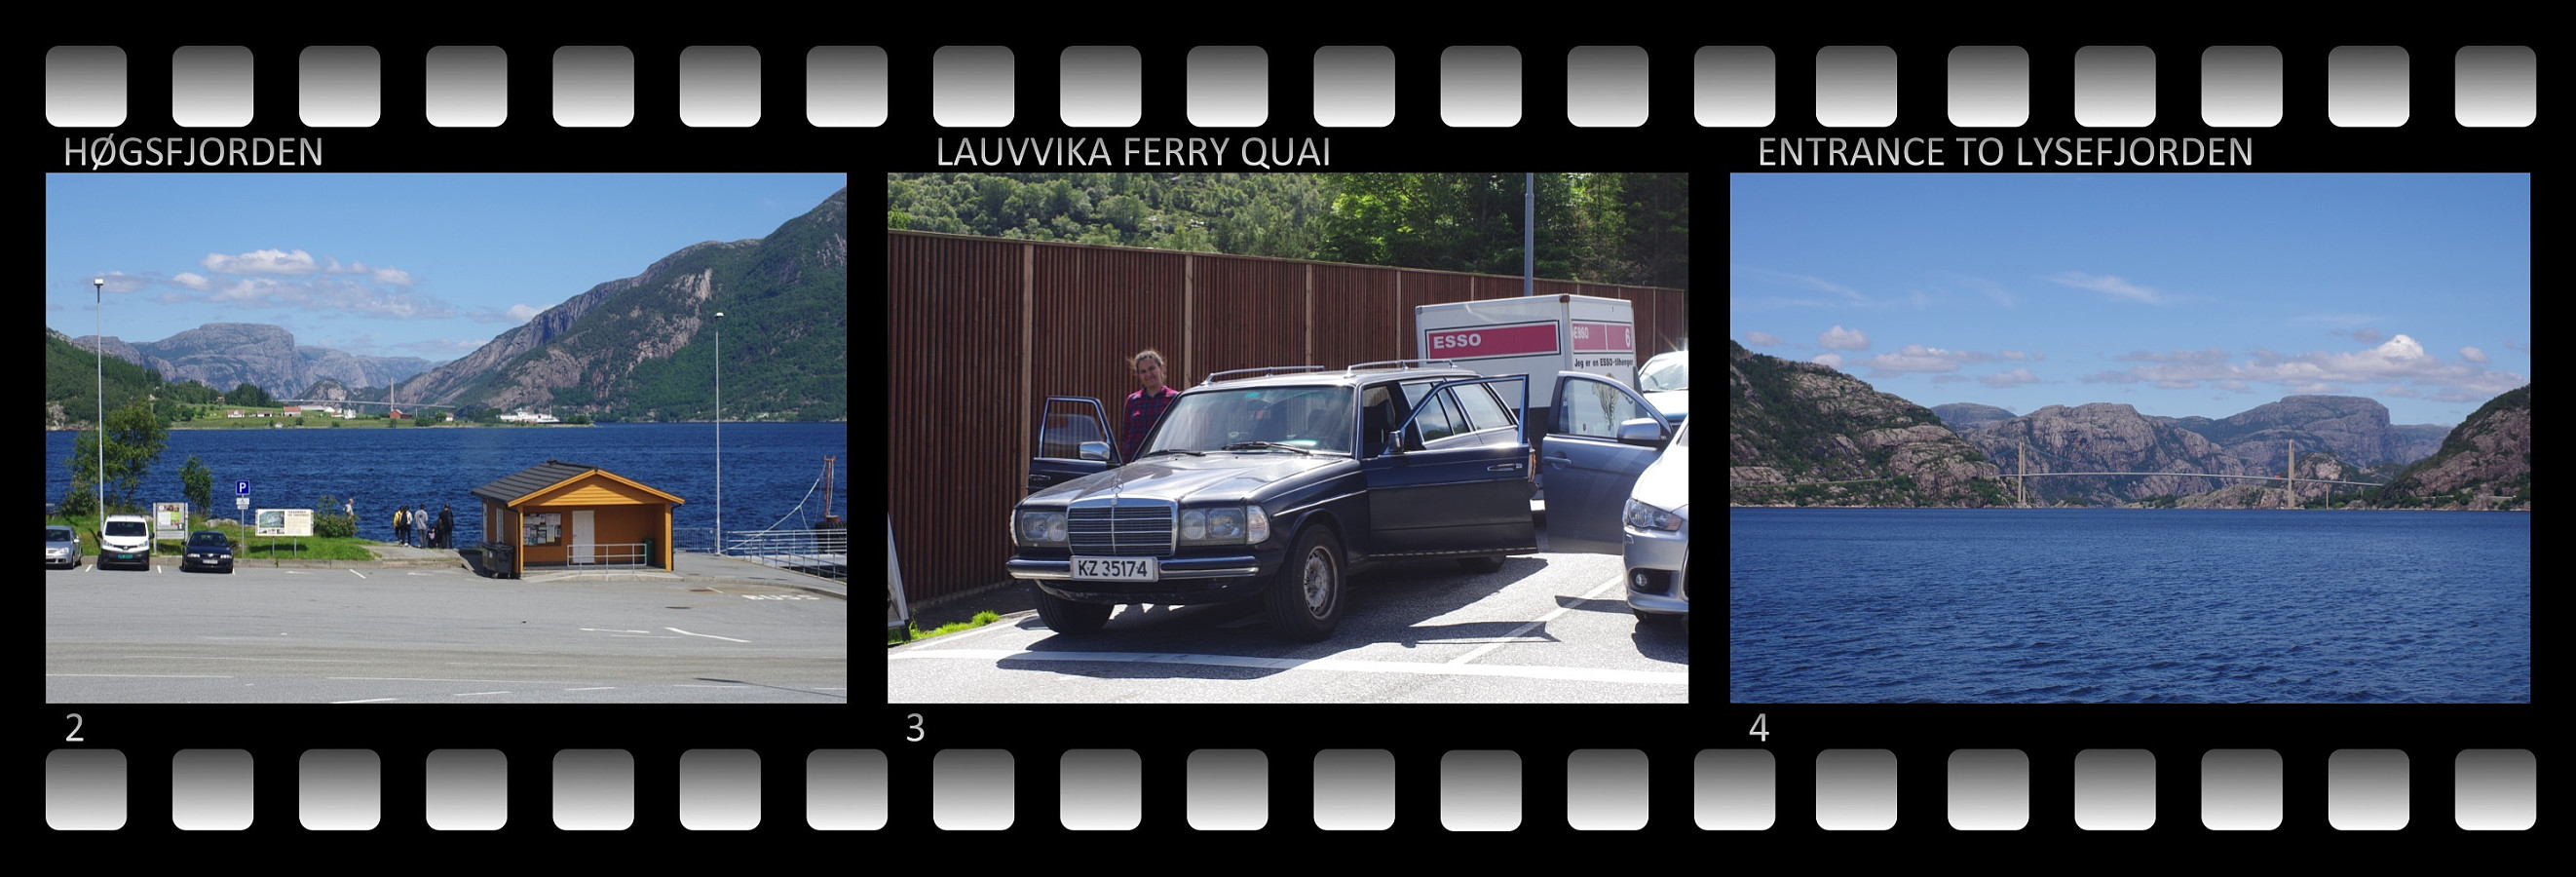
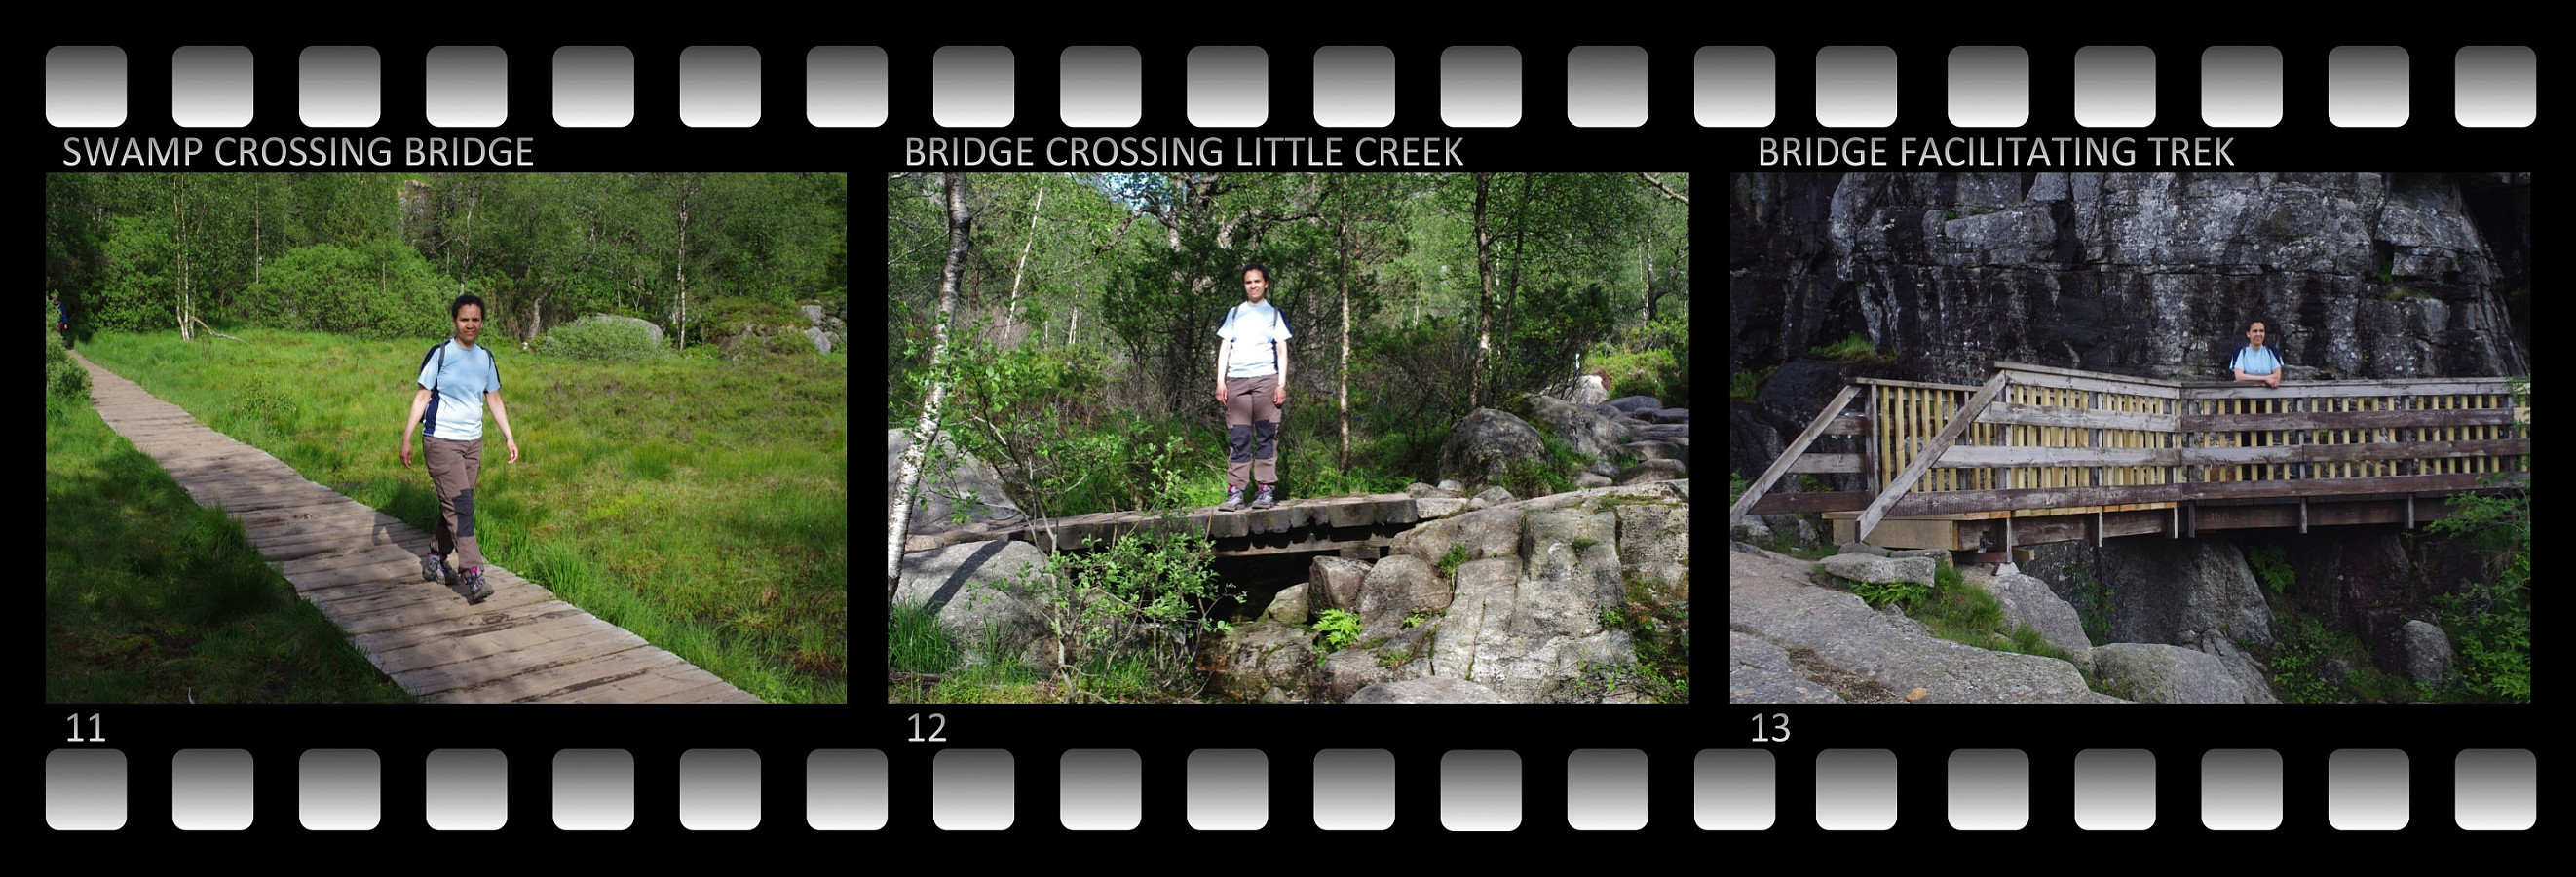
We chose the first option, i.e. via Sandnes and Lauvvika, as my daughter's residency, where we had spent the night, is in the southern part of Stavanger. From Lauvvika the ferry took us across Høgsfjorden to the promontory of Oanes, from where we drove to Jøssang, and followed the above mentioned road |i.e. #4642] to The Pulpit Rock Cabin. We had no intentions of spending the night at the Pulpit Rock Cabin on this occasion, we were just at the location for the trek; so we set out for the Pulpit Rock as soon as we had parked our car. The trek from the cabin to the Pulpit Rock is only about 4.6 km in each direction, and the track is never too steep, though you climb from about 270 m.a.m.s.l. up to 604 m.a.m.s.l., which is the altitude of the plateau. [Beware that due to limited battery capacity on my mobile phone, I only gps-tracked this trek in one direction, hence the total distance of the trek is 9.2 km, and not just 4.6, as it appears in my gpx-file]. You do have to cross a large swamp on your way to the Pulpit Rock, but a bridge system of poles, beams and planks have been made across the swamp; and in other wet areas, the track has ben cobbled with large stones, so that unless it's raining it's usually feasible to walk dry-shod all the way to The Pulpit Rock.

The Pulpit Rock is actually a little plateau (i.e. about 25 x 25 meters) in the southern mountain face of a mountain called Neverdalsfjellet. The Pulpit Rock plateau is located at 604 m.a.m.s.l., whereas the peak of the mountain is 706 m.a.m.s.l. Back in 2017, when I did this trek with my daughter, I had not yet joined Peakbook, and therefore not yet started "collecting" mountain peaks; hence we just followed the track that everybody else follows to the Pulpit Rock Plateau, without paying much attention to the surrounding mountains. Later on, however, I've become aware of the many gorgeous mountains surrounding the spot, and especially Neverdalsfjellet; hence if I go there again at some time, I'm going to make sure I will at least visit the peak of Neverdalsfjellet, either on my way to the Pulpit Rock, or on my way back to the Pulpit Rock Cabin.
On our way towards the Pulpit Rock we encountered an ambulance helicopter that picked up a trekker that had injured an ankle or something like that. Since the Pulpit Rock has become a major tourist attraction in the area, it attracts a lot of trekkers that aren't actually trained or even equipped for mountain trekking. People with simple shoes, or even just with slippers, are not infrequently encountered along the track. If you plan to embark on a trip to the Pulpit Rock, make sure you bring with you appropriate shoes, and that you have trained for a mountain trek of about 10 km in advance of the trip. As you approach the Pulpit Rock, i.e. after about 3 km of trekking, or so, the landscape opens up, and you get a nice view of some of the surrounding mountains with valleys, forests, lakes and rivers in between.
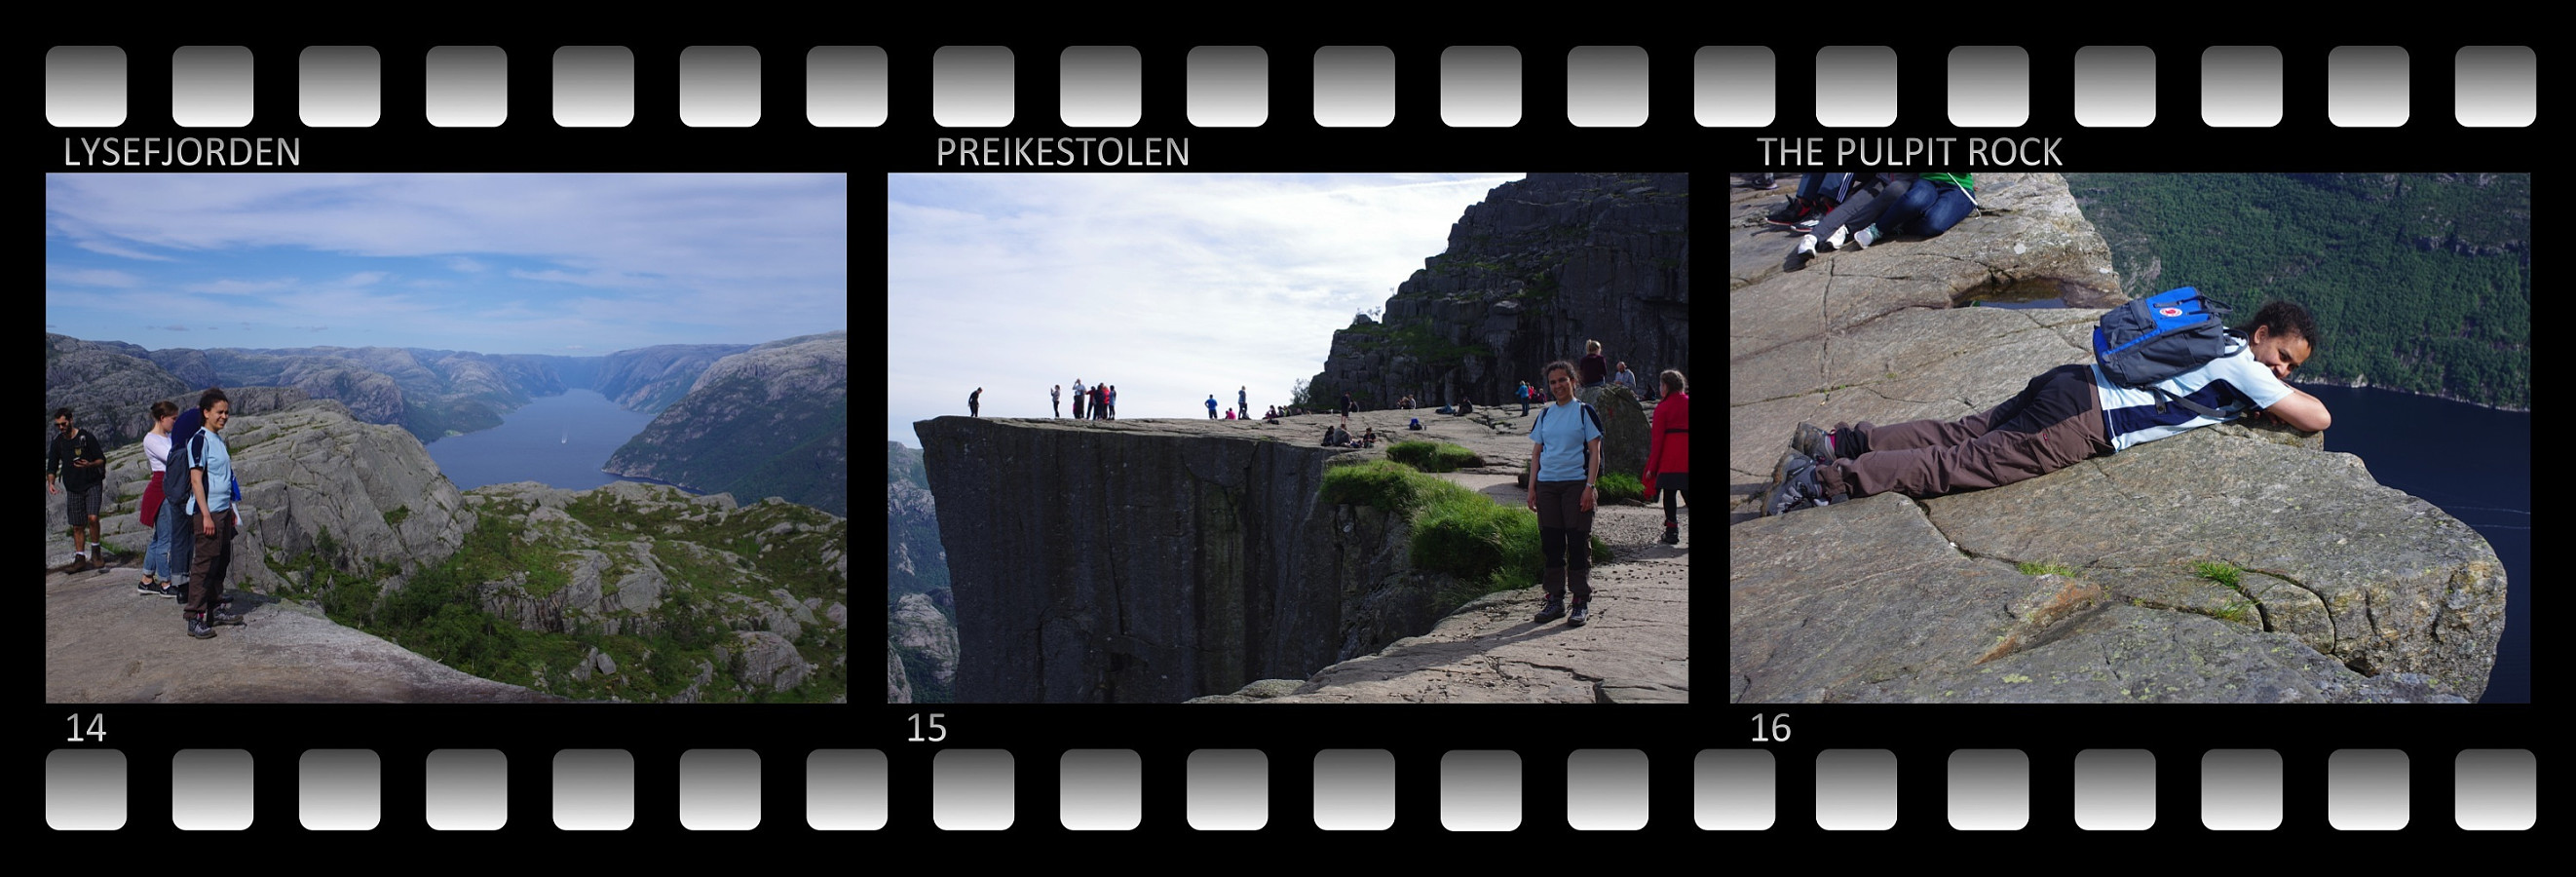
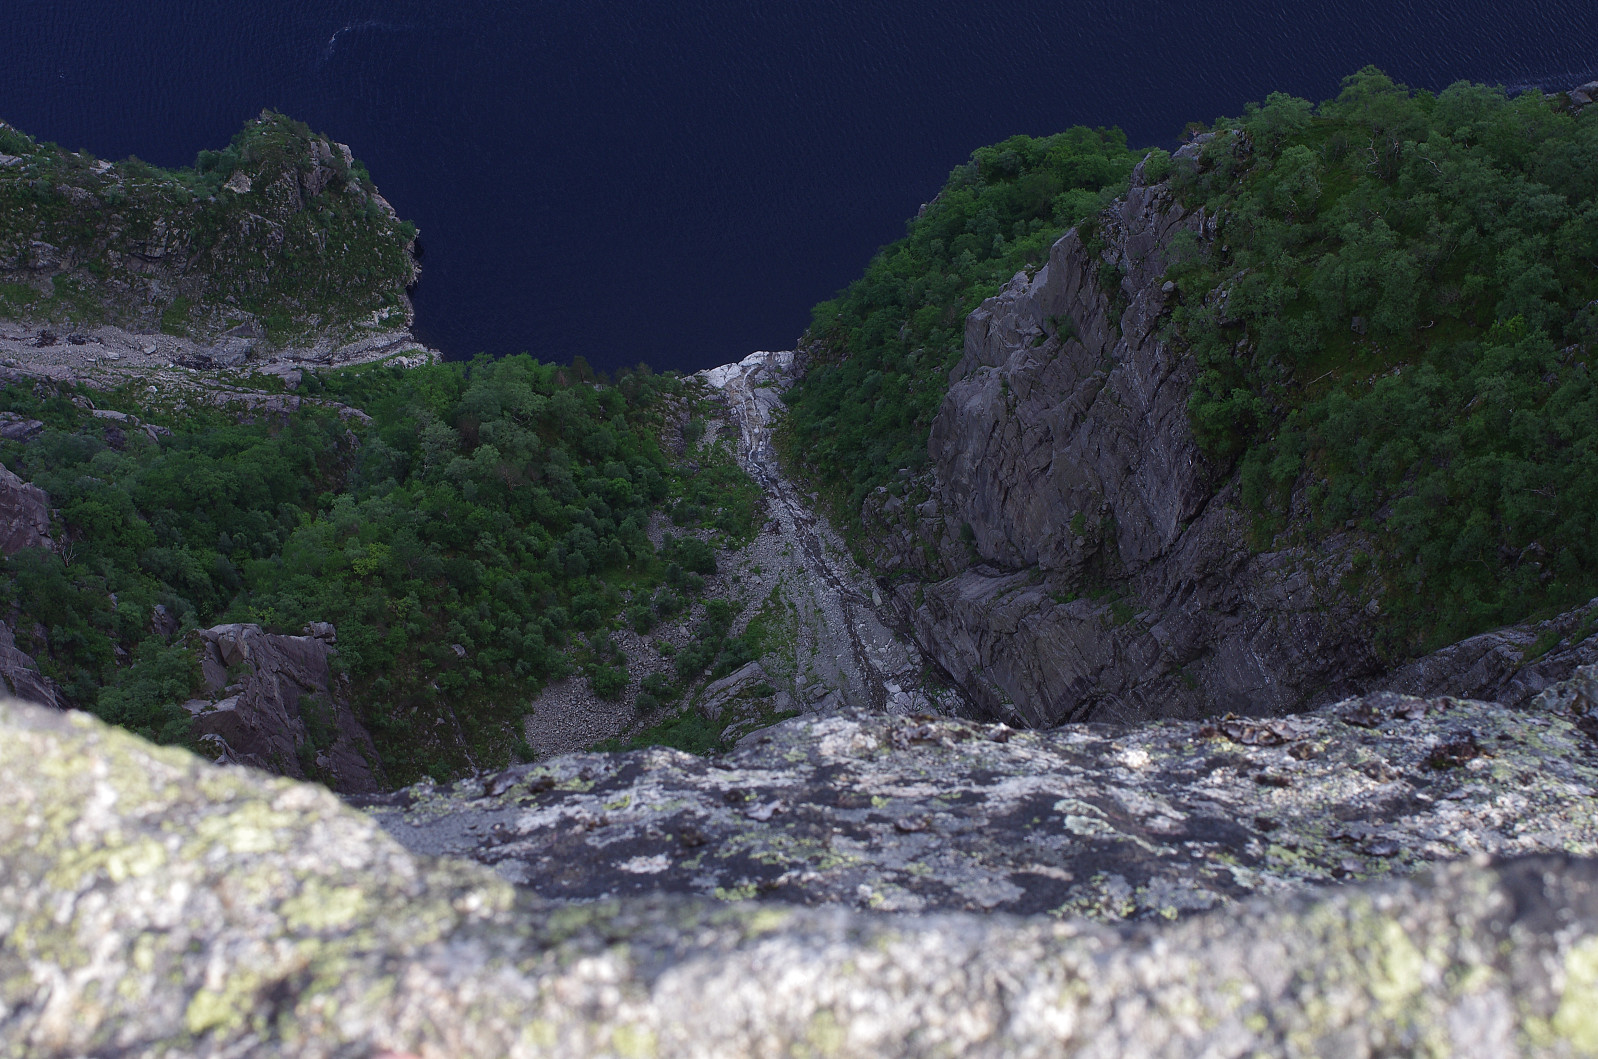
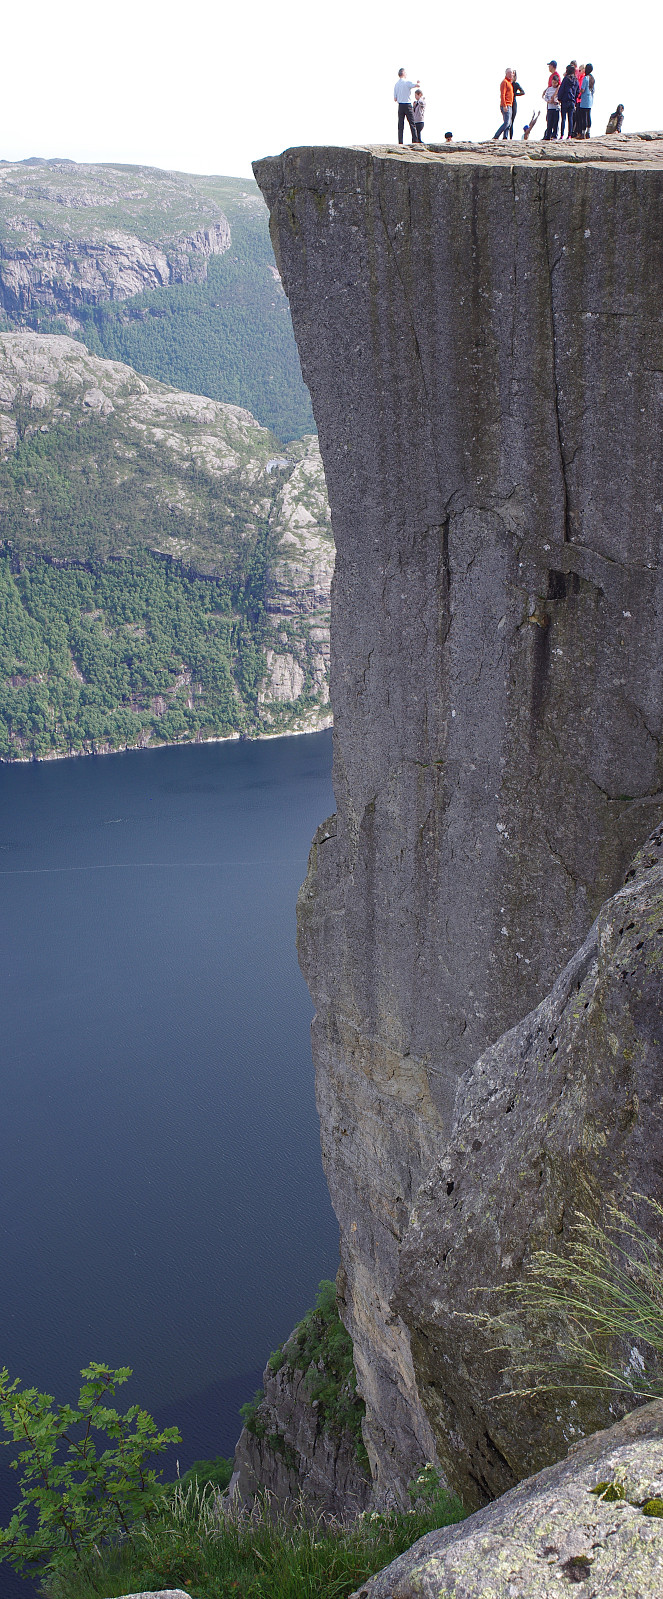
At the pulpit rock the view is even more magnificent. To the east you may see all the way to Lysebotn, the innermost part of the fjord beneath the Pulpit Rock [i.e. the fjord called Lysefjorden]. The rock side down from this plateau is not just vertical, but has an overhang that makes it feel even more dangerous (see image #19). We shot a number of pictures at the spot, and we lay down on our bellies to have a look over the edge of the rock, but we didn't dare to sit on the edge with our legs off the cliff as we could see a number of others do. After all, if you fall over the edge, it's game over.

After our visit at the Pulpit Rock, we headed back to our car along the same track as we had been coming. It was now late in afternoon, but tourists were still heading towards the rock as we were heading in the opposite direction. The long bright Scandinavian summer evenings with late sunset makes it possible to go hiking even at late evening at this time of the year, i.e. around midsummer. As soon as we reached the car, however, my daughter and I headed north towards the fjord called Sørfjorden [i.e. "The South Fjord], a branch of the Hardanger Fjord, where we had planned another trek for the following day.

User comments