
To Mount Storheimshornet with my Son Dag (29.05.2021)

Skrevet av Solan (Atle Solholm)

| Startsted | Mo Bedehus (85moh) |
|---|---|
| Sluttsted | Mo Bedehus (85moh) |
| Turtype | Fottur |
| Turlengde | 8t 24min |
| Distanse | 18,3km |
| Høydemeter | 2069m |
| GPS |
|
| Bestigninger | Storheimshornet (1047moh) | 29.05.2021 |
|---|---|---|
| Mohornet (883moh) | 29.05.2021 13:00 | |
| Andre besøkte PBE'er | Parkering Mo bedehus (85moh) | 29.05.2021 13:00 |
| Mosætra (450moh) | 29.05.2021 13:00 |
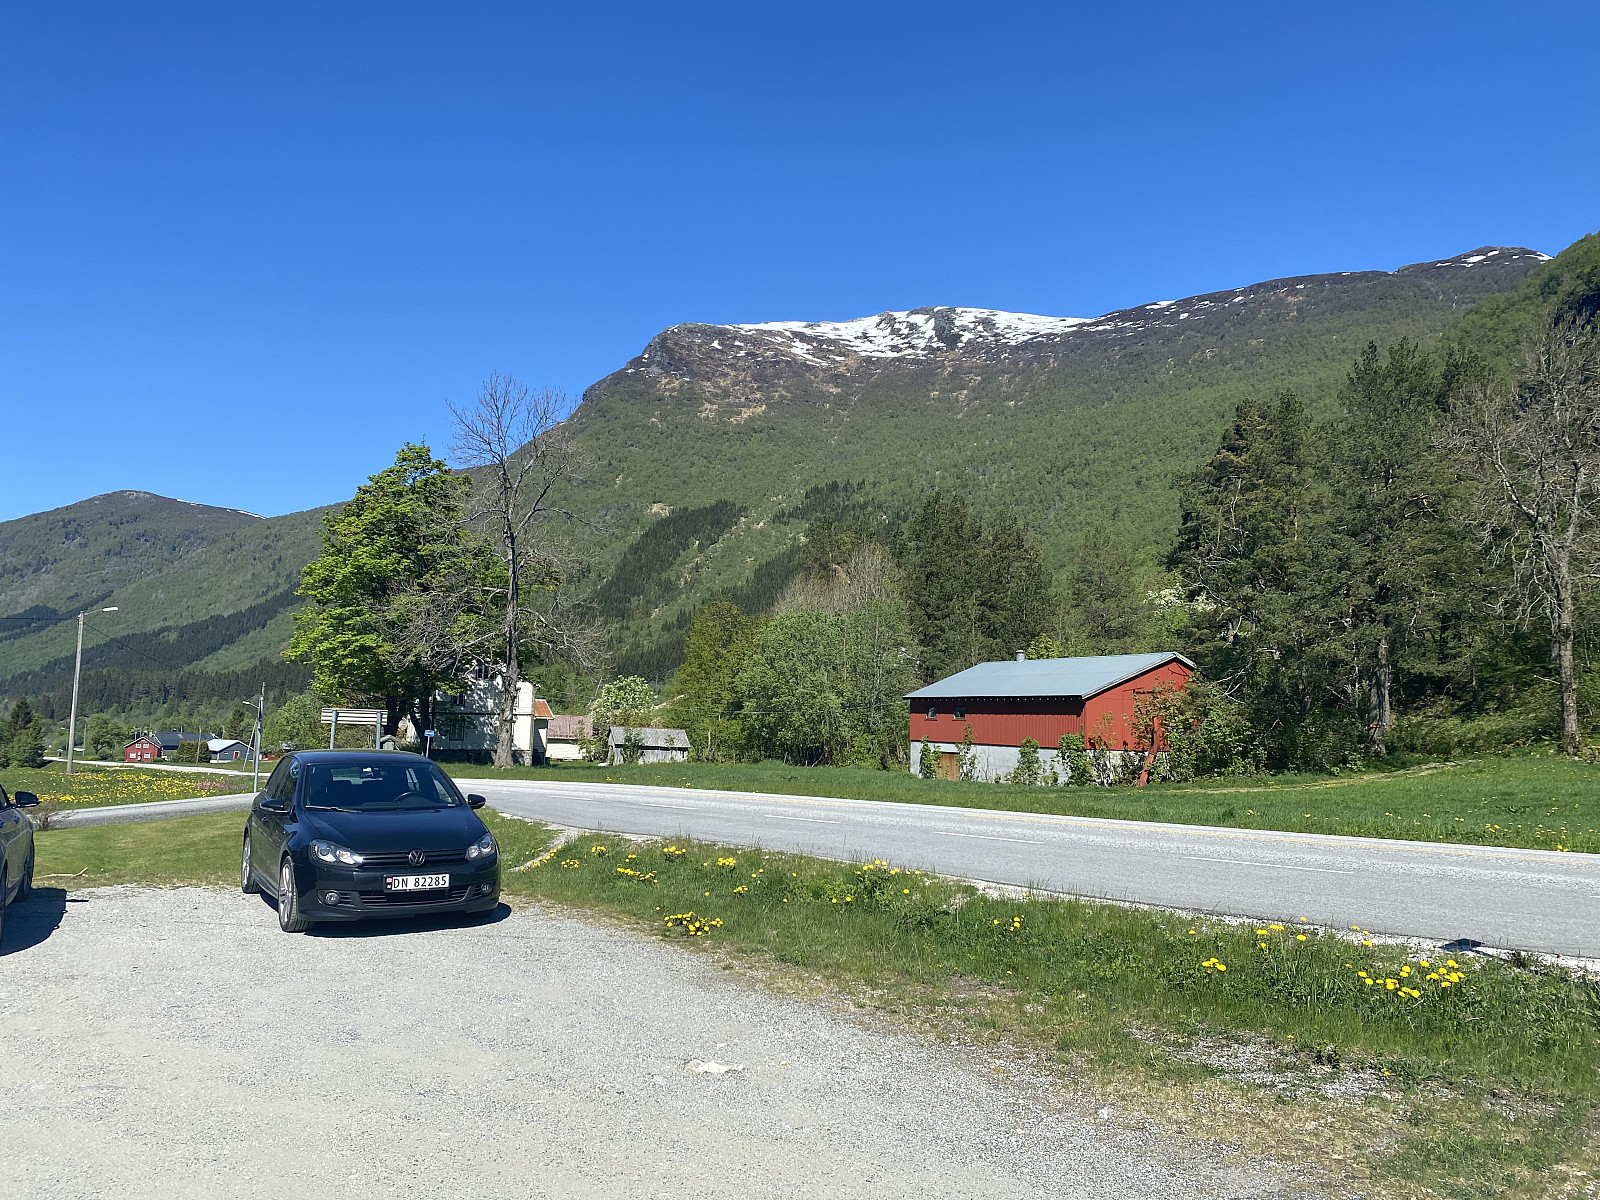
It was my son who suggested Mount Storheimshornet for this day's hike. He had read about the mountain on a web site, and so we went to Stordalen Valley this morning, from where the hike goes. According to the web site, the best place to park when hiking this mountain, would be at Mo Bedehus [i.e. "Mo Prayer House"]. The little place called Mo was easy enough to find, but locating the Prayer House was a little bit more tricky, simply because it didn't look like a prayer house, but more like an ordinary house. (A Norwegian Prayer House is a religious building without the pomp and splendor of a Church, and is usually operated by lay people and not by clergymen).
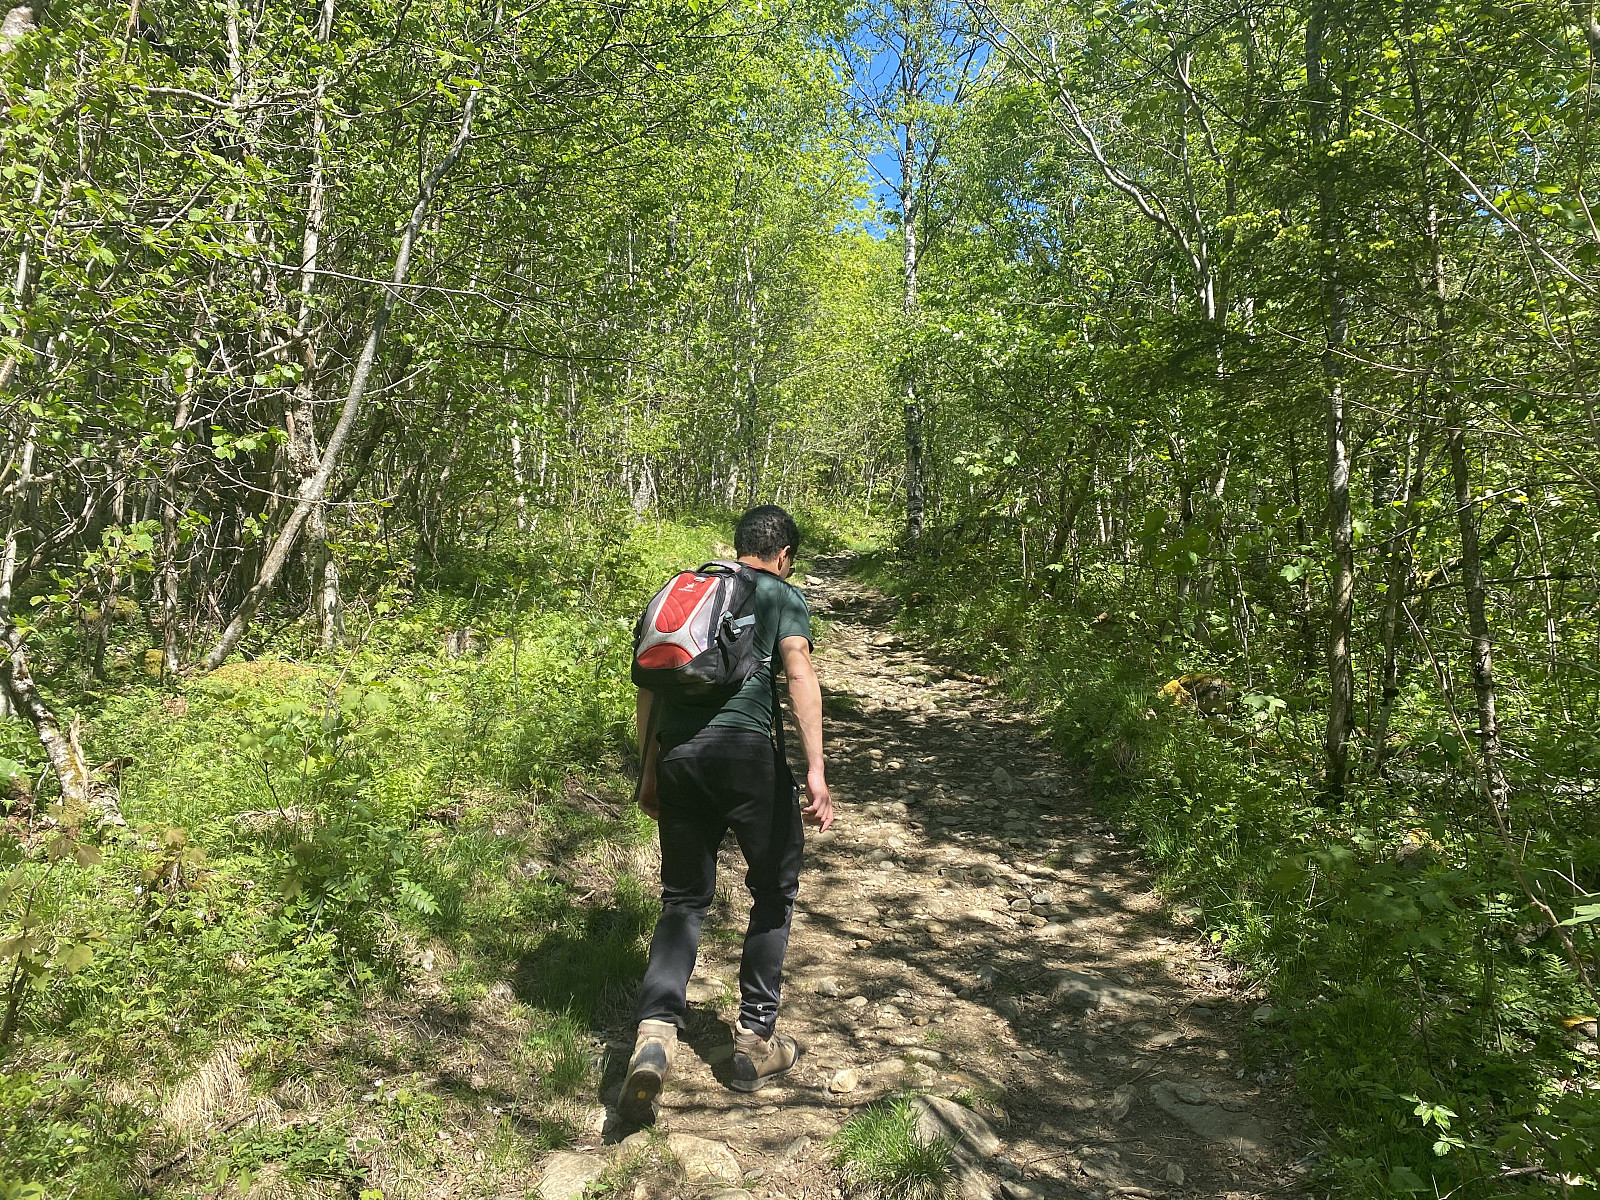
At the Prayer House parking lot you could conveniently pay for the parking using instant money transfer by use of the Norwegian money transfer app called Vipps. The trail up the mountain side started just on the other side of the road, i.e. just to the right of the red barn on image #1. The trail at first went along an old forrest road, and the old road at some time probably went all the way up to Mosætra, a cabin field currently in use just for leisure, but once upon time used for cattle husbandry during summer. (Back in the old days Norwegian farmers often kept their sheep, goats, and cattle in the mountain, so as to save the grass in the valley to be cut and stored in barns in late summer; the animals were taken care of by dairymaids that lived in the mountain cabins during summer). At some point the trail left the old road, however, and continued as a more narrow path winding its way up the mountain side.
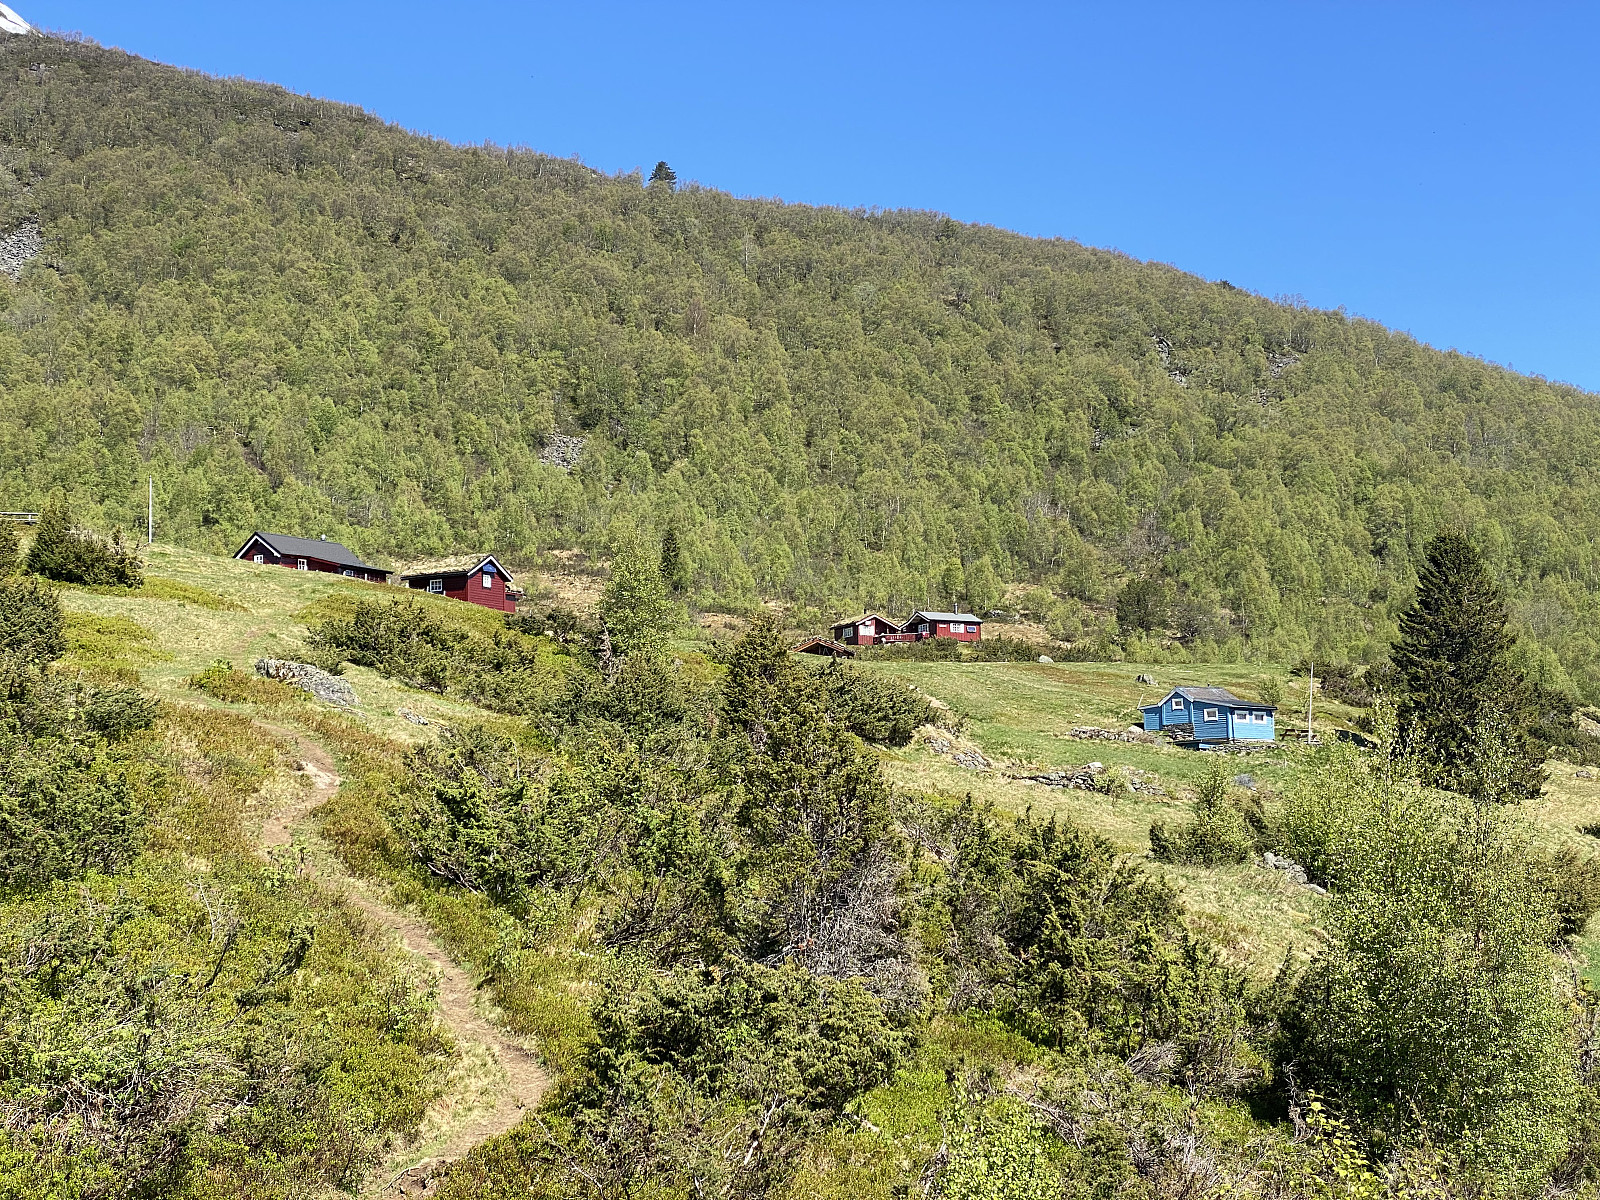
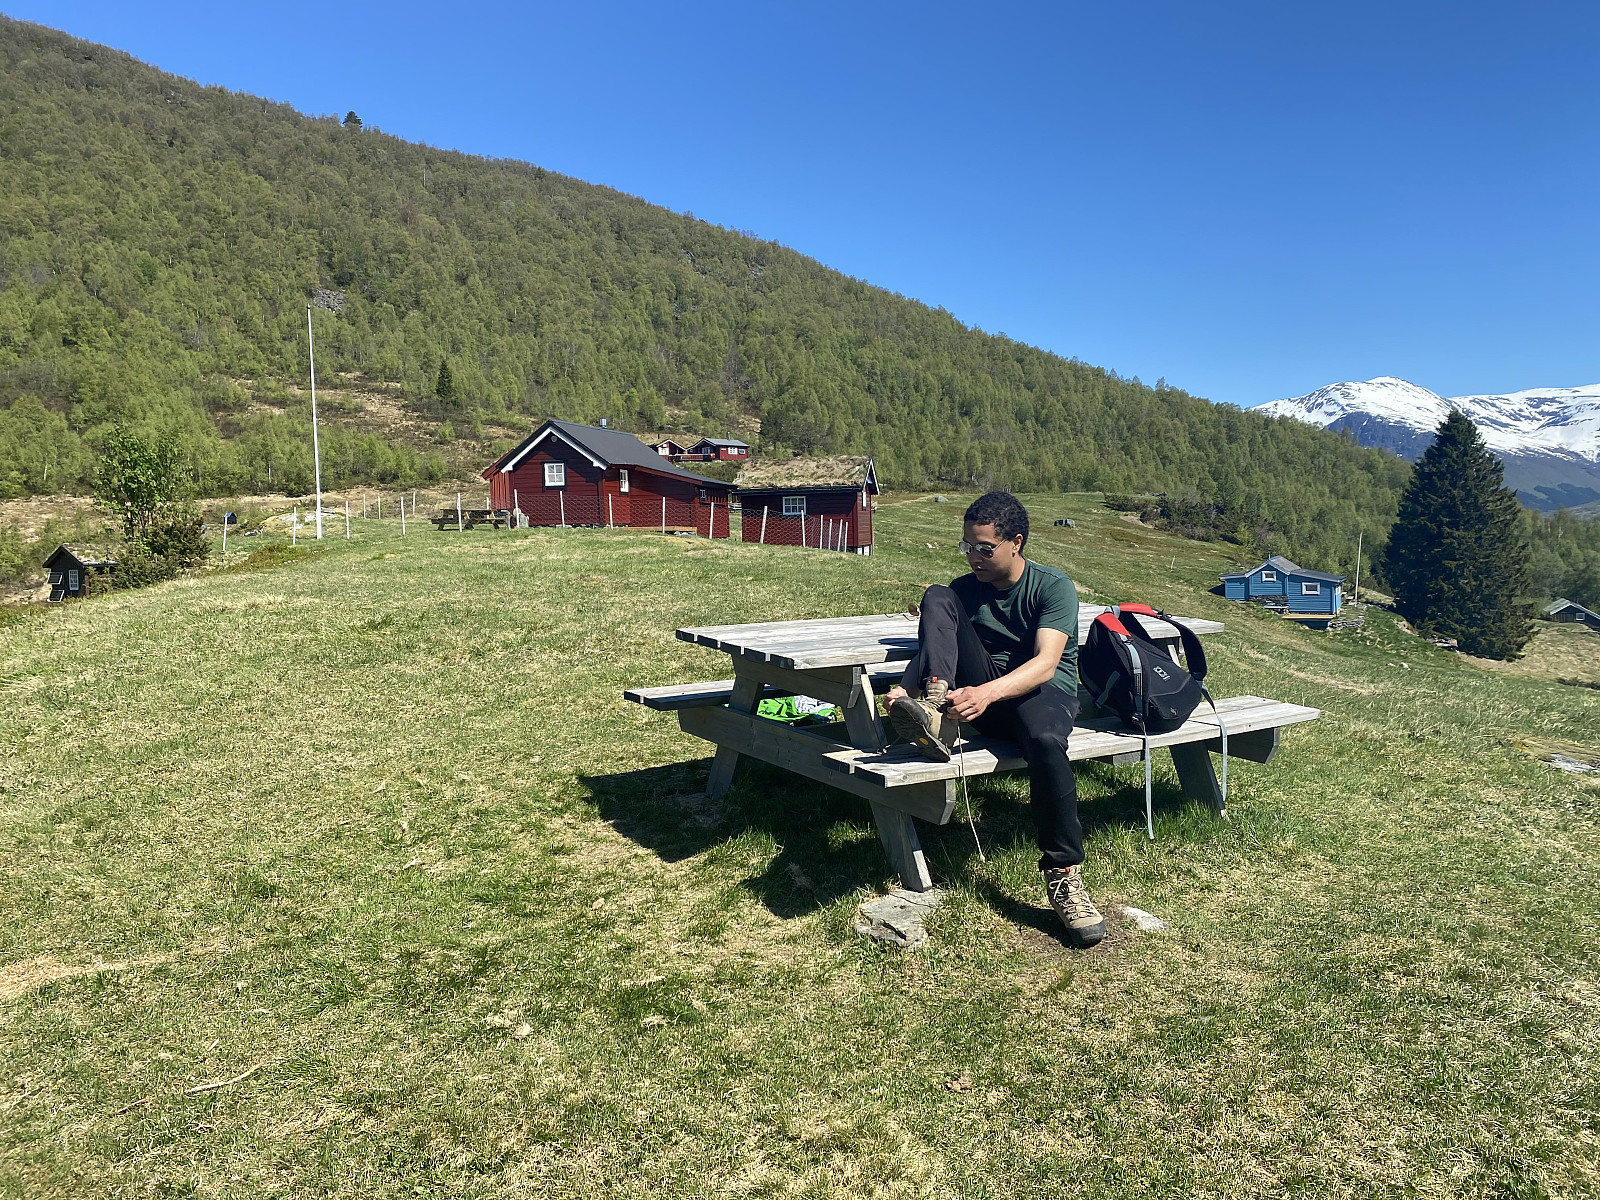
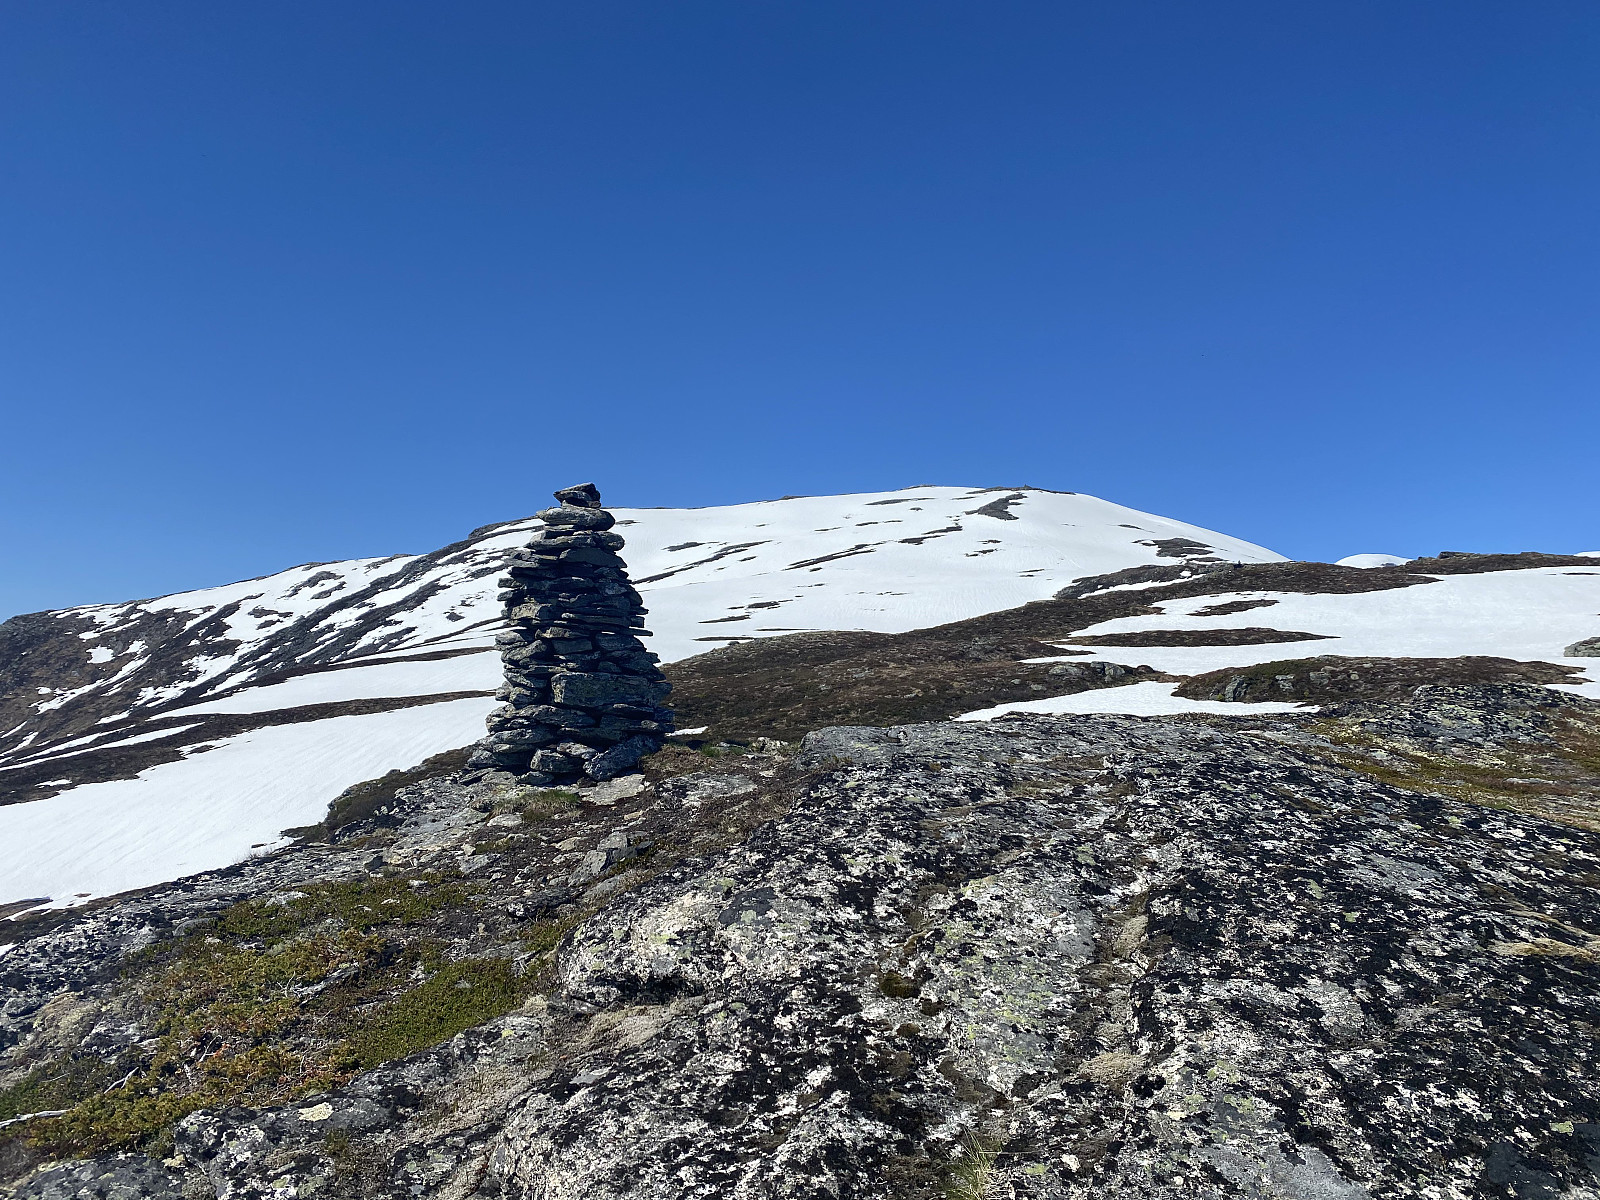
At about 450 m.a.m.s.l. we reached the mentioned cabin field (images ## 3-6), were there were chairs and tables by which you could sit down for a moment; and even a little building that could provide shelter, should the weather all of a sudden turn bad. It was a little bit tricky to find out where the trail continued after we had passed the cabin field, but the path was marked out on a map that I had as an app on my iPhone, and so we just followed that map, and found the spot where the trail entered the forrest.

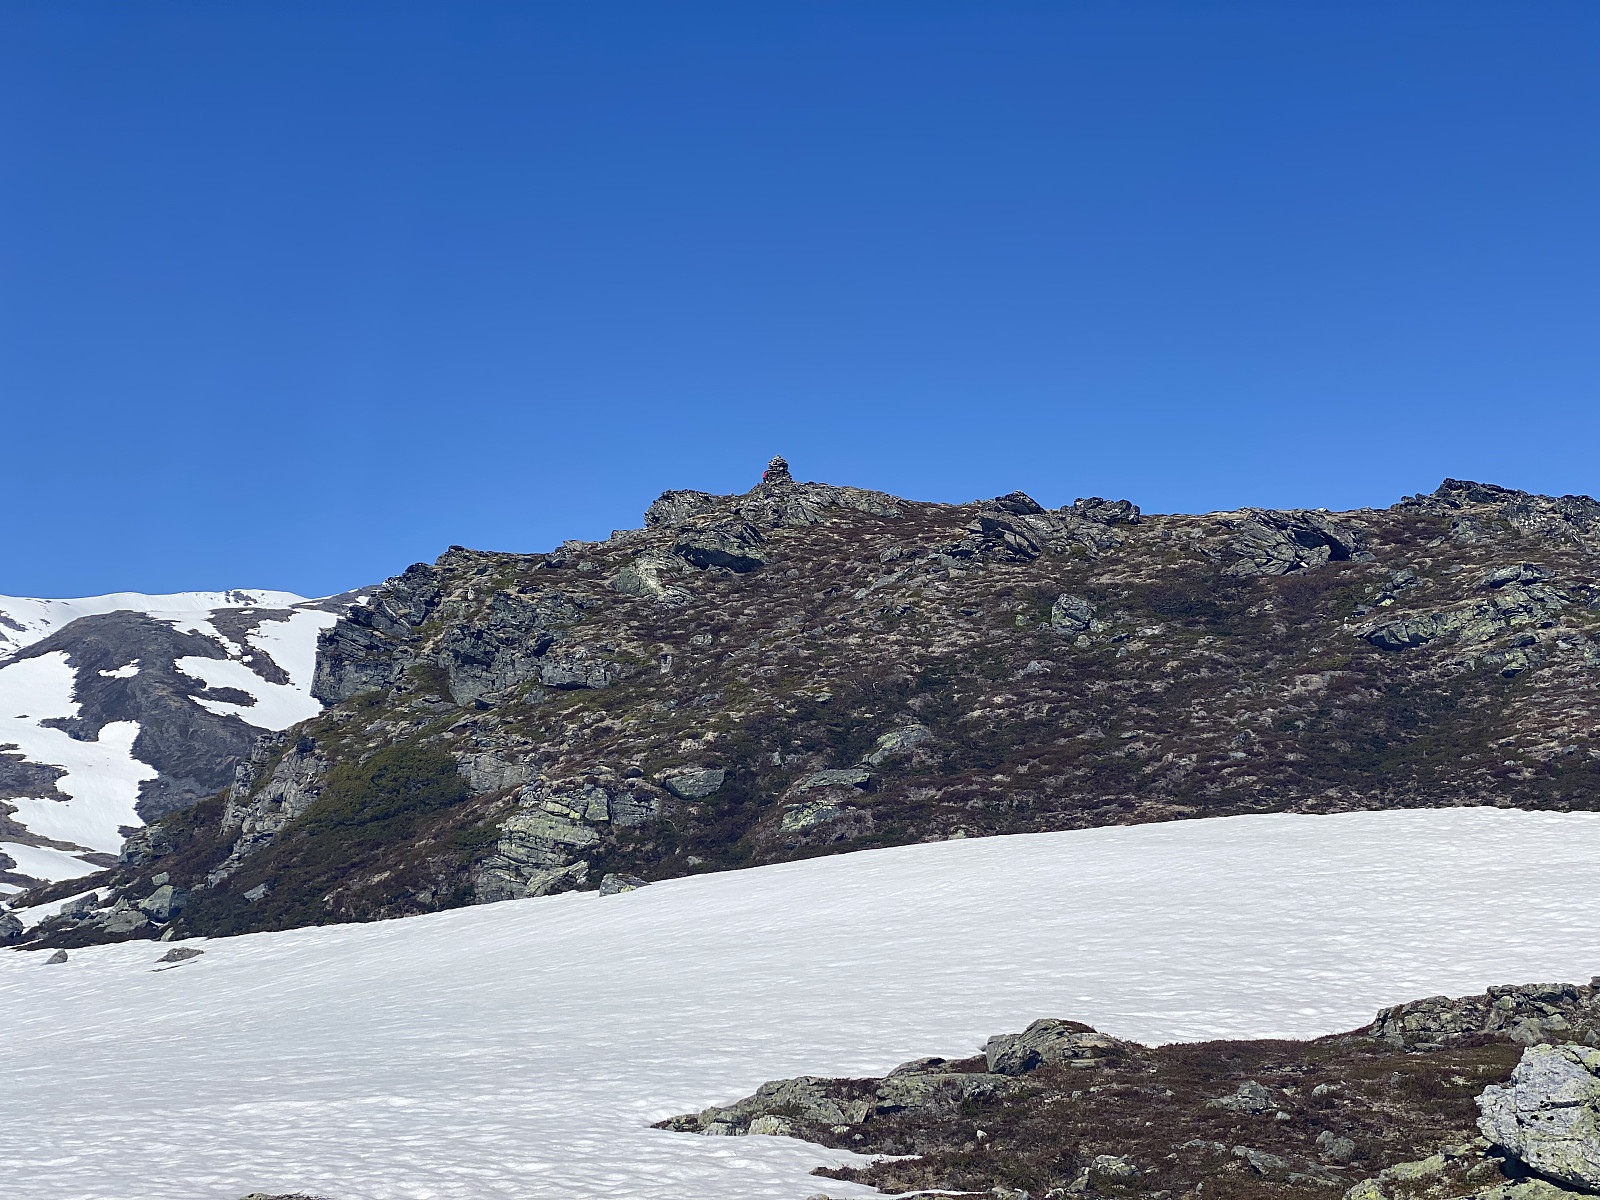
We continued upwards through the forrest. At some point the path did split in two, and at that point we took the left hand trail, as that looked like the right one according to a glance on the map. Above the forrest, there were still large patches of snow every here and there. Whenever the mountain side isn't too steep, these snow patches are actually easier to walk on than the stony landscape in this altitude, so we generally just crossed the snow patches wherever we encountered them. We held a bit to the left up the mountainside called Moheia (see map), as that seemed to take us up to a viewpoint overlooking part of the valley beneath; and sure enough, even a cairn had been built at that spot (image #8), probably to have a cairn that can be seen from the farms in the valley, as the summit of these mountains usually can't bee seen from the bottom of the valleys beneath.
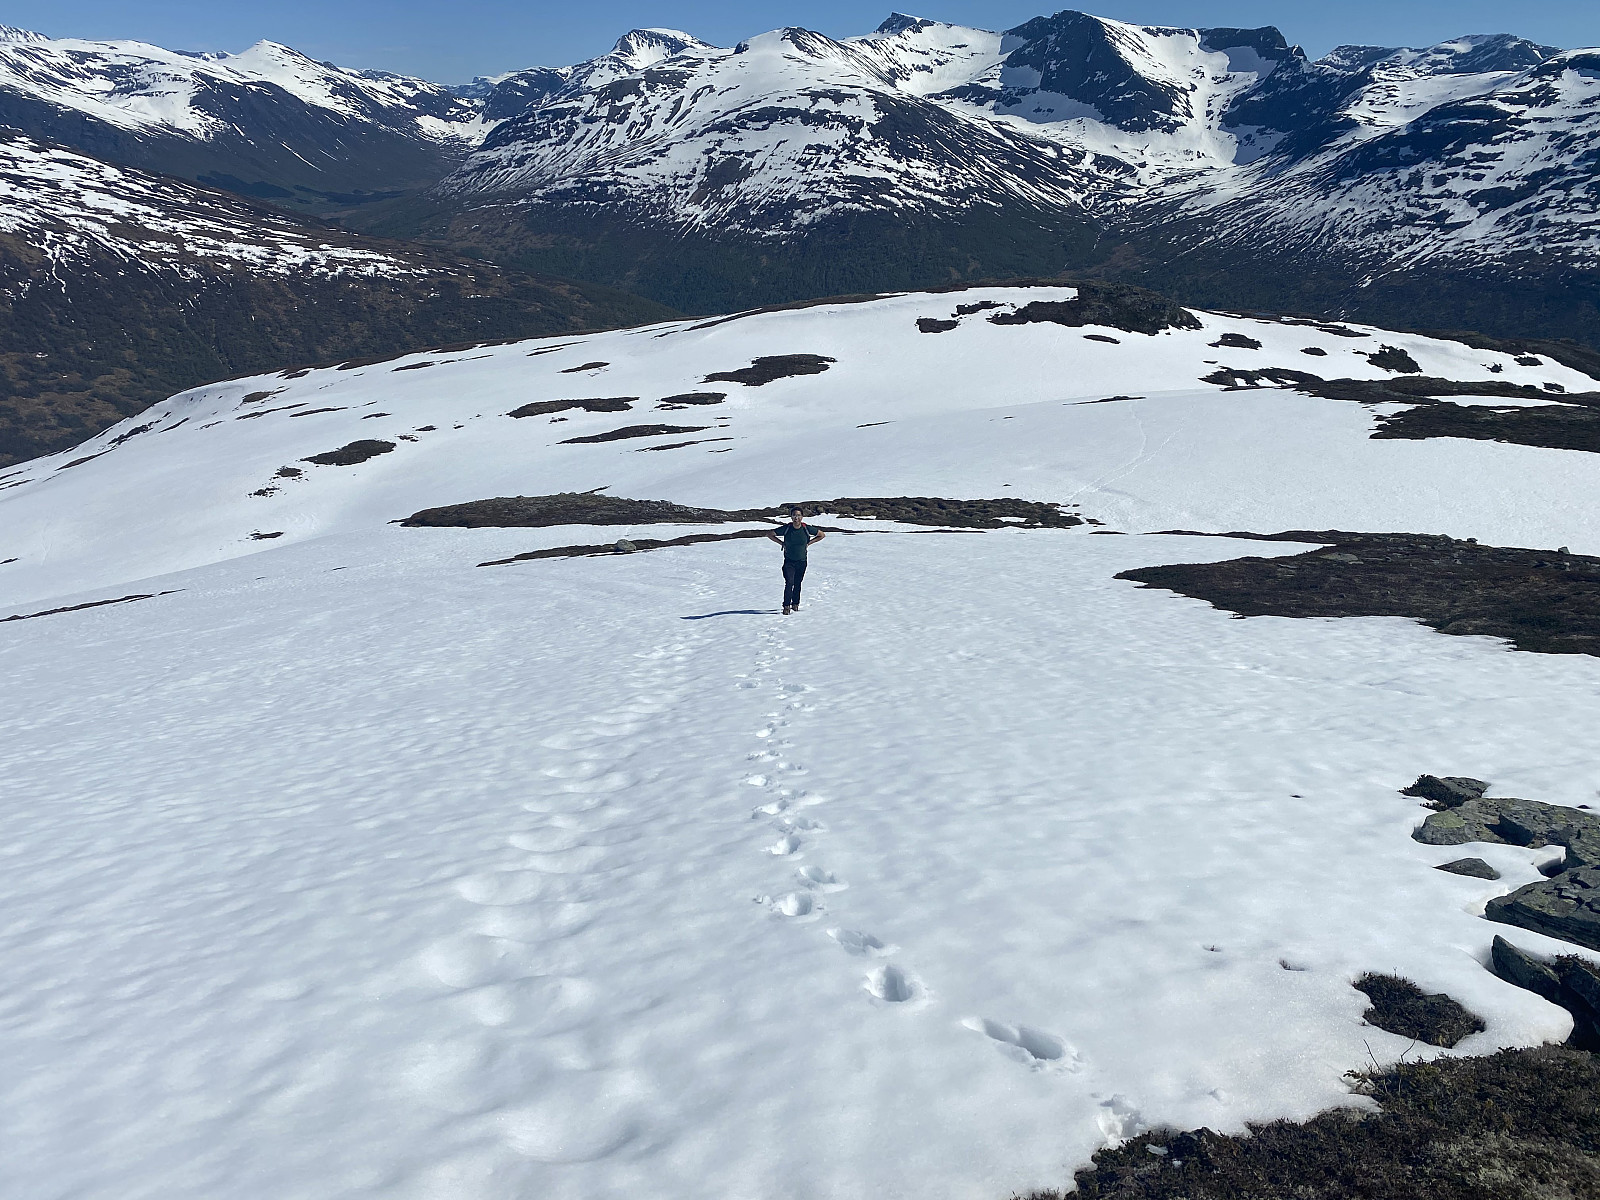
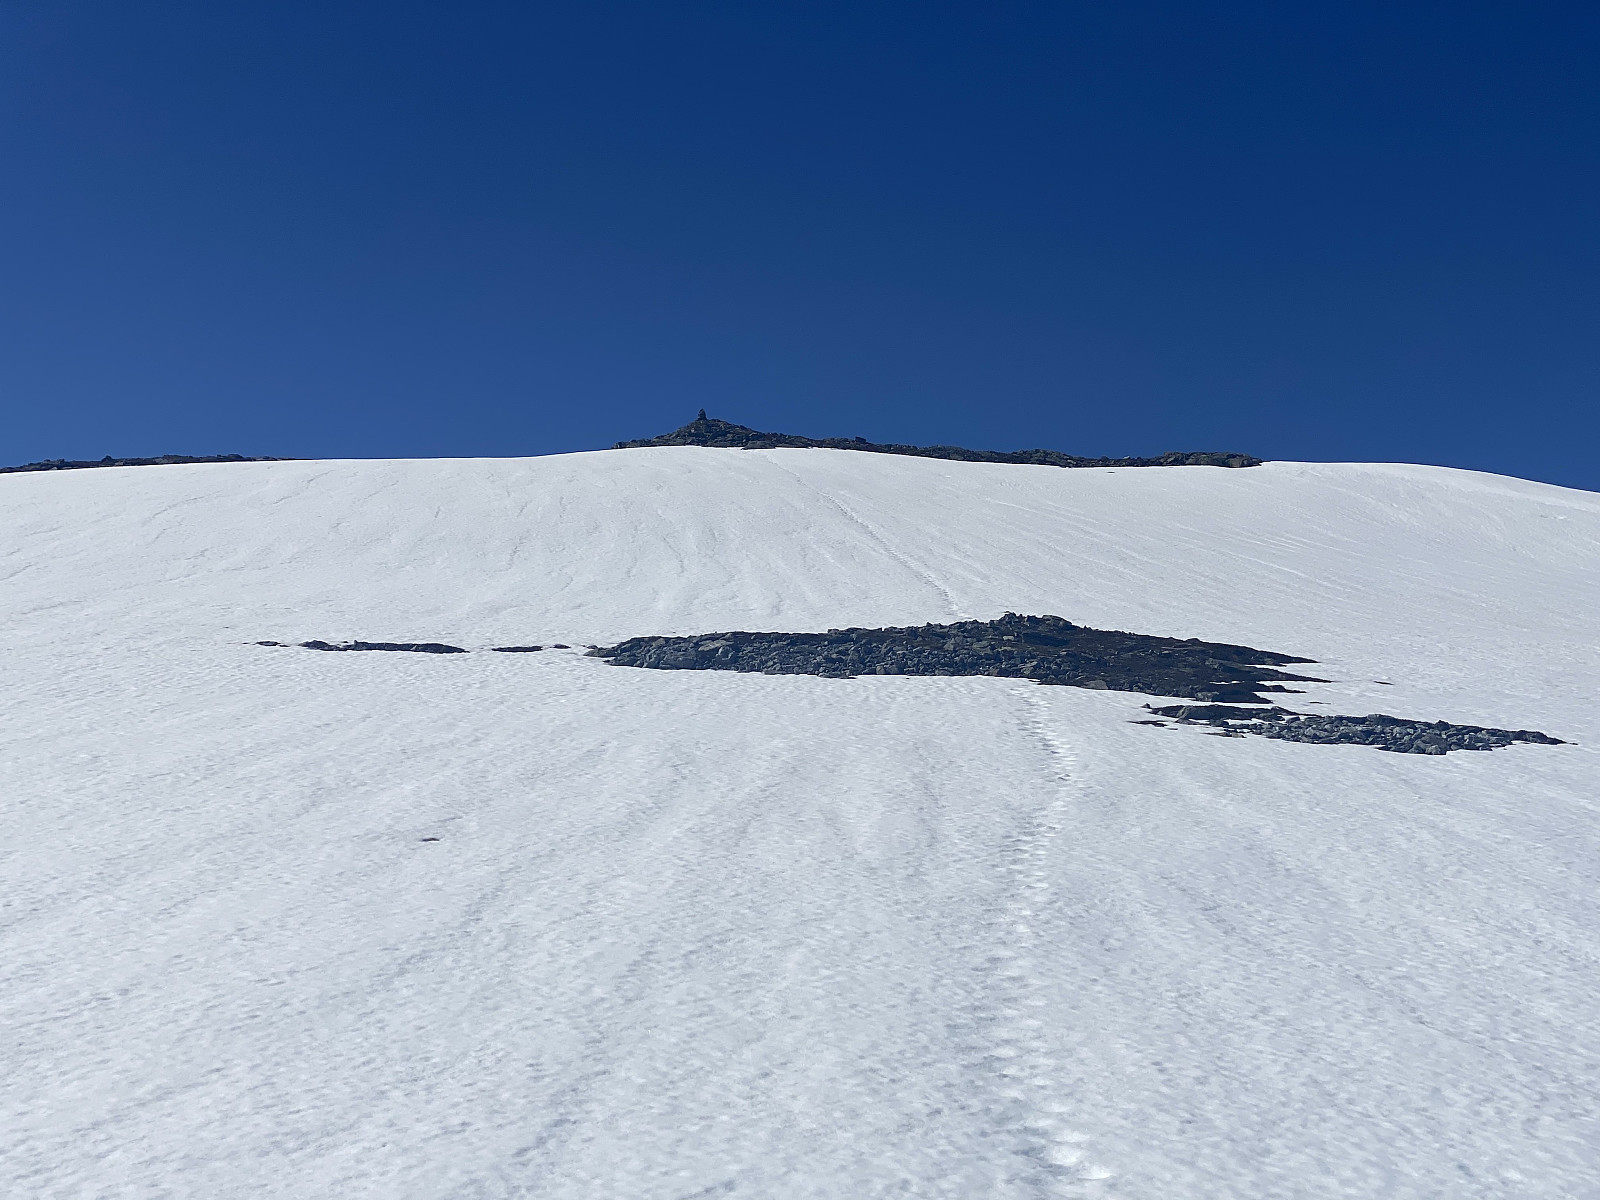
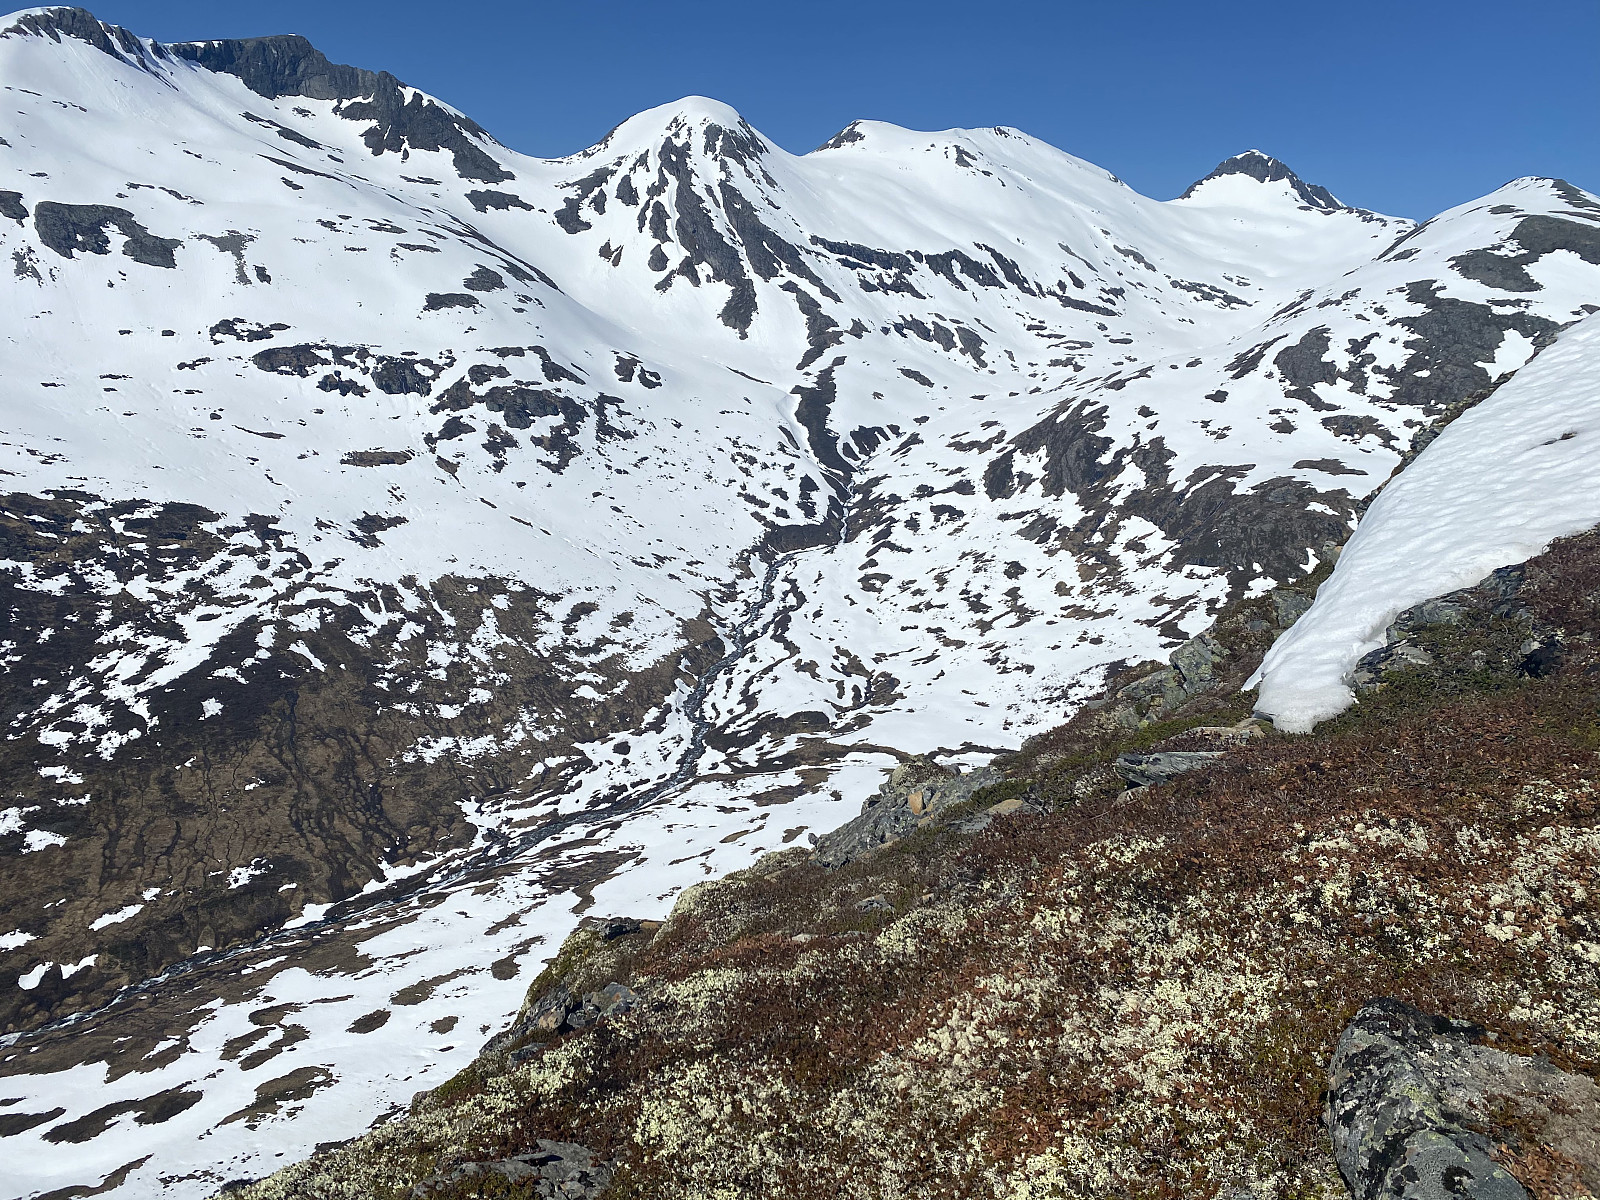
We continued upwards, and soon arrived at the knoll called Mohornet [883 m.a.m.s.l.] (image #9). From that knoll we continued up the not so steep slopes towards the summit of Mount Storheimshornet [1047 m.a.m.s.l.] (image #12). From these slopes you could se Mount Auskjæret and Mount Ørastolen (image #11), both of which I have visited on skies along with my daughter during winter time.
![Image #11: View towards Mount Auskjæret [1340 m.a.m.s.l.] and Mount Ørastolen [1392 m.a.m.s.l.].](https://images2.peakbook.org/images/14939/Solan_20210813_6116e8de50152.jpg?p=xtralarge)
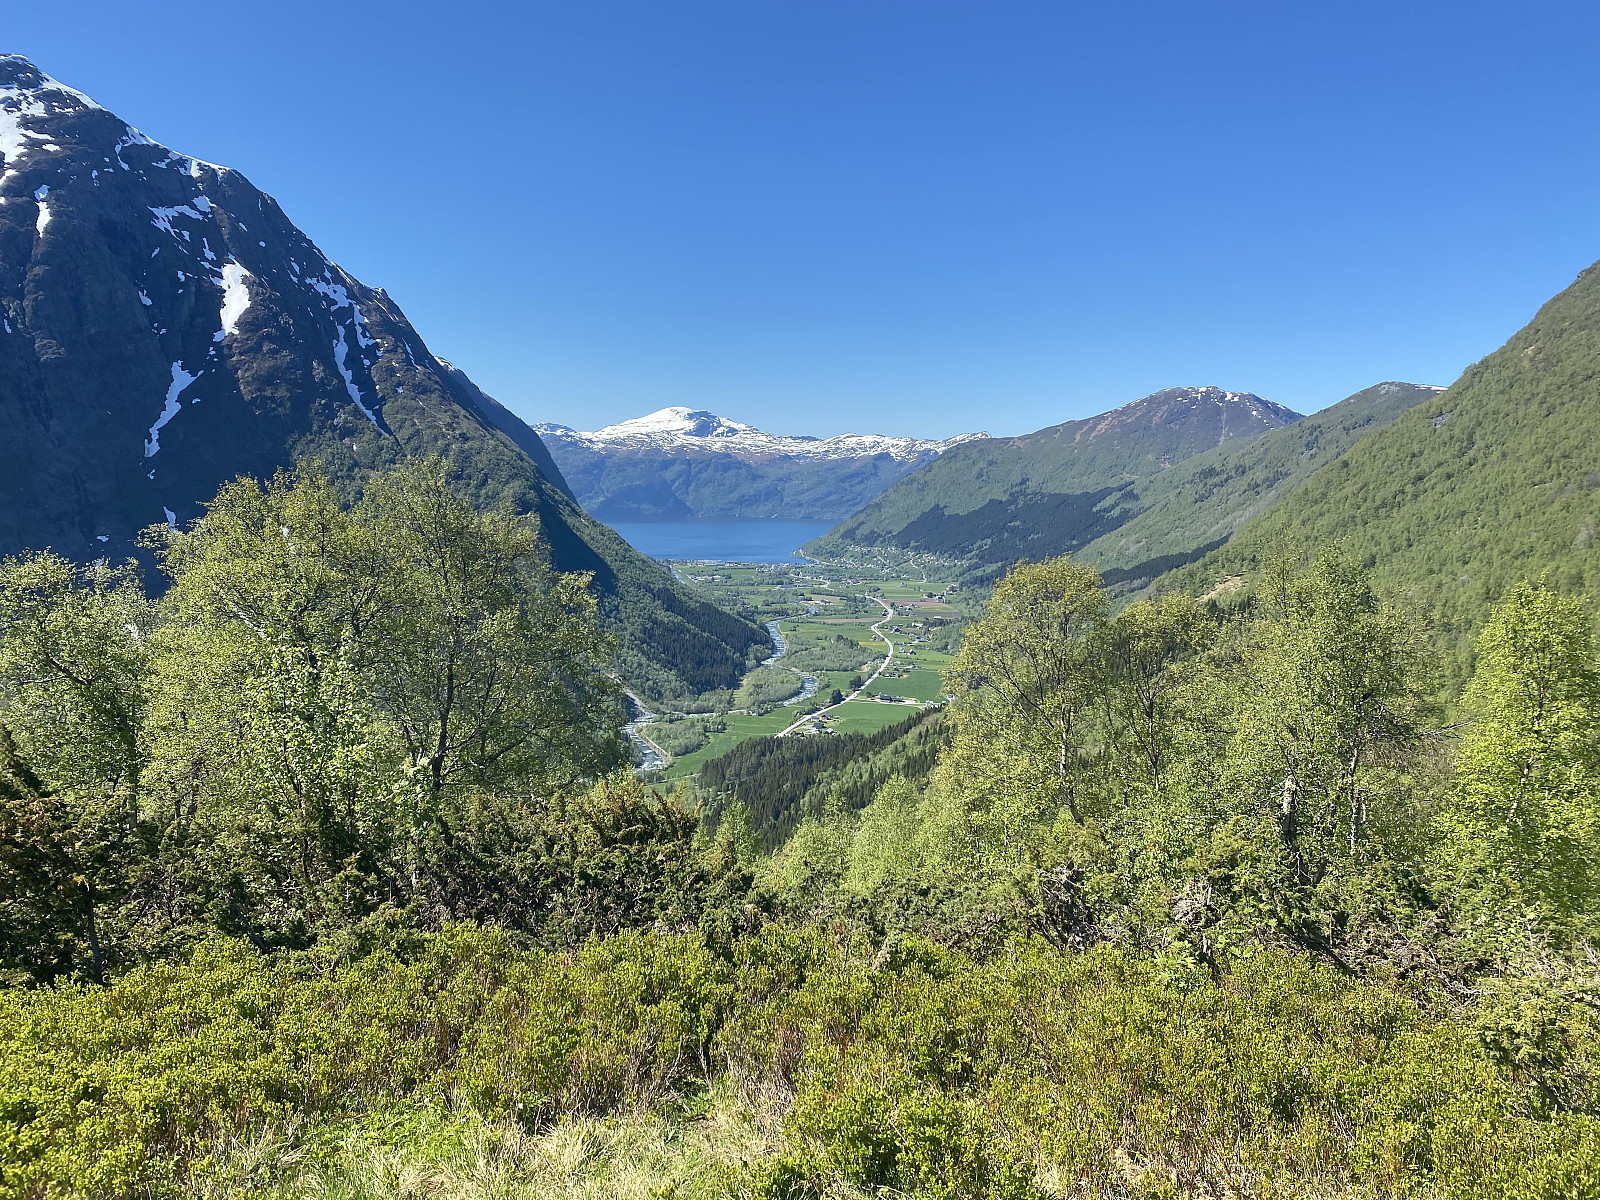
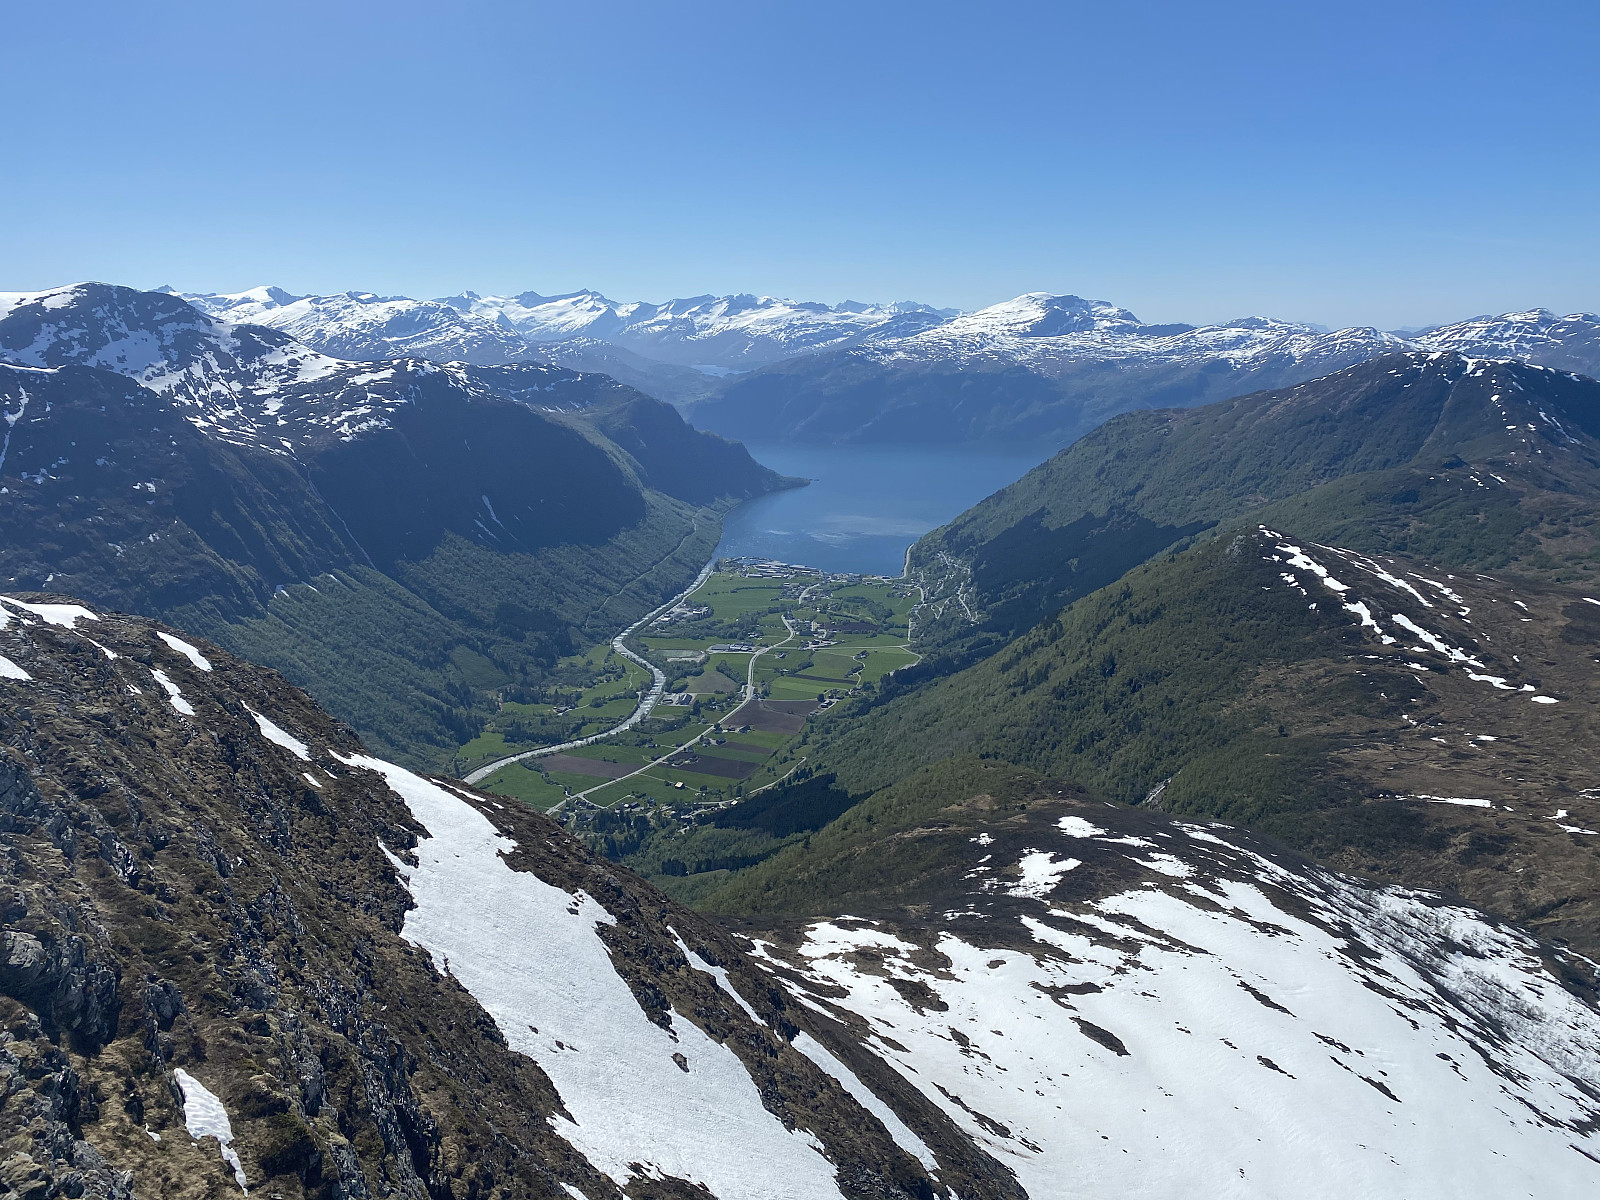
We didn't tarry at the summit of Mount Storheimshornet, as we knew, from the online tour description, that the view was much better a bit further west; and so we continued along the top plateau of the mountain, and a little bit down the west ridge, where we got a splendid view of Stordalen Valley as well as a hanging valley called Rikjendbotnen (see images ## 13 and 14, respektively). The trip back down to the car went pretty much along the same trail as the ascent, though we omitted the viewpoint below Mohornet, where we had already been.


Kommentarer