Hiking to Mount Hornelen with my Son (09.05.2021)

| Start point | Hornskor Parking Lot (15m) |
|---|---|
| Endpoint | Hornskor Parking Lot (15m) |
| Characteristic | Hike |
| Duration | 5h 32min |
| Distance | 13.4km |
| Vertical meters | 1,331m |
| GPS |
|
| Ascents | Hornelen (858m) | 09.05.2021 |
|---|---|---|
| Vestre Hornelen (889m) | 09.05.2021 | |
| Visits of other PBEs | Hornskor p-plass (15m) | 09.05.2021 14:11 |
![Image #1: View of the town of Måløy from the ferry to Bremanger island. The mountains behind the town, are Brurahornet [604 m.a.m.s.l.] and Veten [613 m.a.m.s.l.].](https://images1.peakbook.org/images/14939/Solan_20210515_609feb7dc3290.jpg?p=xtralarge)
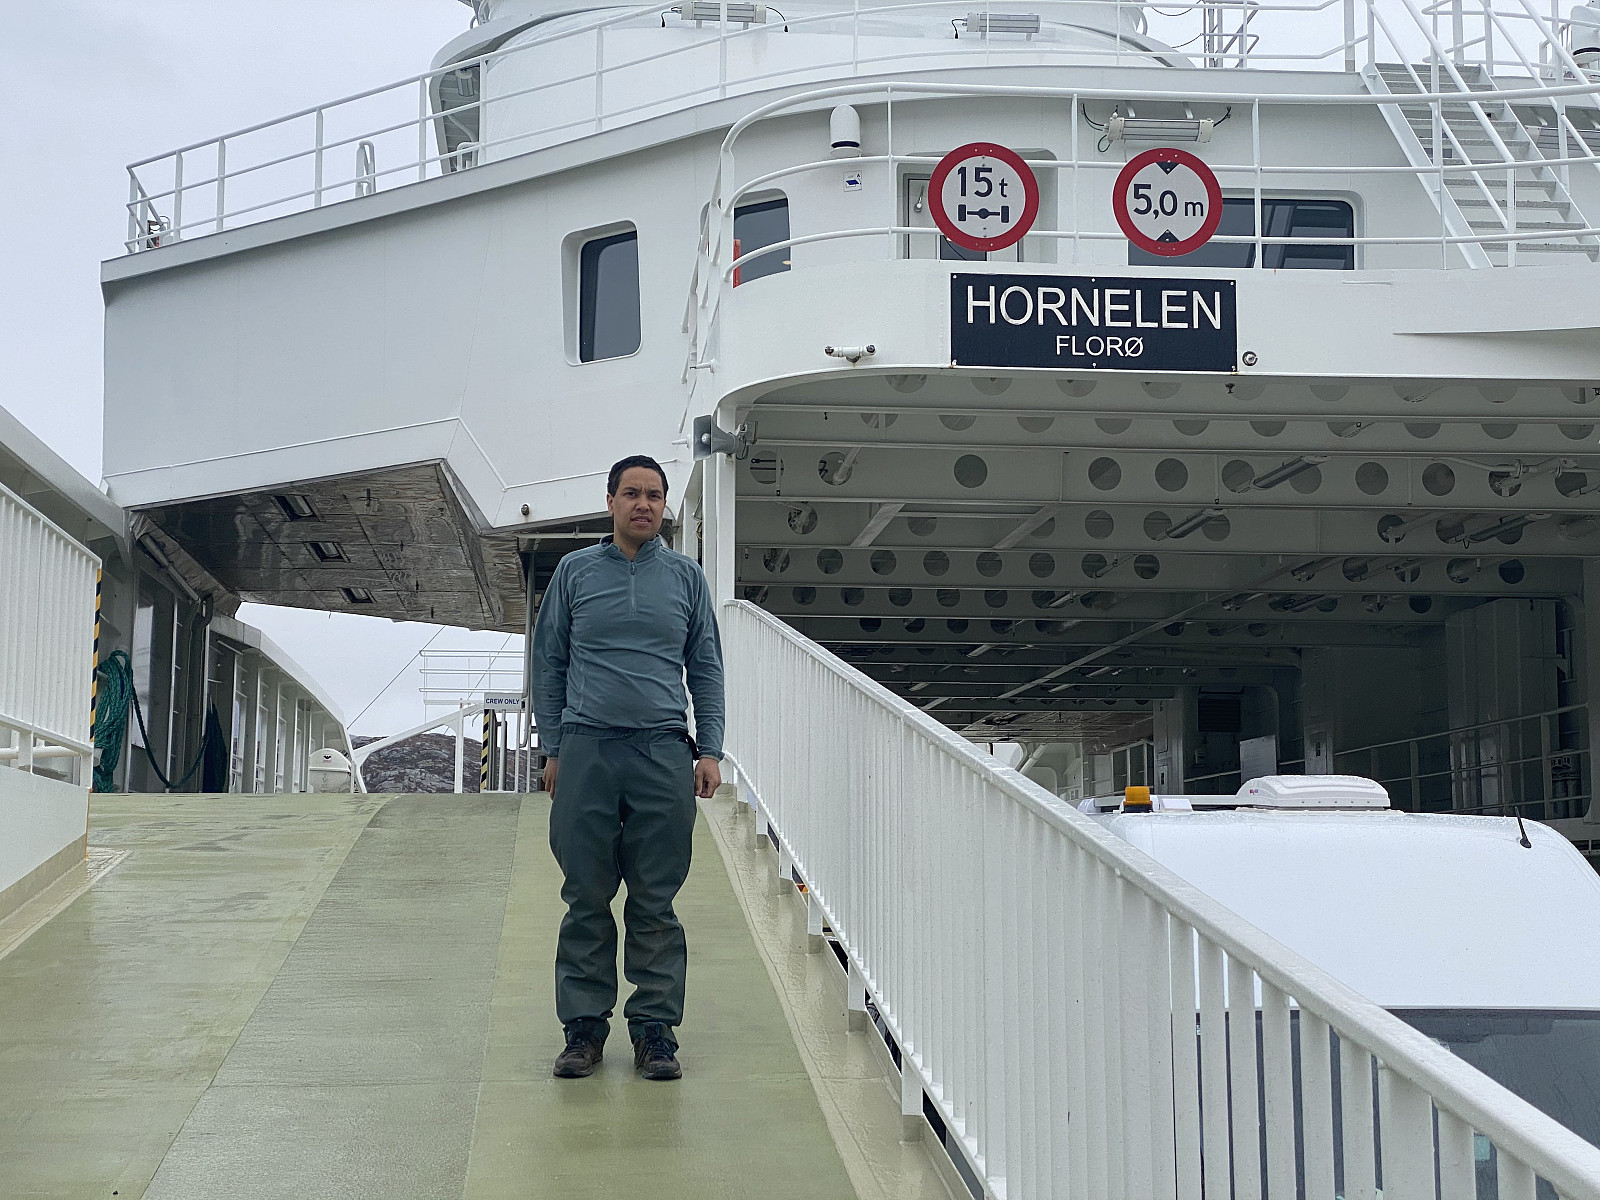
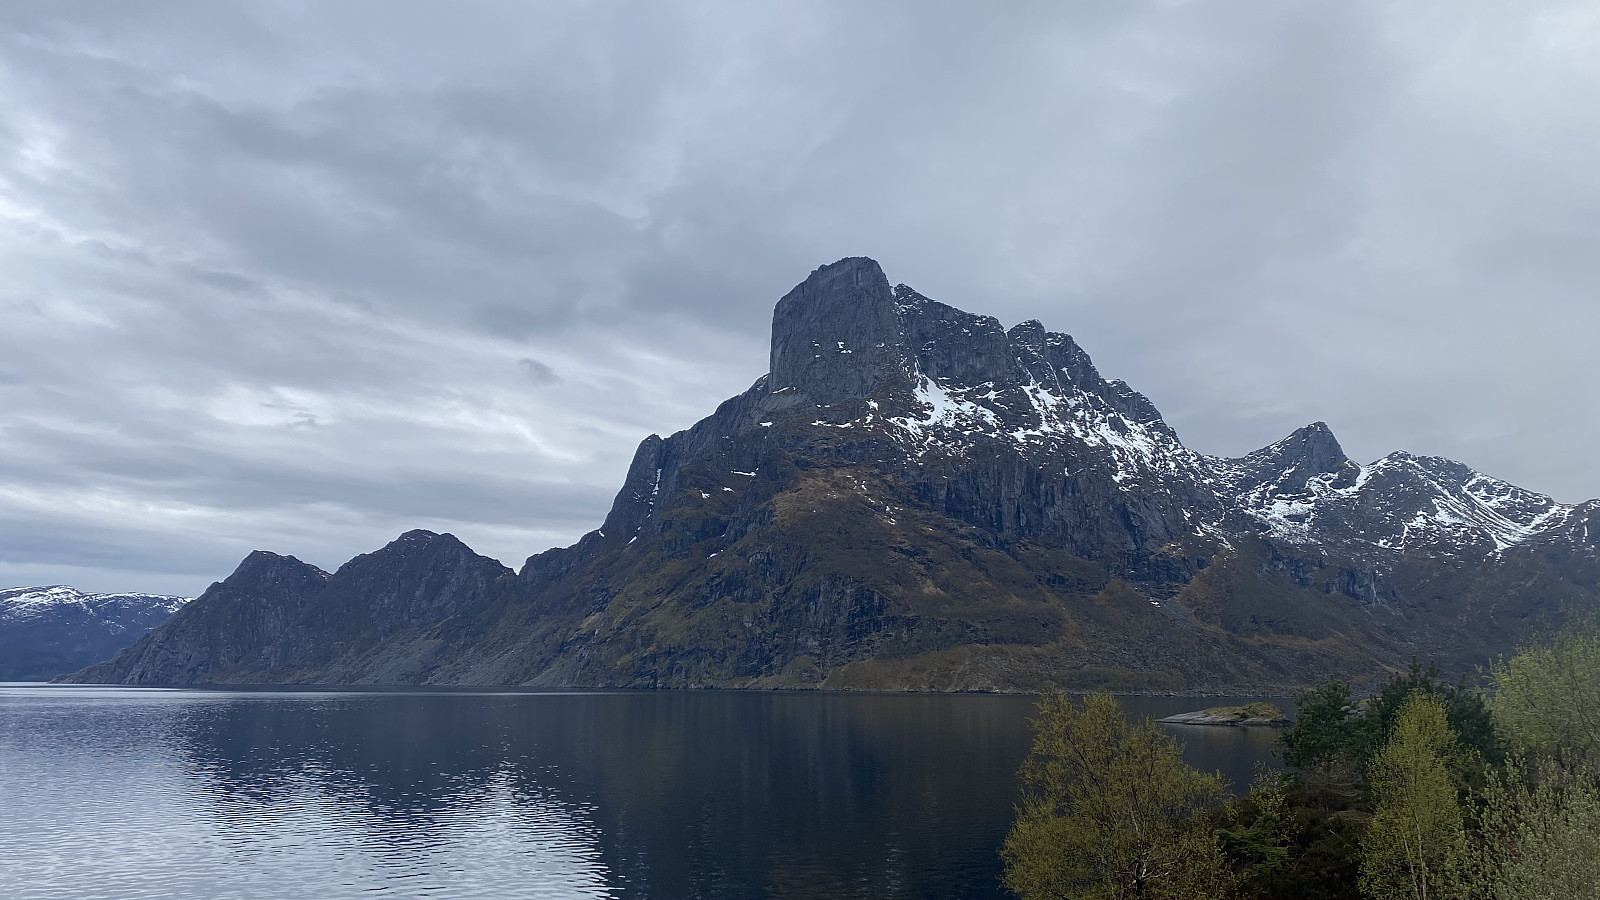
On this day, my son and I were driving from Ålesund to Bergen, on the west coast of Norway, and so we had discussed in advance of our journey, to have a break from driving, and ascend some mountain while on our way to Bergen; and our choice fell on Mount Hornelen in the municipality of Bremanger, as we had been told that it is the highest ocean cliff in Europe, and that it could be a little bit challenging to ascend. We drove along county road 61 south to the little coastal town of Måløy (image #1), from where we crossed over to the island of Bremanger by ferry (images ## 1 & 2).

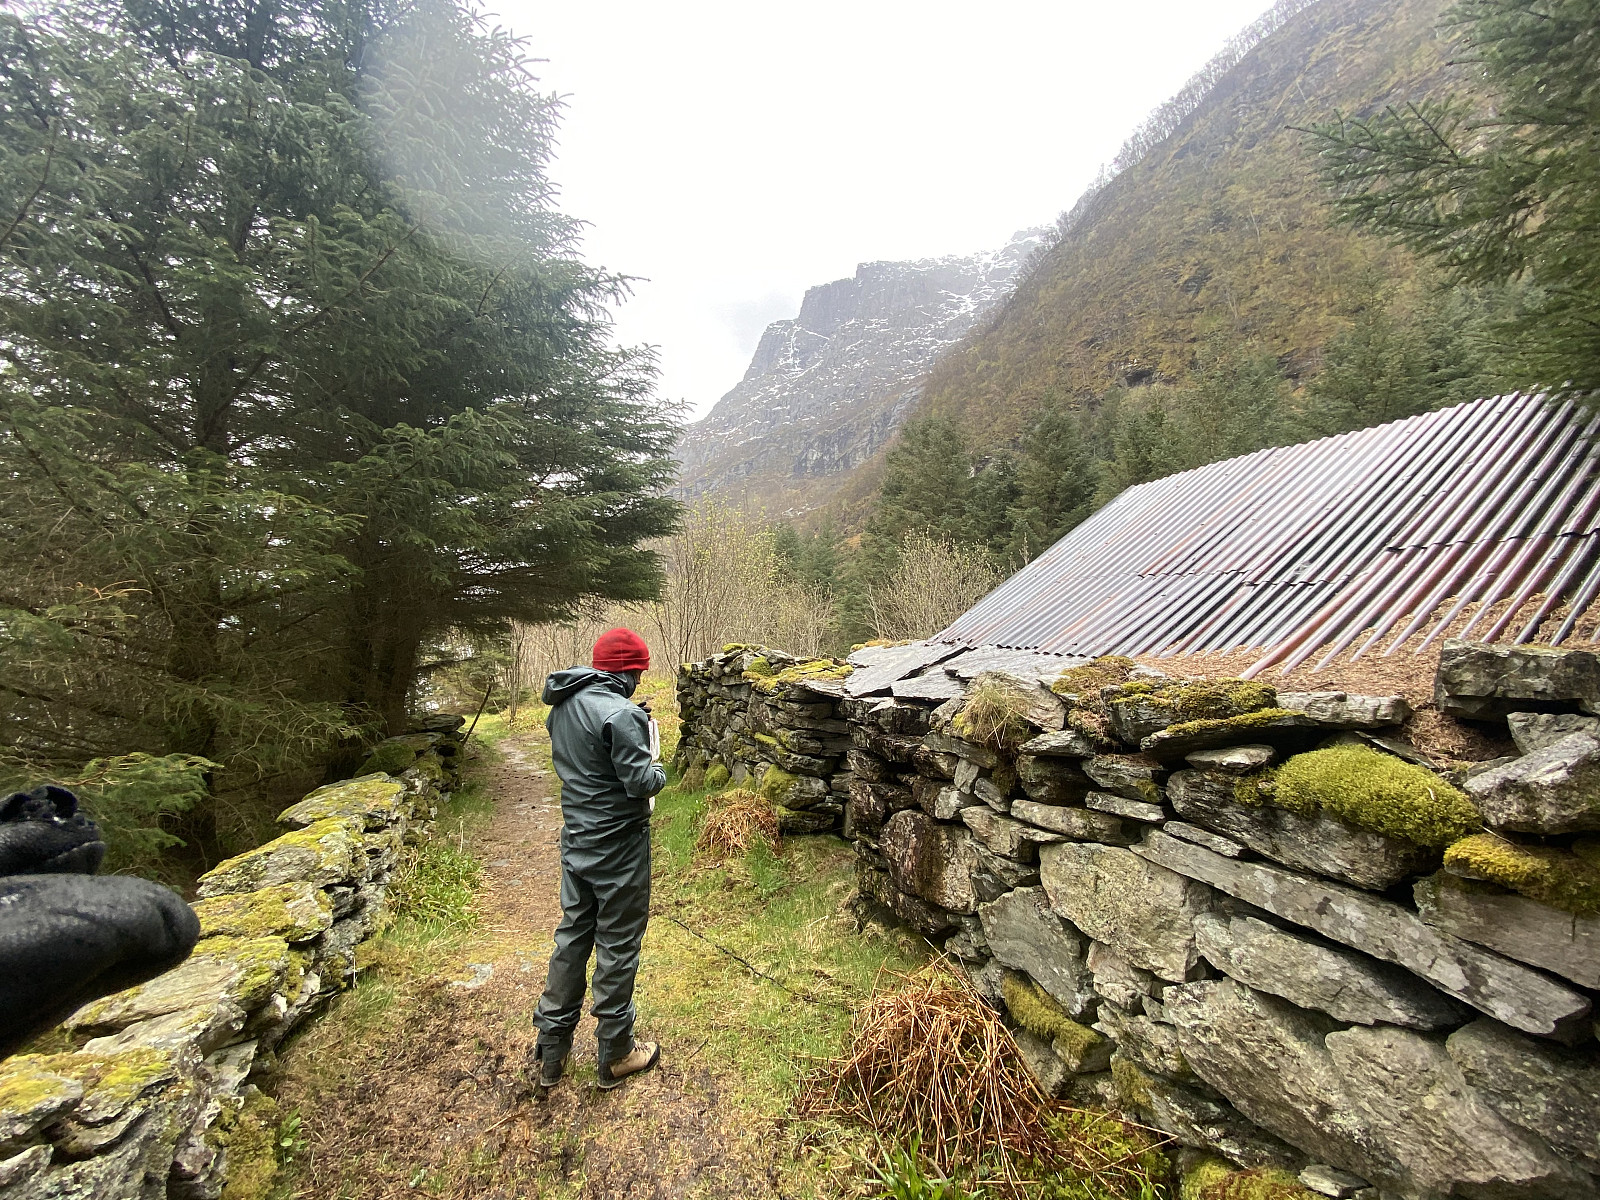
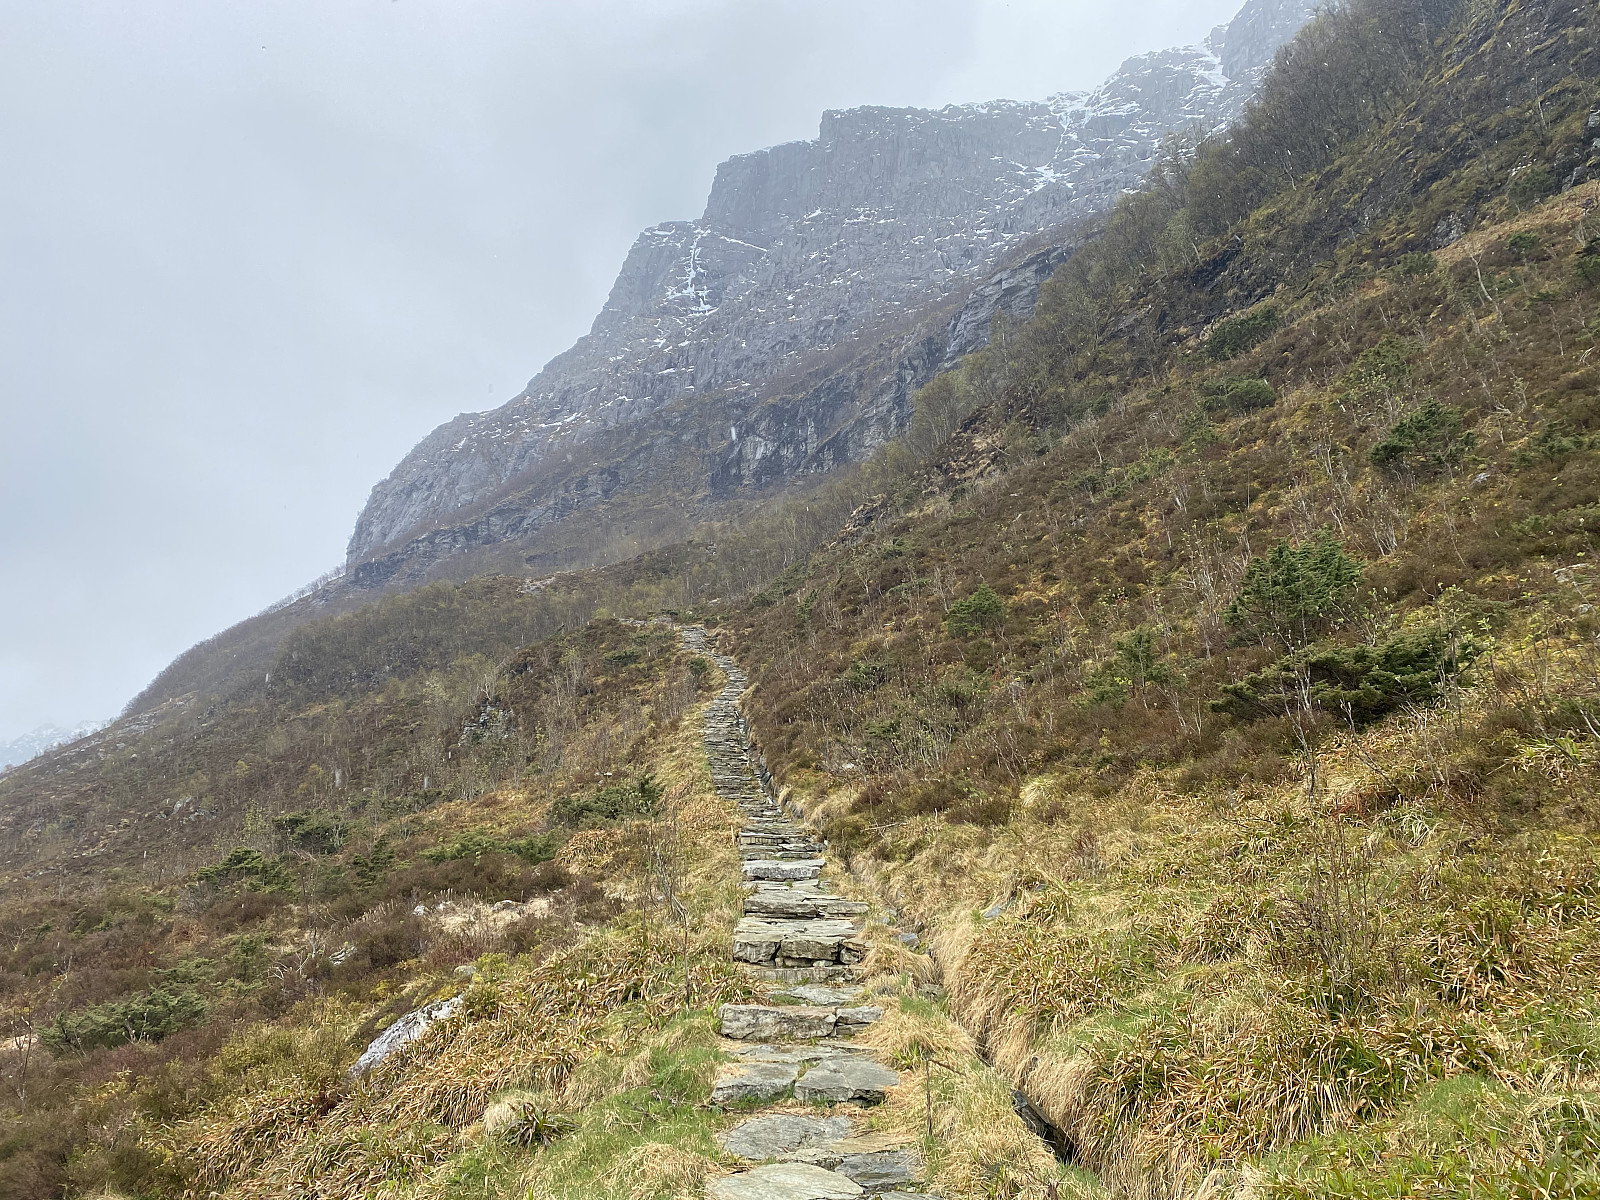
We disembarked the ferry at the Oldeide ferry quai, and drove to a parking lot at a spot called Hornskor (image #3), where we parked our car, and started our trek. The very first part of the trail had been nicely adapted for tourists building of stone stairs, so that you could avoid walking in the quite wet landscape, and thereby avoid getting all wet in your shoes. The stairs only lasted for half a kilometre, or so, however; on so we had to continue through mud and mire, although much of the trail was actually on a quite stony landscape.

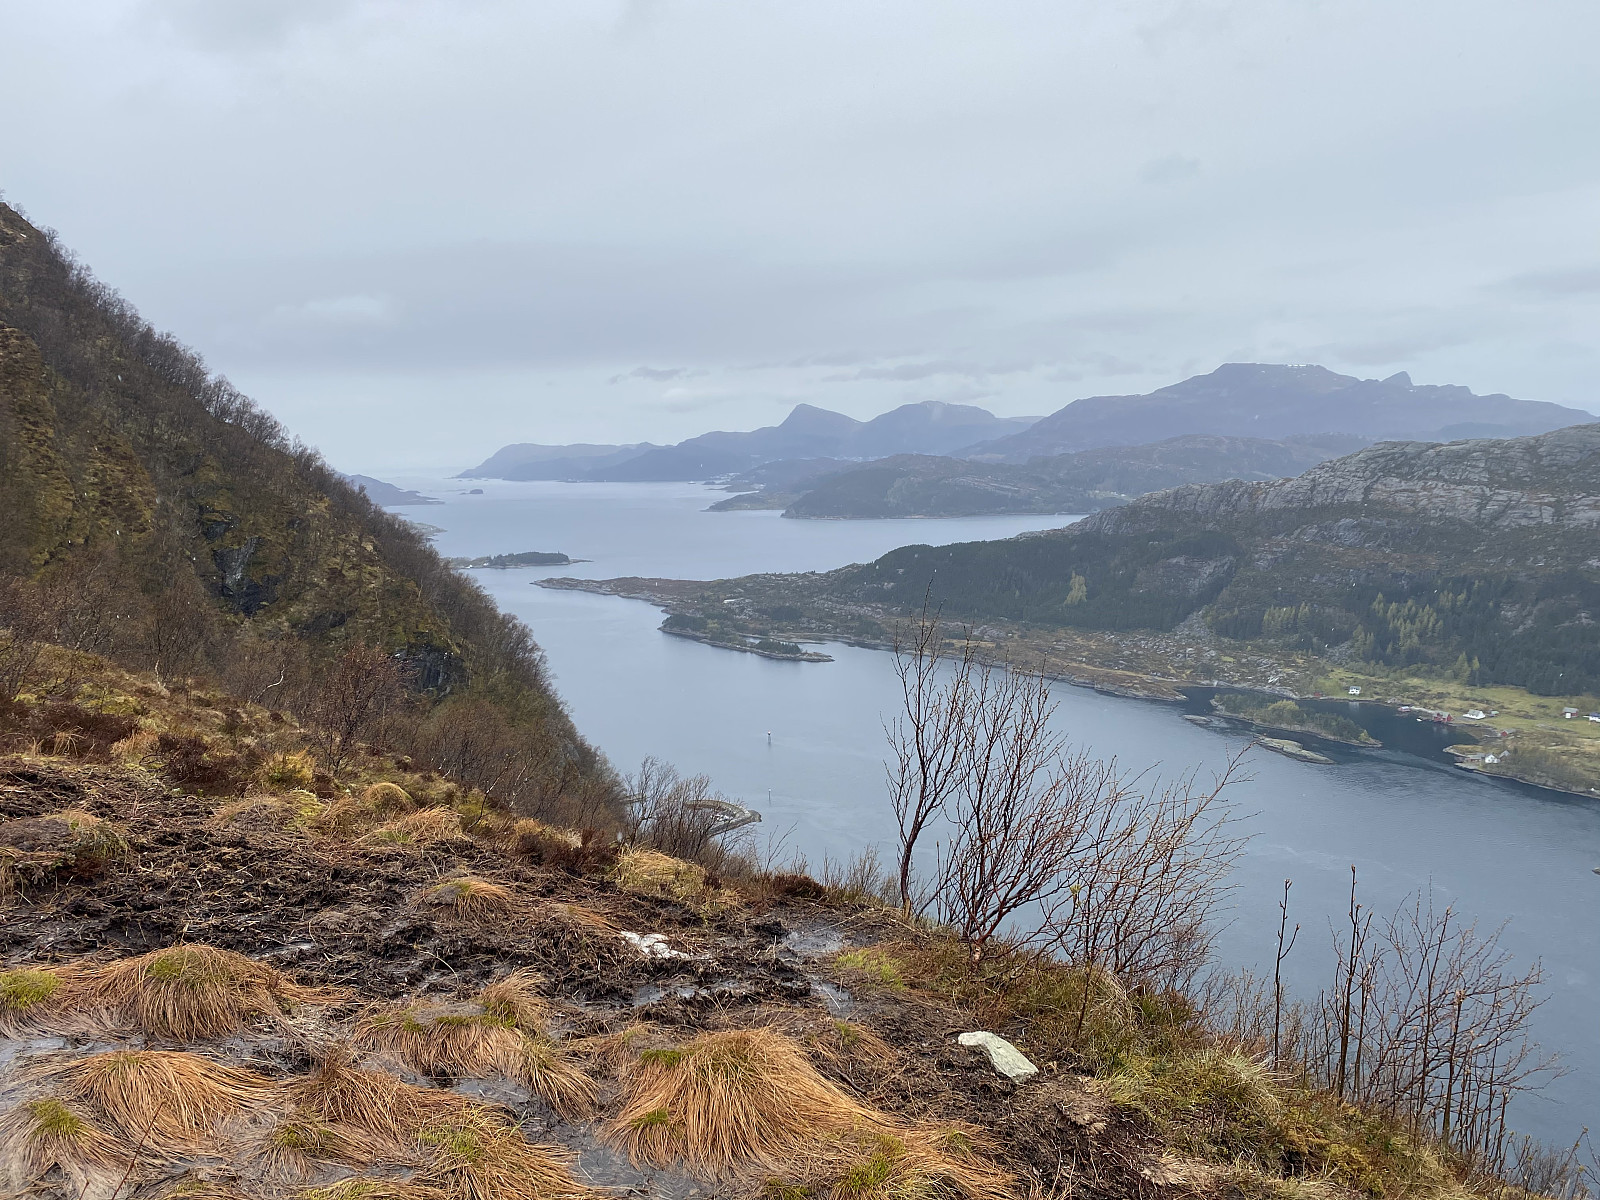
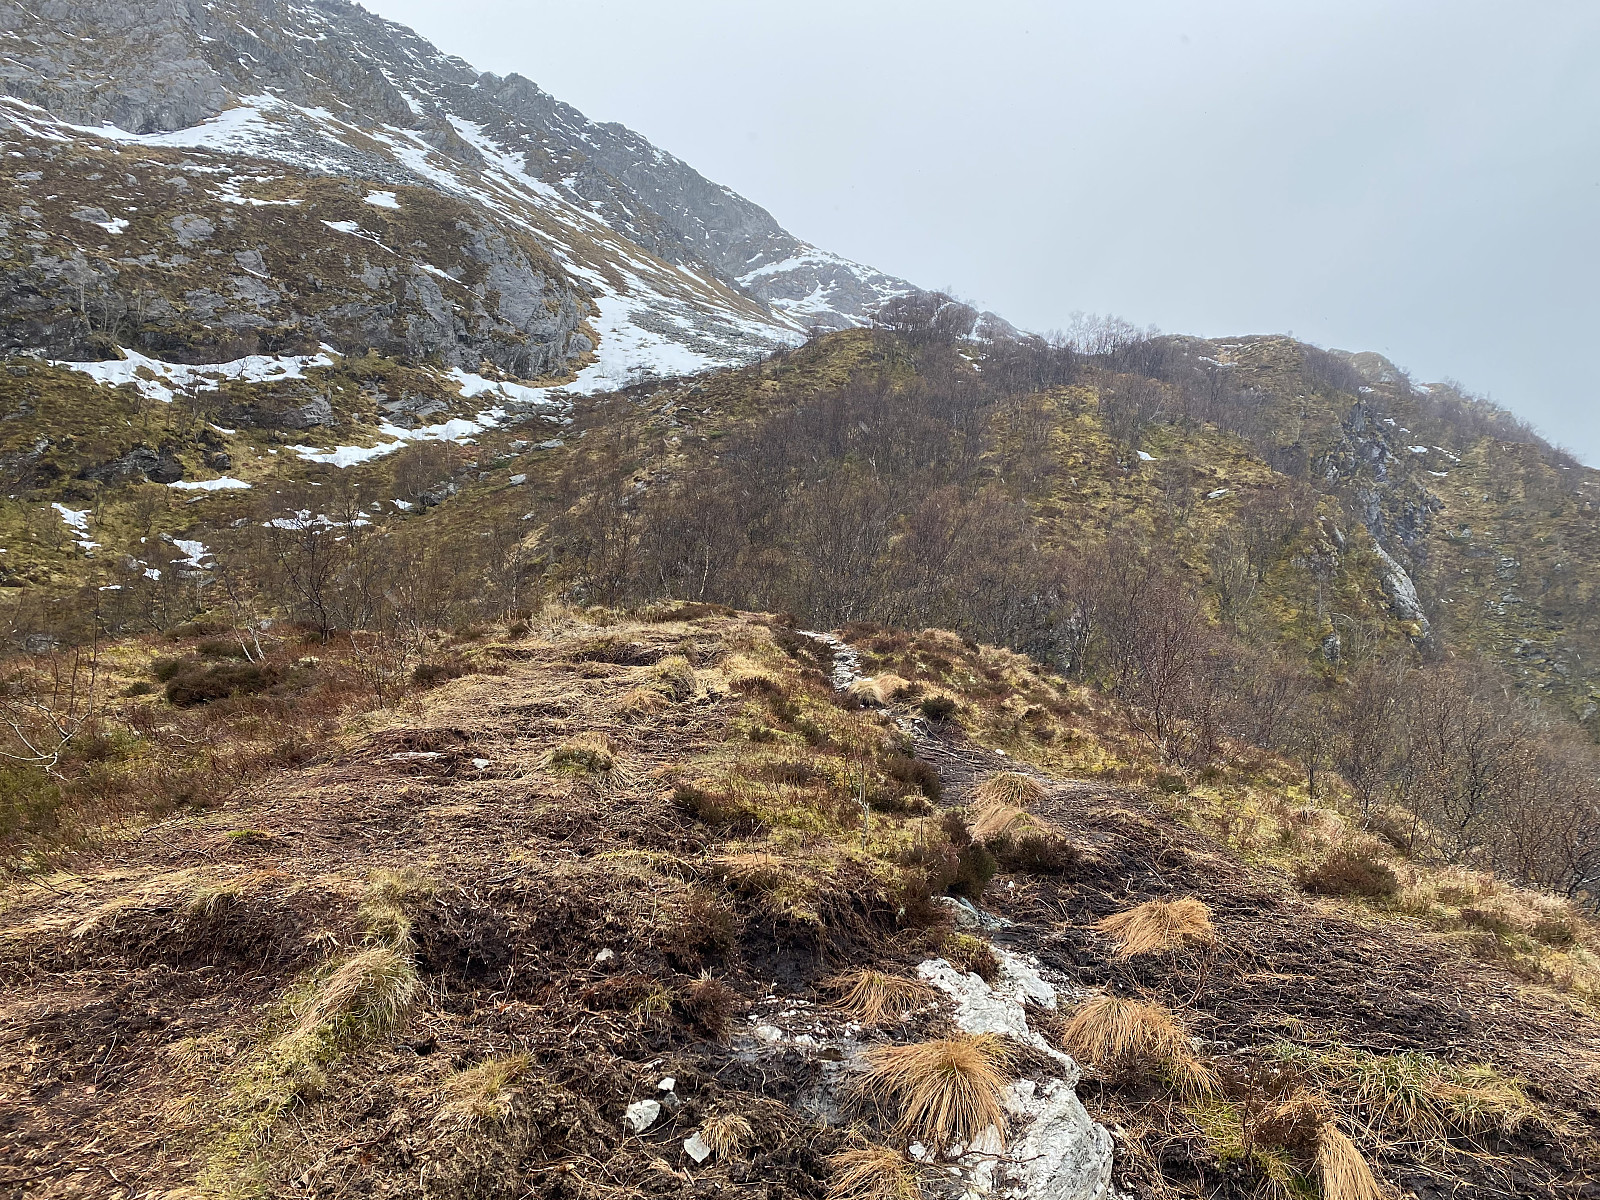
The view from the mountainside got more amazing the higher up we got (images ## 6 & ), until we reached up in the clouds; then the view became gradually more foggy. At 600 m.a.m.s.l. we encountered snow. To begin with, the snow was wet and slush-like. Higher up, it became gradually drier; unfortunately, however, it also became gradually deeper. We managed to make our way upwards through the snow, though, and finally we found ourselves upon some sort of a mountain plateau at about 780 m.a.m.s.l. The "plateau" wasn't actually a real plateau, however, but rather a valley between the various peaks of this majestic mountain; among which were Mount Svartevassegga [839 m.a.m.s.l.] to the right of us and Mount Uraheia [818 m.a.m.s.l.] right in front of us. To the left of us was a peak of 889 m.a.m.s.l. that is generally considered to be a part of the ridge called Svartevassegga, though it is named Vestre Hornelen [i.e. "Western Mount Hornelen"] here on PeakBook.
![Image #9: The ridge called Svartevassegga [889 m.a.m.s.l.] coming into view.](https://images1.peakbook.org/images/14939/Solan_20210515_60a031e54084d.jpg?p=xtralarge)

![Image #12: On the "plateau" between Svartevassegga 839, Svartevassegga 889 ["Western Hornelen"] and Uraheia [814 m.a.m.s.l.].](https://images1.peakbook.org/images/14939/Solan_20210517_60a2a00a144c5.jpg?p=xtralarge)
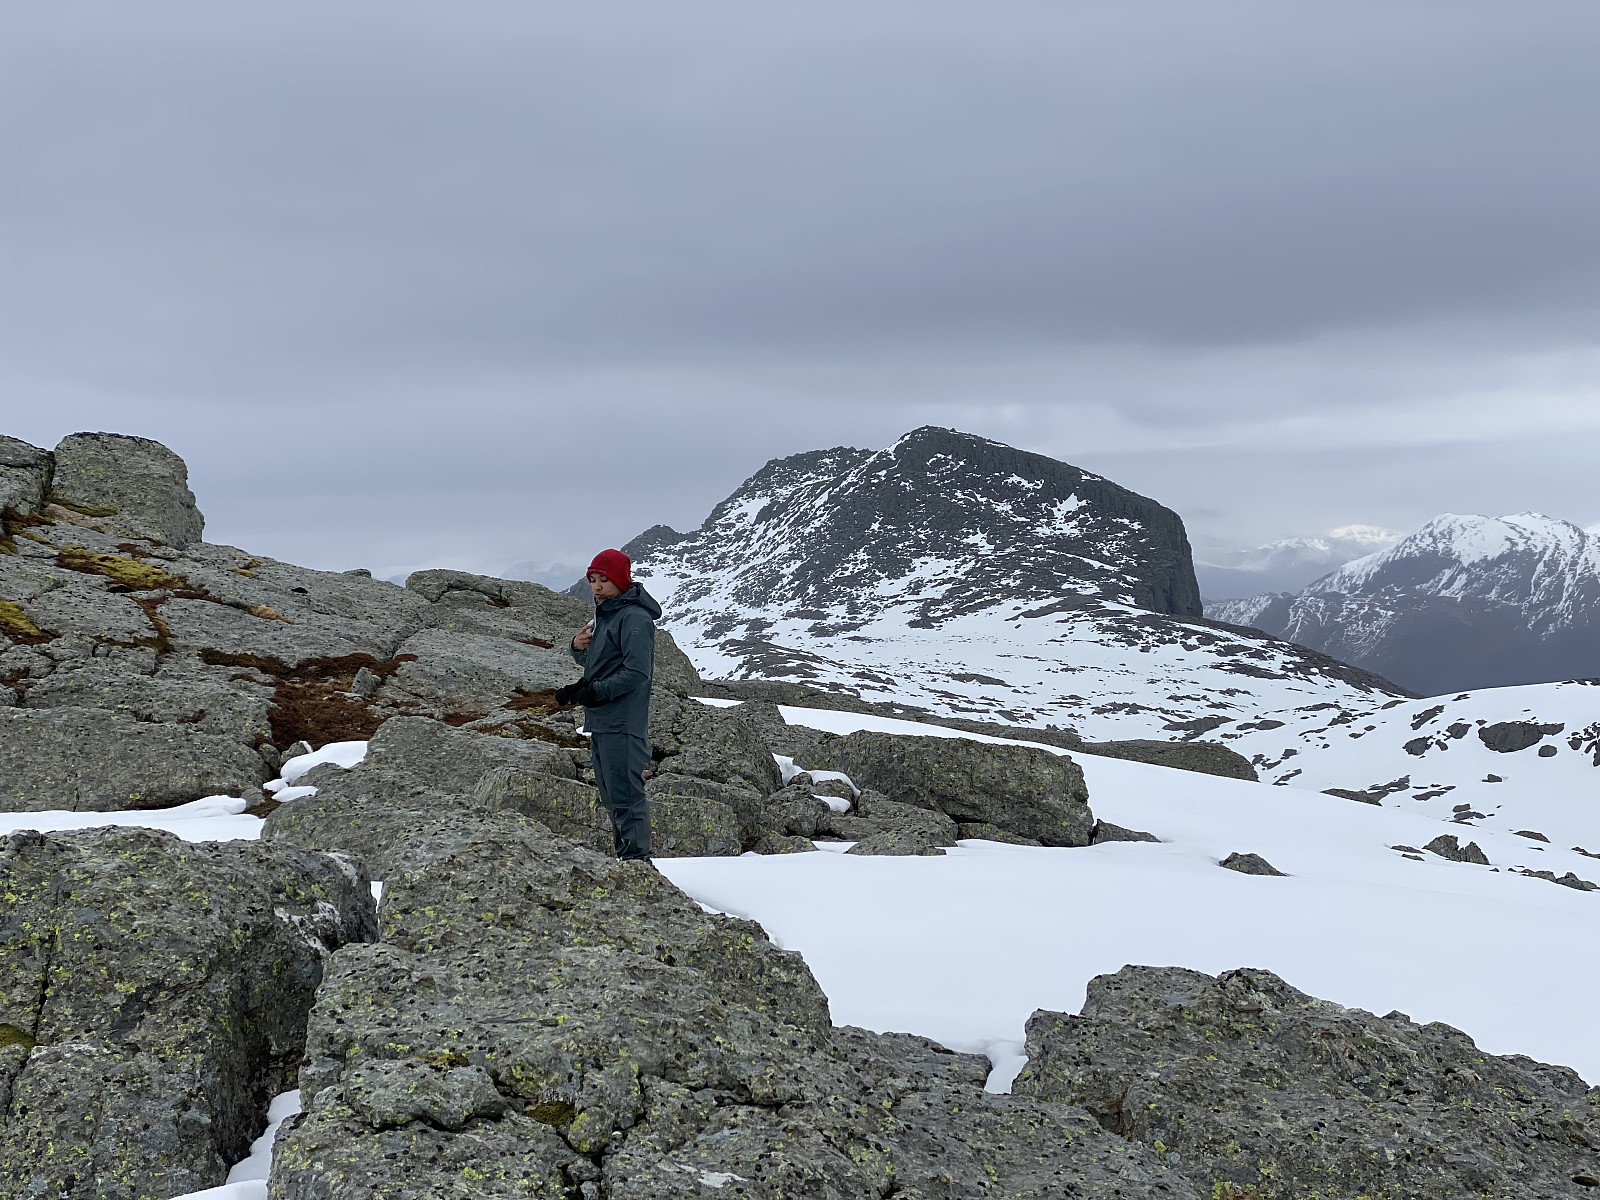
We continued across the plateau (image #12), passing the two peaks called Svartevassegga, one on each side. It was a little bit cloudy, and Mount Hornelen was supposed to be beyond Mount Svartevassegga 889, and for a brief time I actually thought Mount Uraheia [814 m.a..m.s.l.], which was straight ahead of us, was Mount Hornelen; though I was realizing little by little that there were features of this mountain that didn't fit what I had read about Mount Hornelen. First, it didn't have the characteristic shape of Mount Hornelen, and second, Mount Hornelen was supposed to have a vertical separation of 118 meters; whereas the knoll ahead of us was interconnected with Mount Svartevassegga 889 by a ridge that gave it a vertical separation of less that 30 meters. As we arrived at the mentioned ridge, I turned around to say something to my son, however, and then all of a sudden I could see Mount Hornelen with its characteristic shape right in front of me (image#13). As we had limited time, and as walking through the deep snow was a bit time consuming, we skipped Mount Uraheia, and headed towards Mount Hornelen, the very purpose of our trek.
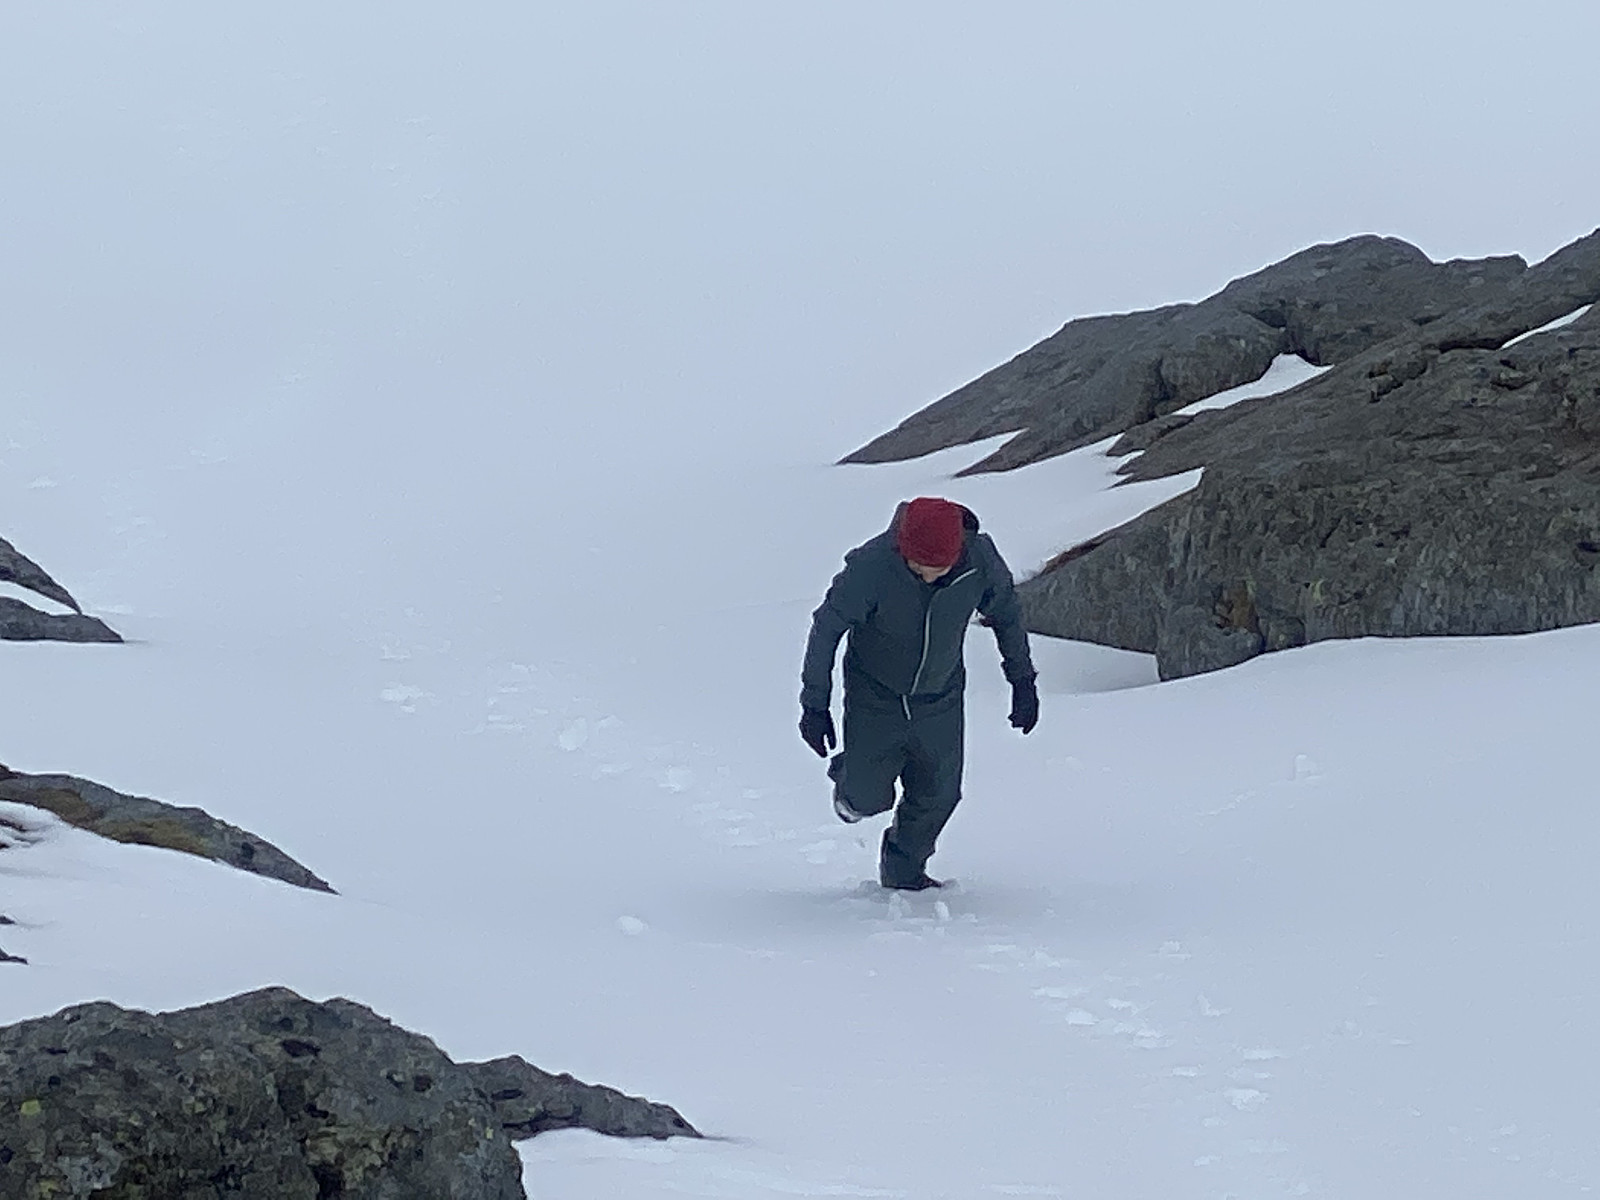
![Image #14: On the final climb towards the summit of Mount Hornelen [858 m.a.m.s.l.].](https://images1.peakbook.org/images/14939/Solan_20210517_60a2a1ae48e16.jpg?p=xtralarge)

![Image #16: The summit of Mount Svartevassegga 889 ["Western Hornelen"] as seen from the summit of Mount Hornelen.](https://images1.peakbook.org/images/14939/Solan_20210517_60a2aaf3c5409.jpg?p=xtralarge)
The trail further on to Mount Hornelen first took us into a valley about 100 meters deep (see map), and then onto last climb up to the summit. The trail was mostly covered by snow, and so we alternated between walking right through the deep snow, which was mostly up to our knees; and jumping from stone to stone where stones and boulders were protruding through the snow. We eventually made it up to the summit, from where the view was quite amazing, though it was a bit obscured by clouds/fog that was coming and going (images ## 15 - 19). I was a bit devastating, though, too see the many wind turbines that have been erected on some of the nearby mountains for production of electricity. These constructions are really doing great damage to the beautiful nature of our country (image #18).
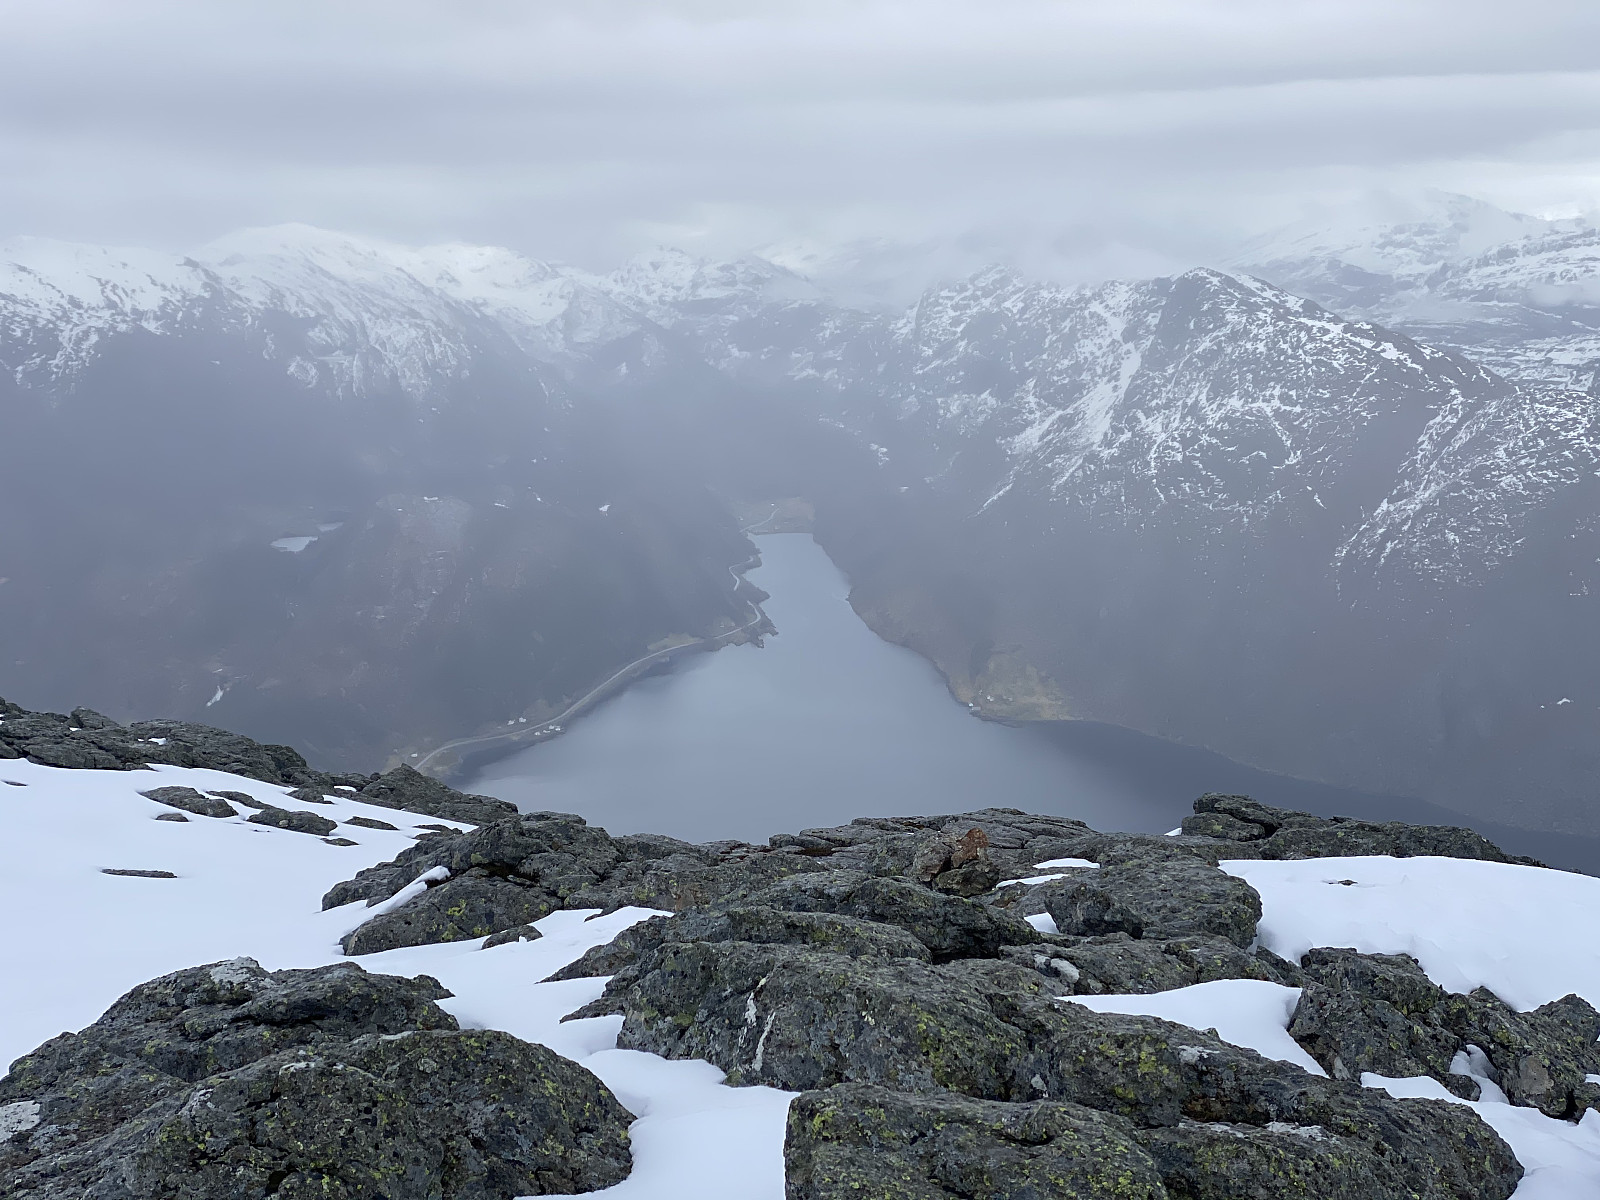
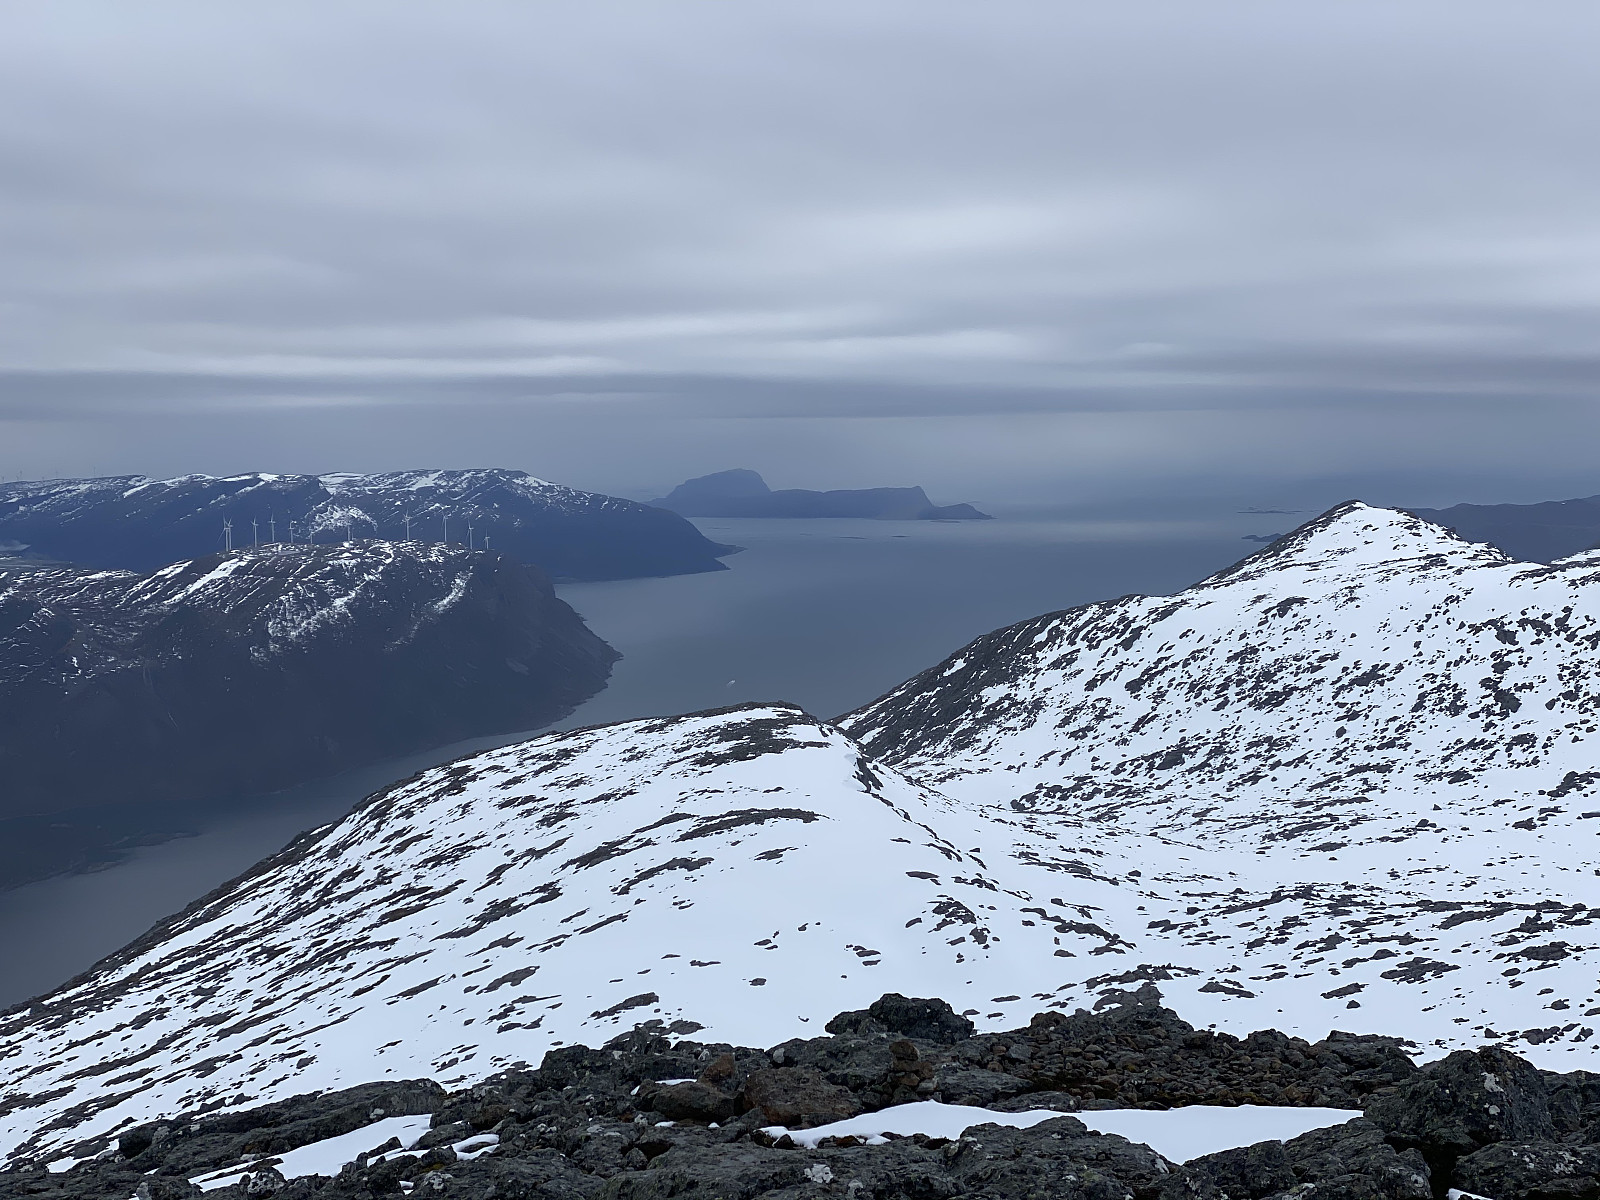
![Image #19: View from Mount Hornelen towards the town of Måløy, by the fjord of Vågsfjorden. The town is located on the island of Vågsøy. Behind it are seen the mountains of Brurahornet [604 m.a.m.s.l.] and Veten [613 m.a.m.s.l.].](https://images1.peakbook.org/images/14939/Solan_20210517_60a2afd549839.jpg?p=xtralarge)
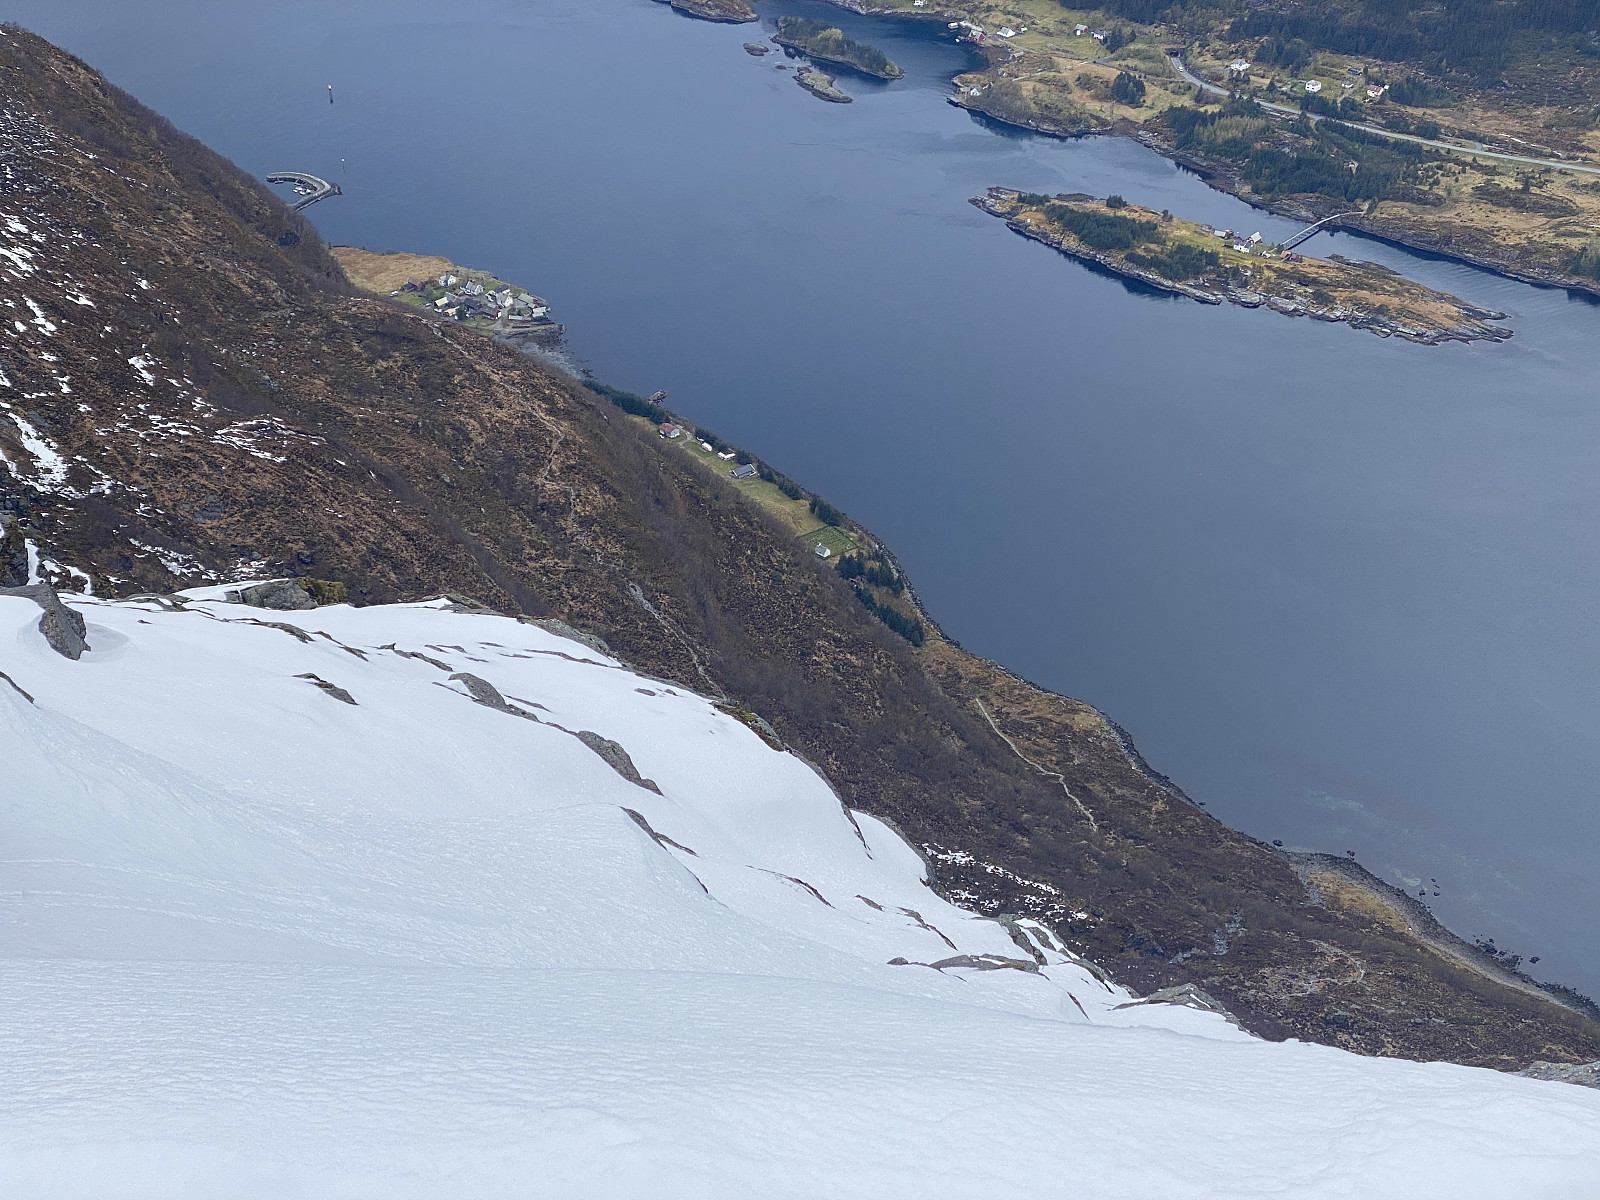
From Mount Hornelen we descended into the notch between this peak and the nearby peak of Svartevassegga 889 [i.e. the one also called "Western Mount Hornelen"]. This notch offered a splendid view towards the little village of Hornskor, where we had parked our car; though we couldn't see the actual parking lot with our car (image #20). The peaks of Svartevassegga 839, Svartevassegga 889 and Hornelen 858 along with one or two more peaks, and a number of smaller knolls, actually form a mountain range, that has a huge vertical cliff on the north side. I wanted to visit even Svartevassegga 889 on our way back, as it is the highest peak of these mountains, and I therefore suggested we take a slightly different route on our way back to the plateau on the other side of Svartevassegga 889. And so we pretty much followed the edge of the cliff up towards the summit of Svartevassegga, though we kept a bit to the left (i.e. to the south), in order to avoid walking on snow shelves that could potentially break off at the edge of the cliff.
![Image #21: Trekking through snow towards the top of Svartevassegga 889 ["Western Hornelen"]. We were holding to the left, in order to avoid dangerous snow shelves along the edge of the cliff that we were trekking along (outside of the right edge of this image).](https://images1.peakbook.org/images/14939/Solan_20210517_60a2b2d8d81f9.jpg?p=xtralarge)
I eventually stopped at one point, and sat down on a stone, in order to remove my shoes and twist water out of my socks. We were regretting that we hadn't brought our snow shoes with us; as they would've allowed us to walk more on top of the snow, instead of sinking all through it, as we were doing many places. Moreover, my trekking shoes were no longer as water resistant as they were when they were new, and I was by now wet, as well as very cold on both of my feet. Twisting my socks improved things a little bit, though I had to put my feet back into the same wet shoes. We eventually reached even the summit of Mount Svartevassegga 889, which is the highest point on the island of Bremanger. We captured some photos even from that summit (images ## 22 and 23), including some of the vertical cliff that we had in front of us.
![Image #22: On the summit of Mount Svartevassegga 889 ["Western Hornelen"], the highest point on the island of Bremanger.](https://images1.peakbook.org/images/14939/Solan_20210517_60a2b4847c1ed.jpg?p=xtralarge)
![Image #23: View of the cliff on the north side of Mount Svartevassegga ["Western Hornelen"].](https://images1.peakbook.org/images/14939/Solan_20210517_60a2b4efa544e.jpg?p=xtralarge)
Down from the summit of Mount Svartevassegga 889, we had to wade through deep snow again, but we managed to get back down to the plateau between this summit and the one called Svartevassegga 839, where we found our own footprints in the snow, which we followed back down from the mountain until we were beneath current snow limit; but from there we had a nice and clearly visible trail to follow back down to our car.

User comments