Skiing to Mount Høgsvora along with my daughter (08.02.2020)

| Startpunkt | Svarttjønnhaugen Camping (300m) |
|---|---|
| Endpunkt | Svarttjønnhaugen Camping (300m) |
| Tourcharakter | Randonnée/Telemark |
| Tourlänge | 3h 57min |
| Entfernung | 11,9km |
| Höhenmeter | 935m |
| GPS |
|
| Besteigungen | Høgsvora (1.163m) | 08.02.2020 |
|---|
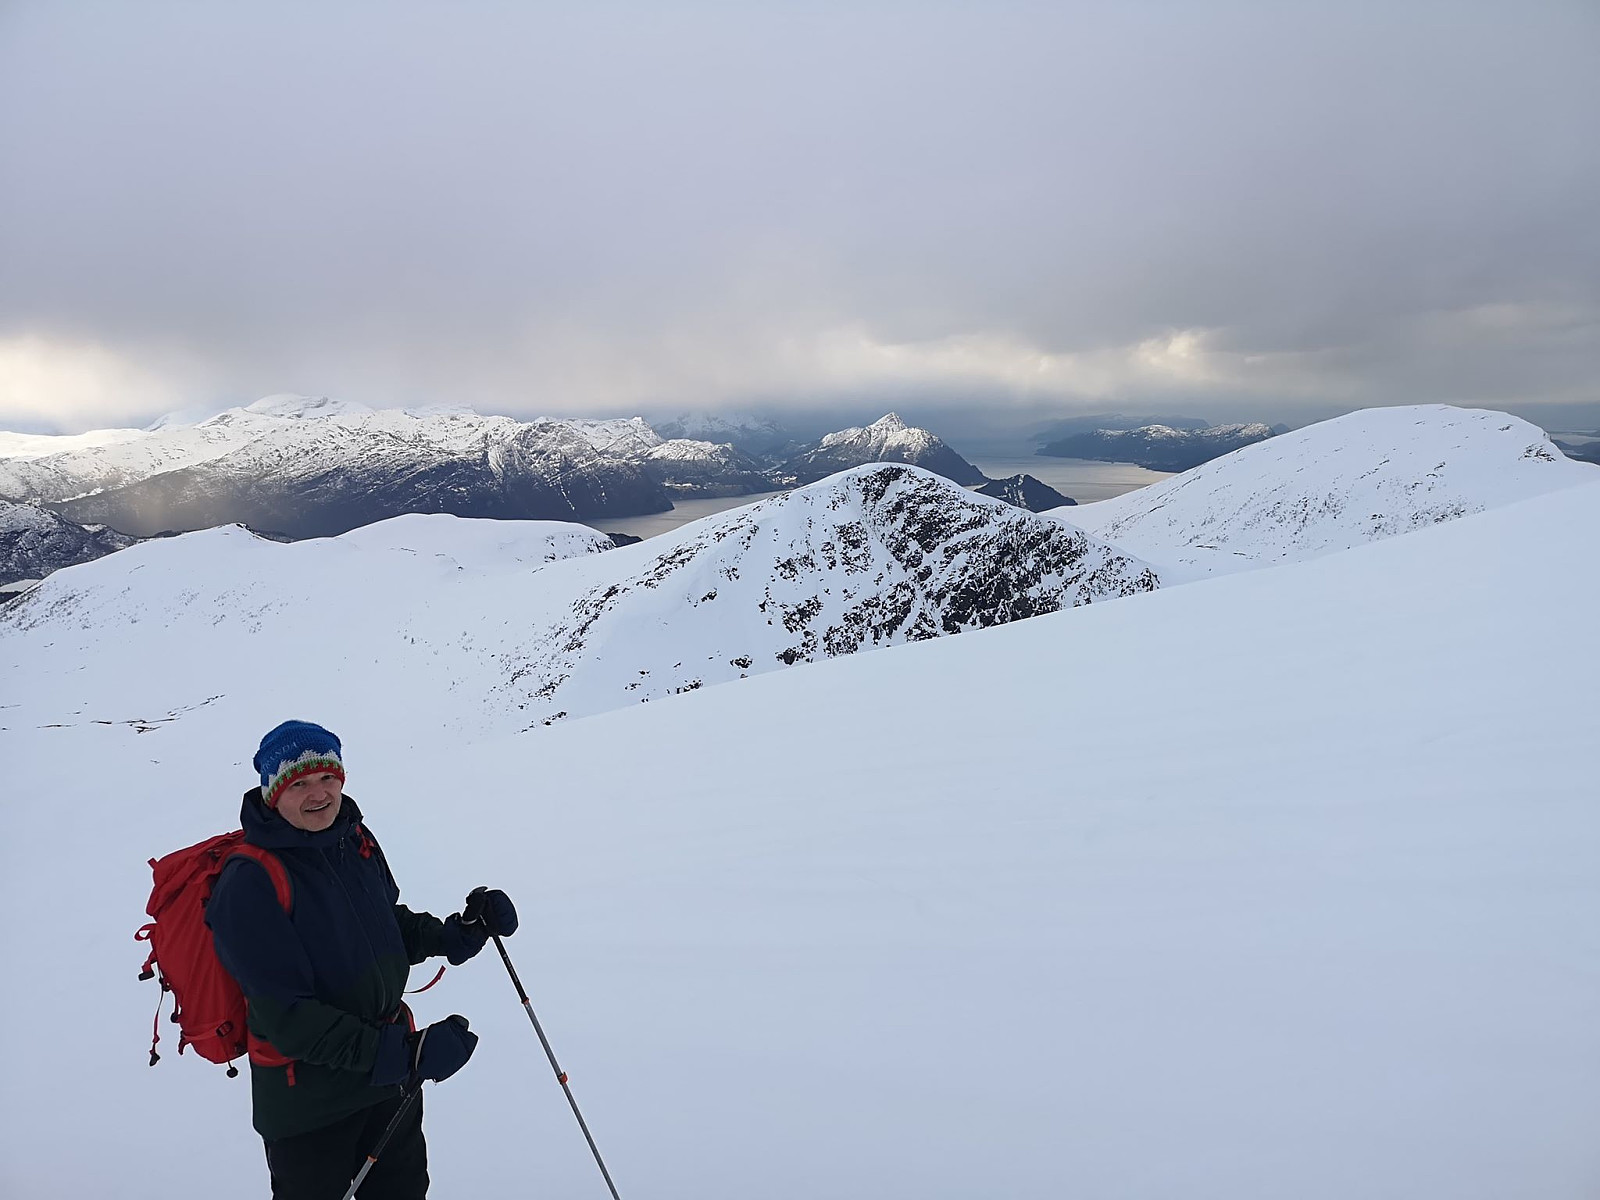
Mount Høgsvora in the county of Møre & Romsdal is considered a relatively safe mountain to go ski touring as far as the avalanche risk is concerned, as long as you ascend the mountain along the usual route, i.e. the one you'll find on our GPS tracking of this trip. We drove to a camping site of Svarttjønnhaugen in a valley called Vaksvikdalen, me and my daughter Vår vaarsolholm (Vår Solholm). This camping site has some cabins for hire, but the important thing for us was that they allow people to park on their site for a little fee, even if you're not going to hire a cabin or a spot for your tent; and once you've paid the fee, you're free to use their toilet facilities, which may be nice when you get back down from the mountain. When snow is scarce, you may drive all the way up to Sollisætra, which I once did when climbing Mount Geitenibba, but on this occasion the road up there had not been plowed, hence the only option was to park at the camping site. We got our skis on, and started skiing. The first part of this tour isn't that steep. We passed in between the cabins of Sollisætra, and then in between the trees in the not so dense forest above Sollisætra. This tour leads up to a hanging side valley called Kvanndalen, in which you have Mount Sætrefjellet (723 m.a.m.s.l.) on your left hand side, and Mount Grønnlifjellet (637) on your right hand side while in the first, or lower part of the valley; and thereafter, as you're trekking further into the valley, you get Mount Geitenibba (854) on the left hand, and Mount Høgsvora (1.163) on the right hand.
When you've passed the mountains of Sætrefjellet and Grønnlifjellet, there's actually two different routs leading up to the summit of Høgsvora. If there's ice on river Midtelva, you may cross the river, and then climb Mount Høgsvora along the ridge that runs from Mount Grønnlifjellet to the summit of Høgsvora. This is a quite common summer route. During winter, however, large snow shelves usually build up on the east side of the very edge of this ridge, and there is a substantial risk, therefor, that you may inadvertently step onto the snow shelf and fall down the steep cliff on the east side of the ridge, either because the snow shelf breaks off, or because you simply go straight through it. As a winter route, the one that we used on this occasion is better, therefore; and if there isn't enough ice on the river, the wise thing is, of course to continue up the valley, and then cross over at the water shed area between Midtelva River and Kvanndalselva River, which runs in the opposite direction (see map with our GPS tracking).
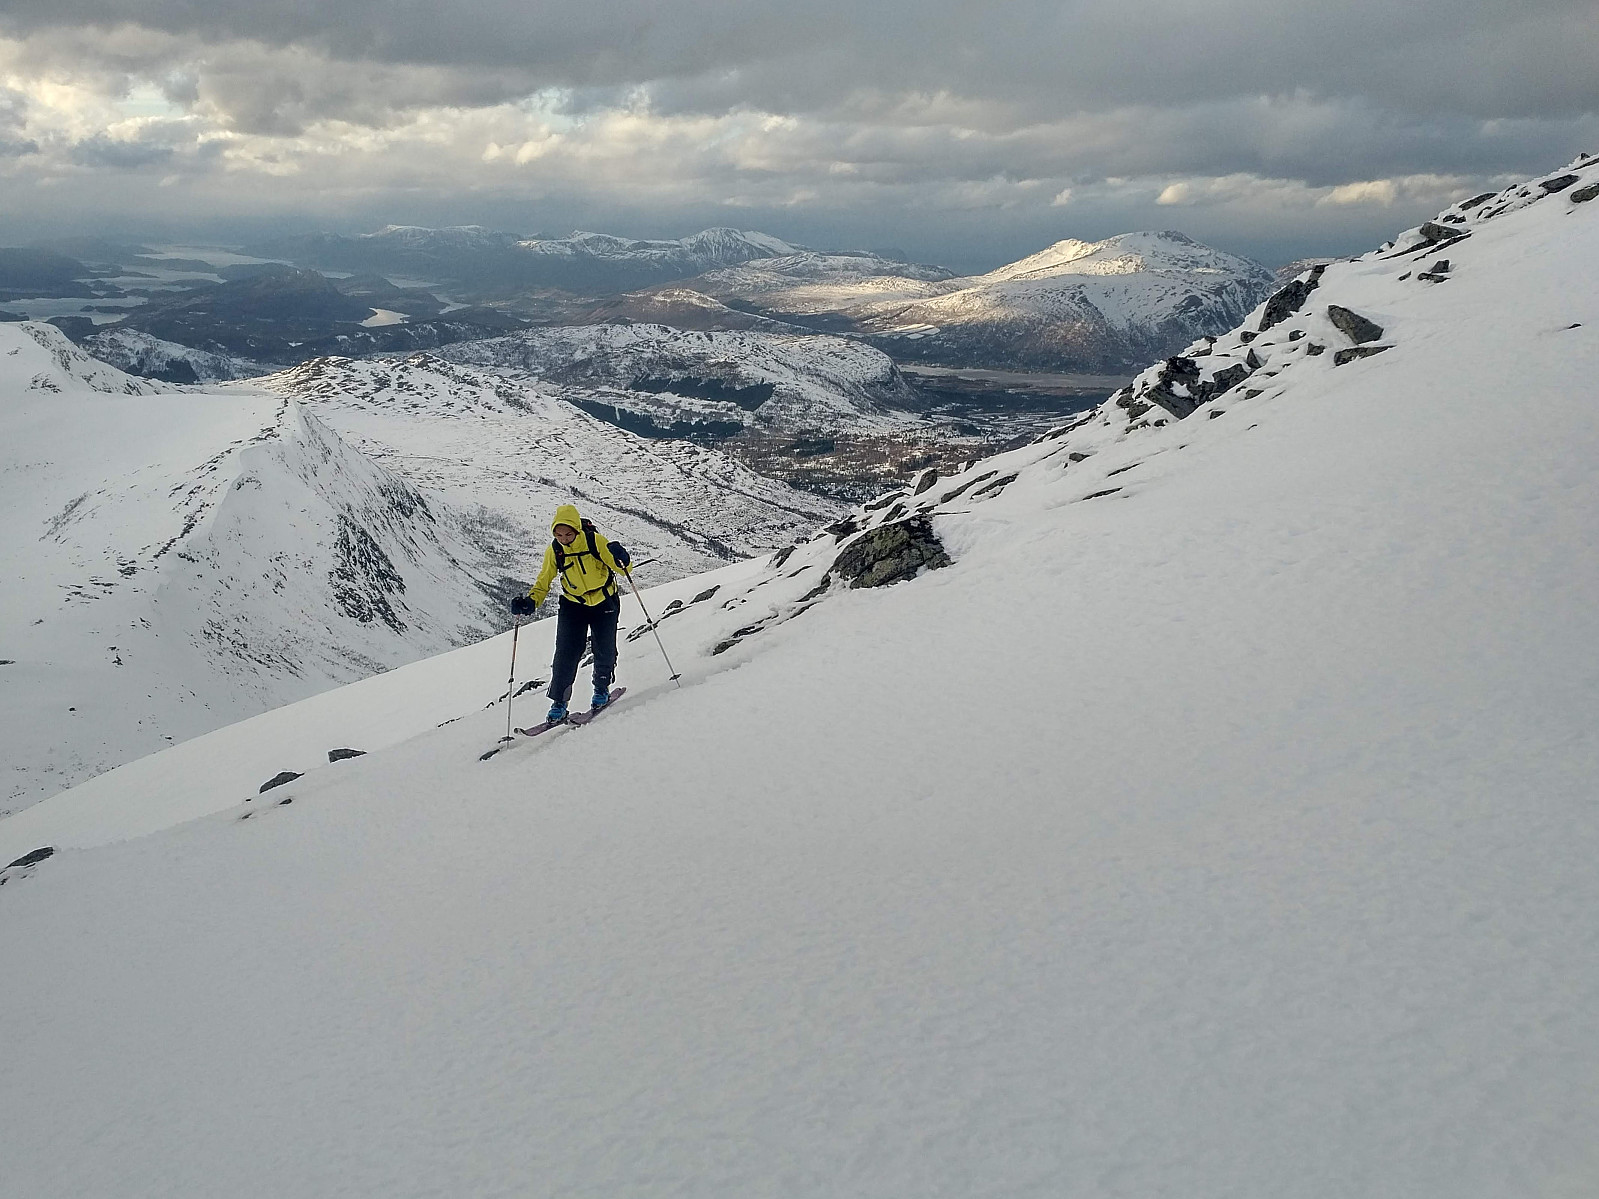
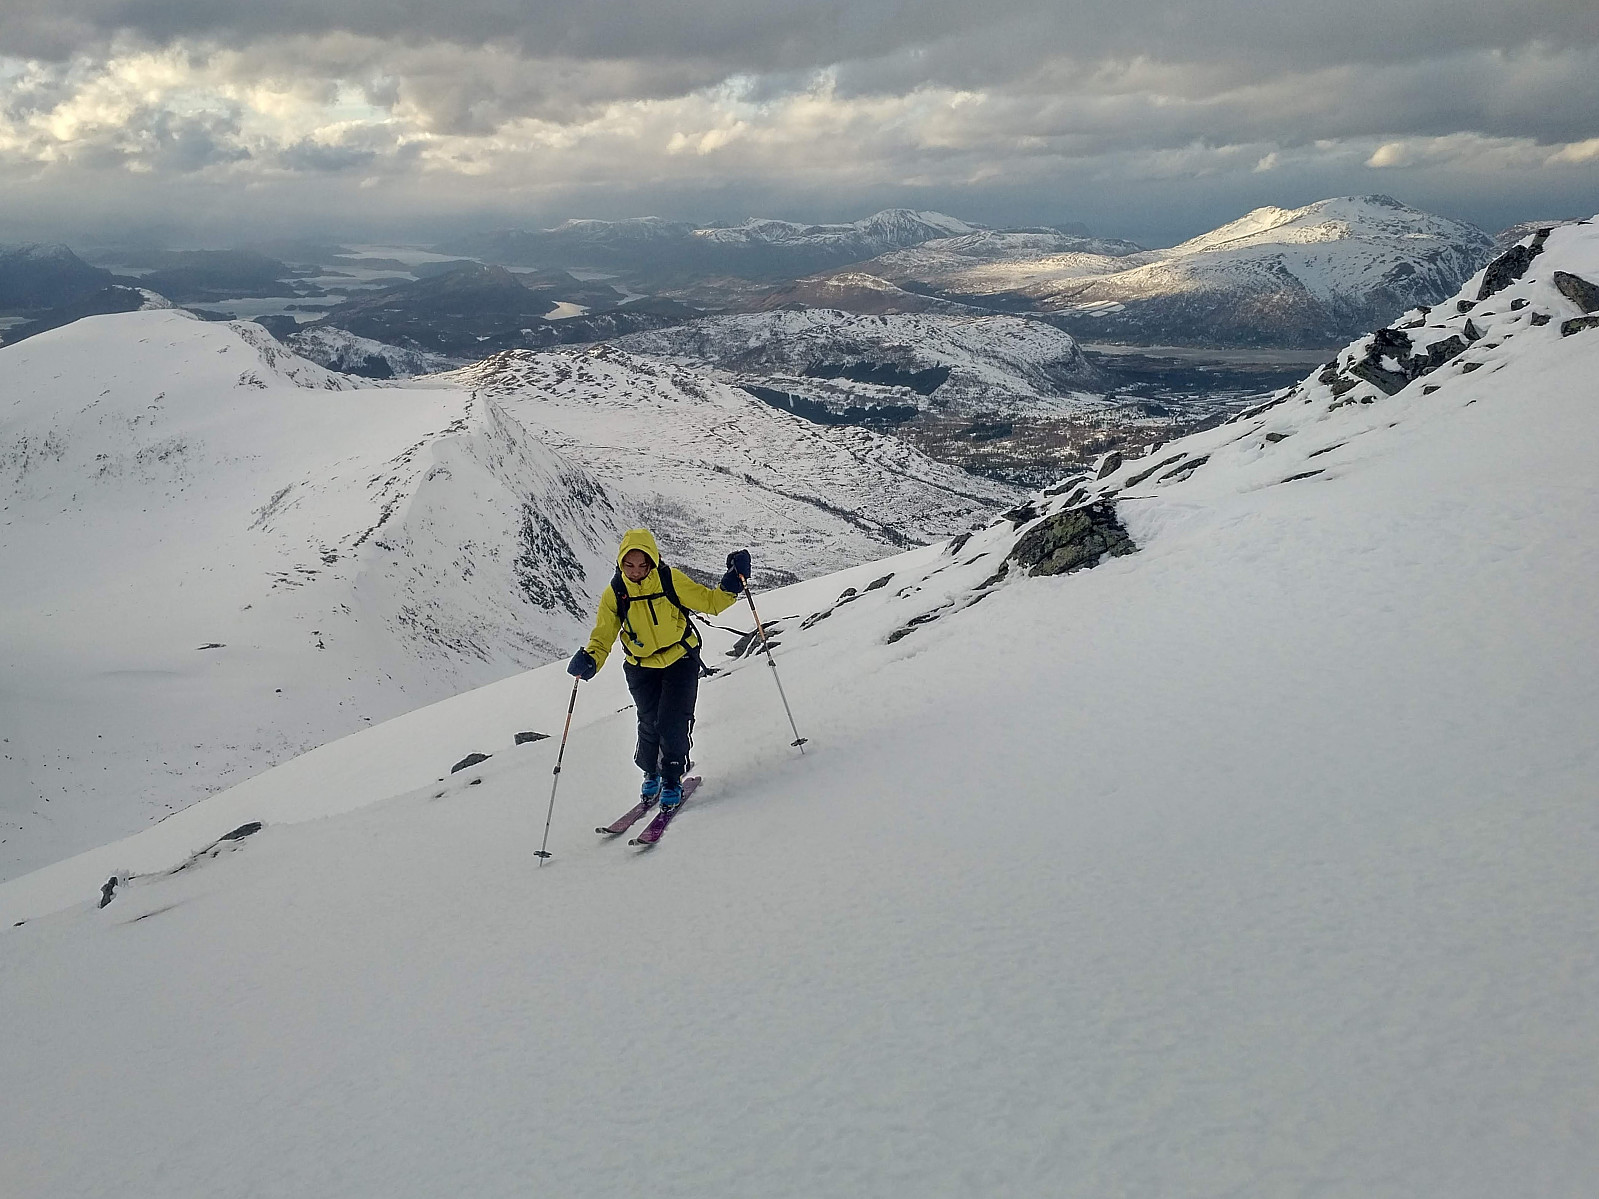
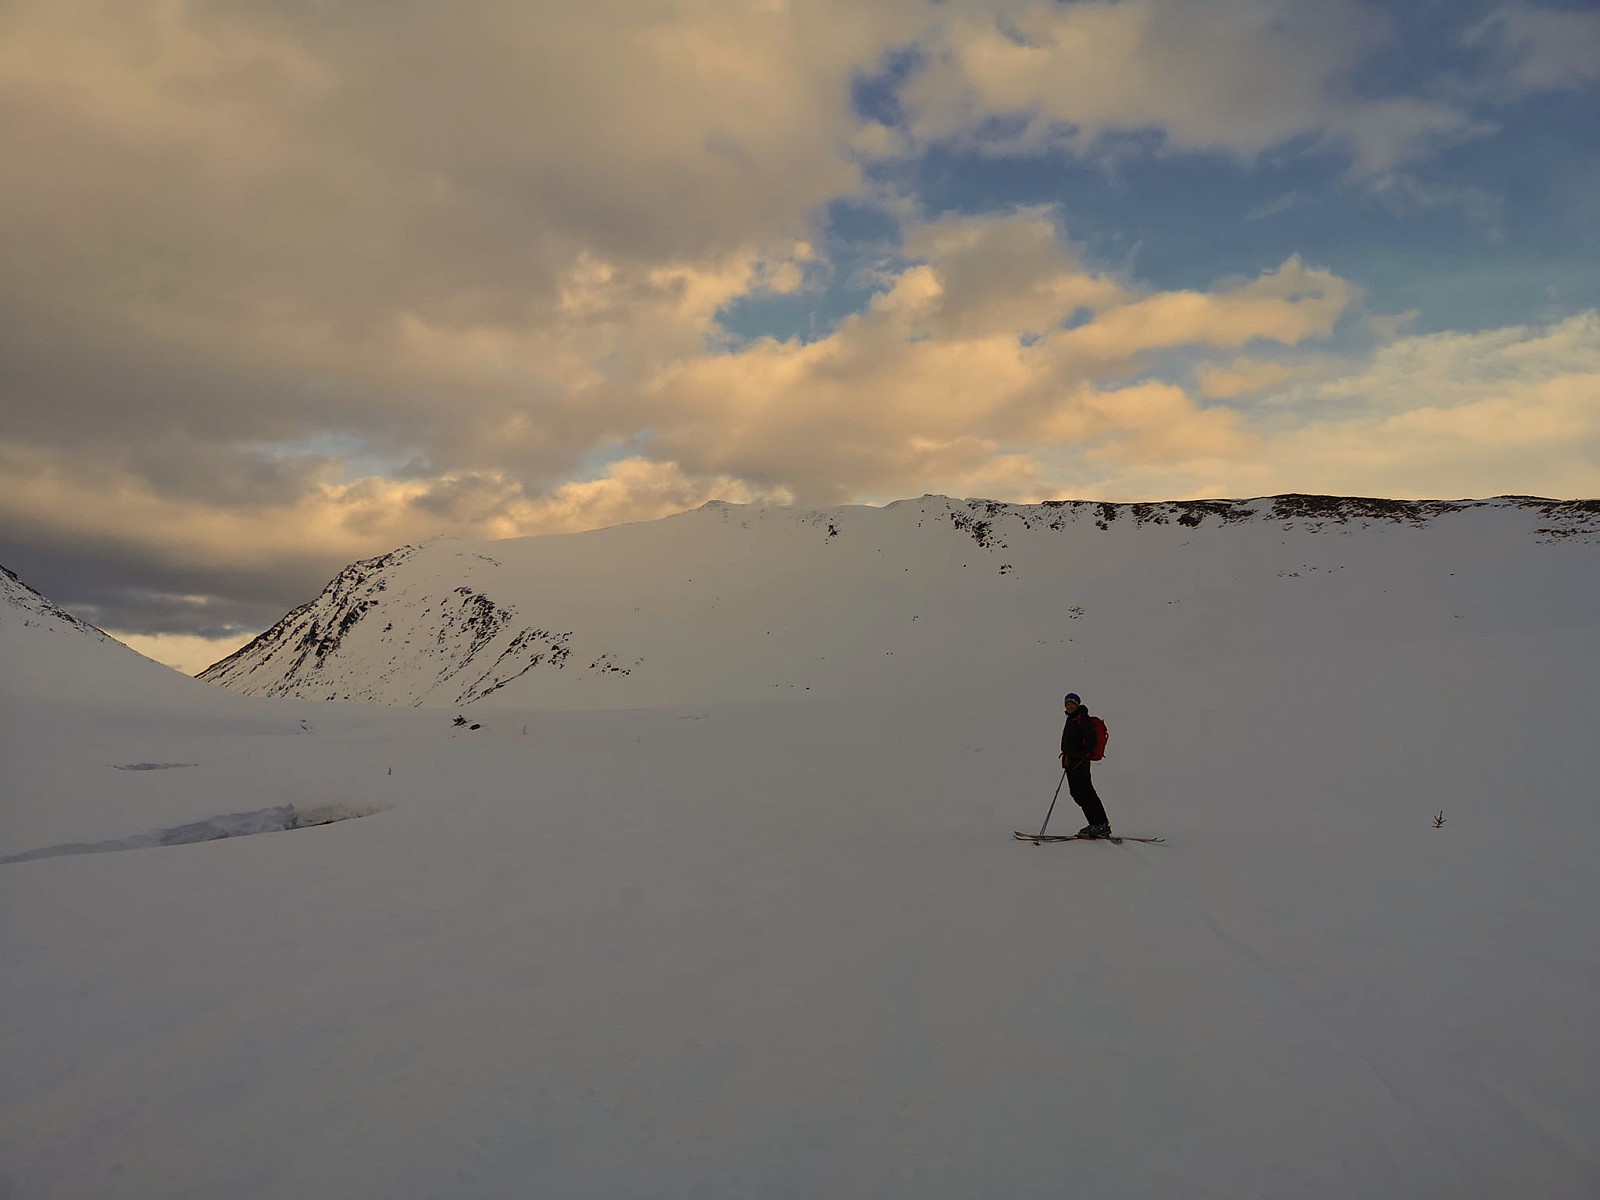
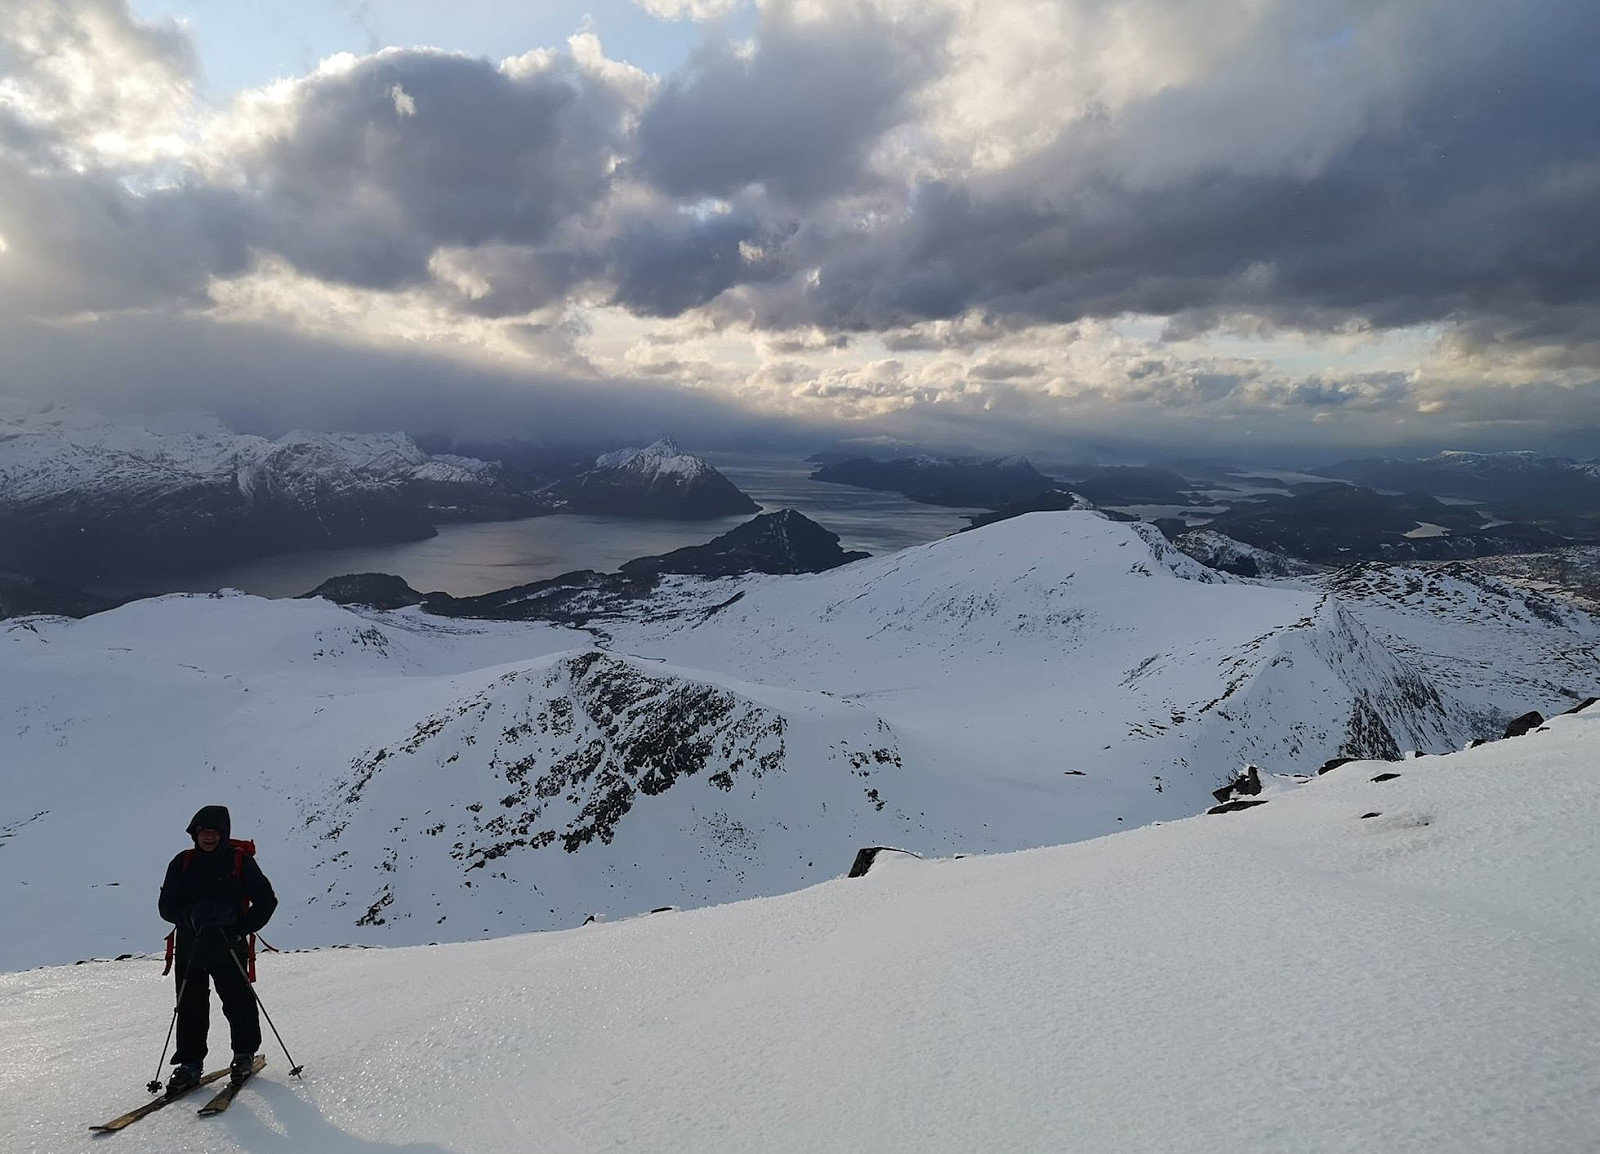
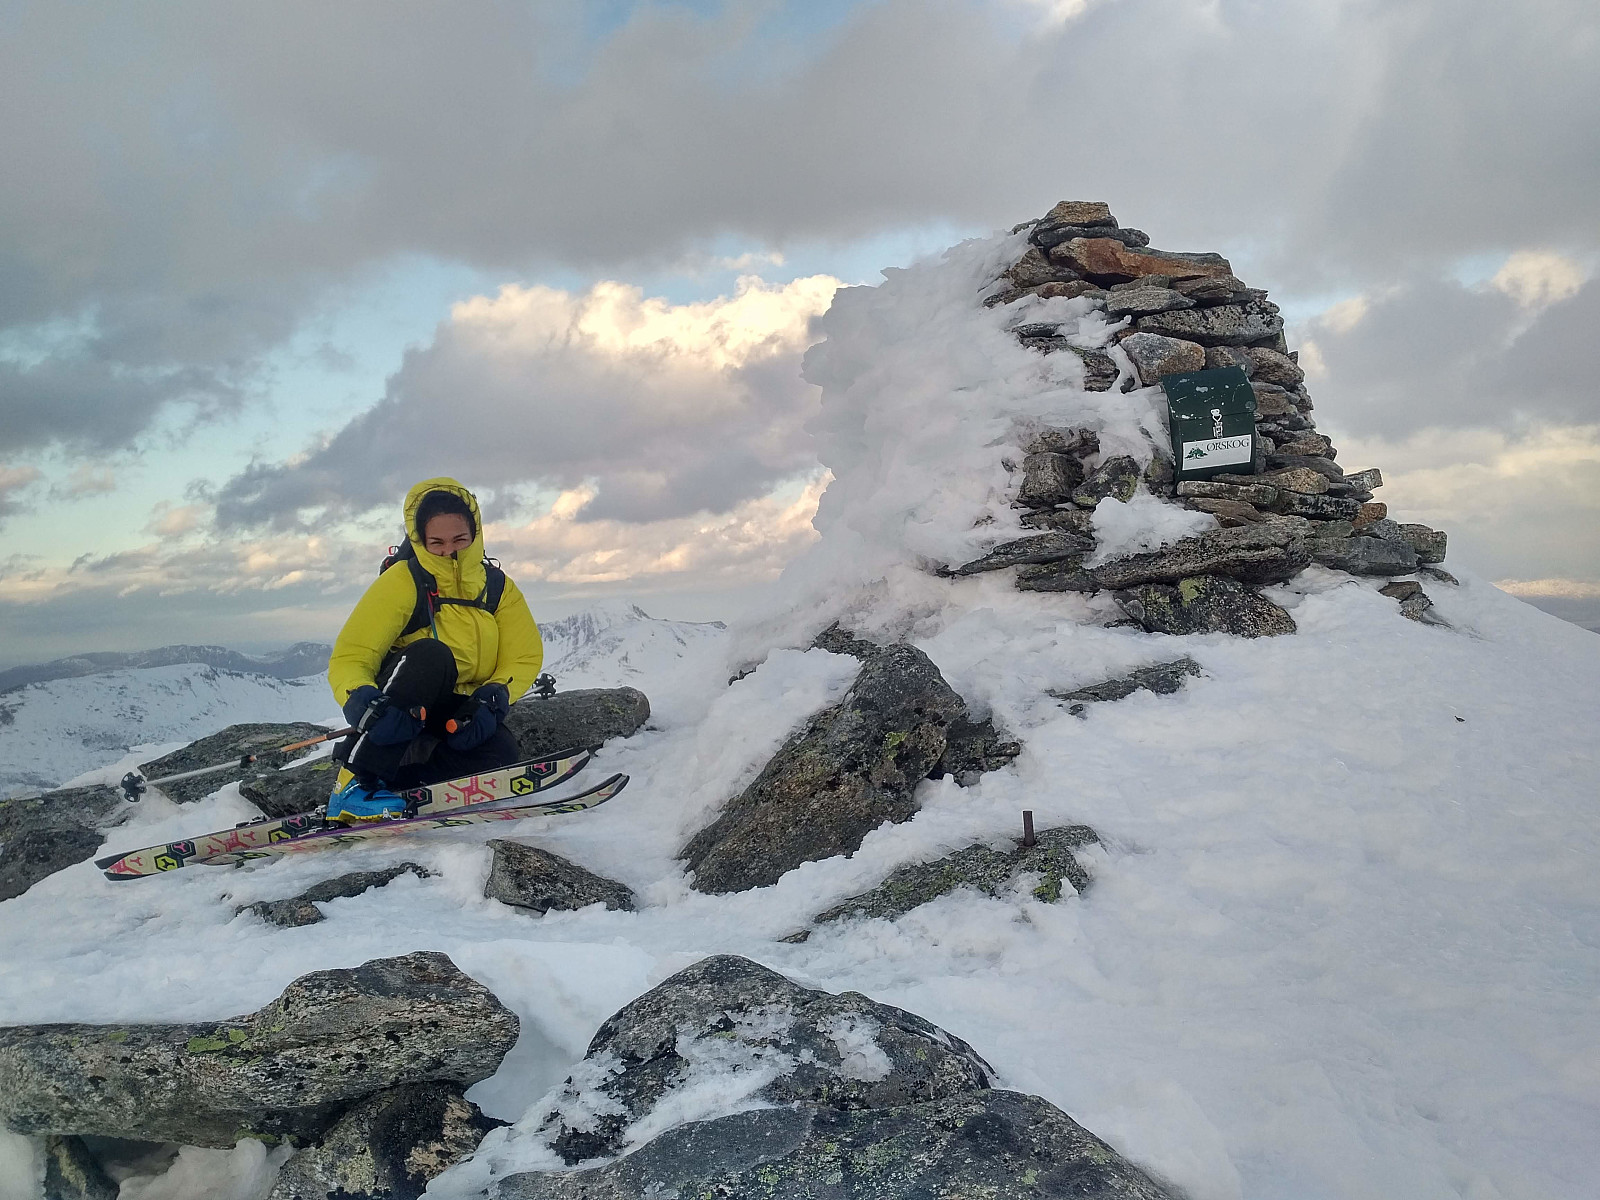
We actually crossed the river a little bit before the water shed area, as it was not very big up here, and moreover, it was covered by a lot of snow. From there we tracked upwards along the snowy slope seen in the left half of image #1. The snow was very dry and fine until we were almost on level with what is usually referred to as the north peak of Mount Høgsvora [i.e. "Nordre Høgsvora"]; whereas from there to the summit the snow was crusty, and at places even icy, and therefore extremely difficult to go skiing upon. A little prior to reaching this level, we actually met a man with his young daughter on their way back down from the mountain. We had seen them a bit ahead of us ever since we had crossed the river, and so we were a bit surprised that they had given up so short a distance from the summit. He stopped and explained to us, however, that it was extremely ice between the north peak and the main peak on the mountain, and that they had to give up, as they hadn't brought any crampons with them. We immediately got a bit concerned, as we hadn't brought any crampons with us either, but we decided to continue towards the summit any way. We didn't bother to visit the north peak, so once in the "saddle" between the two peaks, we took south east towards the main peak, and then was when the trouble started. It was quite icy up there, just as we had been warned, and this last part of our climb became quite difficult. We continued very carefully, planting the steel edges of our skis as deep as we could into the ice for every single step that we took. We somehow managed to get to the summit, but our concern was that you could actually slide as much as 200 meters down the mountain side if you were unfortunate and had a fall on this difficult ice. The trip back down was a little bit easier, though we still had to actively use our steel edges to avoid slipping sideways on the ice, so the only advantage compared to the ascent was actually that we had now removed the skins from under our skis. As soon as we had passed the altitude of the north peak, the conditions were better, and it was all fun again. The rest of trip down to the camping site and our car was nice, with nice, mainly dry snow, though at places a bit wet.

Benutzerkommentare