Across Mount "Bispen" on my Way to Mount "Kongen" (14.08.2019)

| Startsted | Trollstigen Turistsenter (700moh) |
|---|---|
| Sluttsted | Trollstigen Turistsenter (700moh) |
| Turtype | Alpintur |
| Turlengde | 7t 56min |
| Distanse | 7,9km |
| Høydemeter | 2421m |
| GPS |
|
| Bestigninger | Bispen (1461moh) | 14.08.2019 |
|---|---|---|
| Kongen (1611moh) | 14.08.2019 |
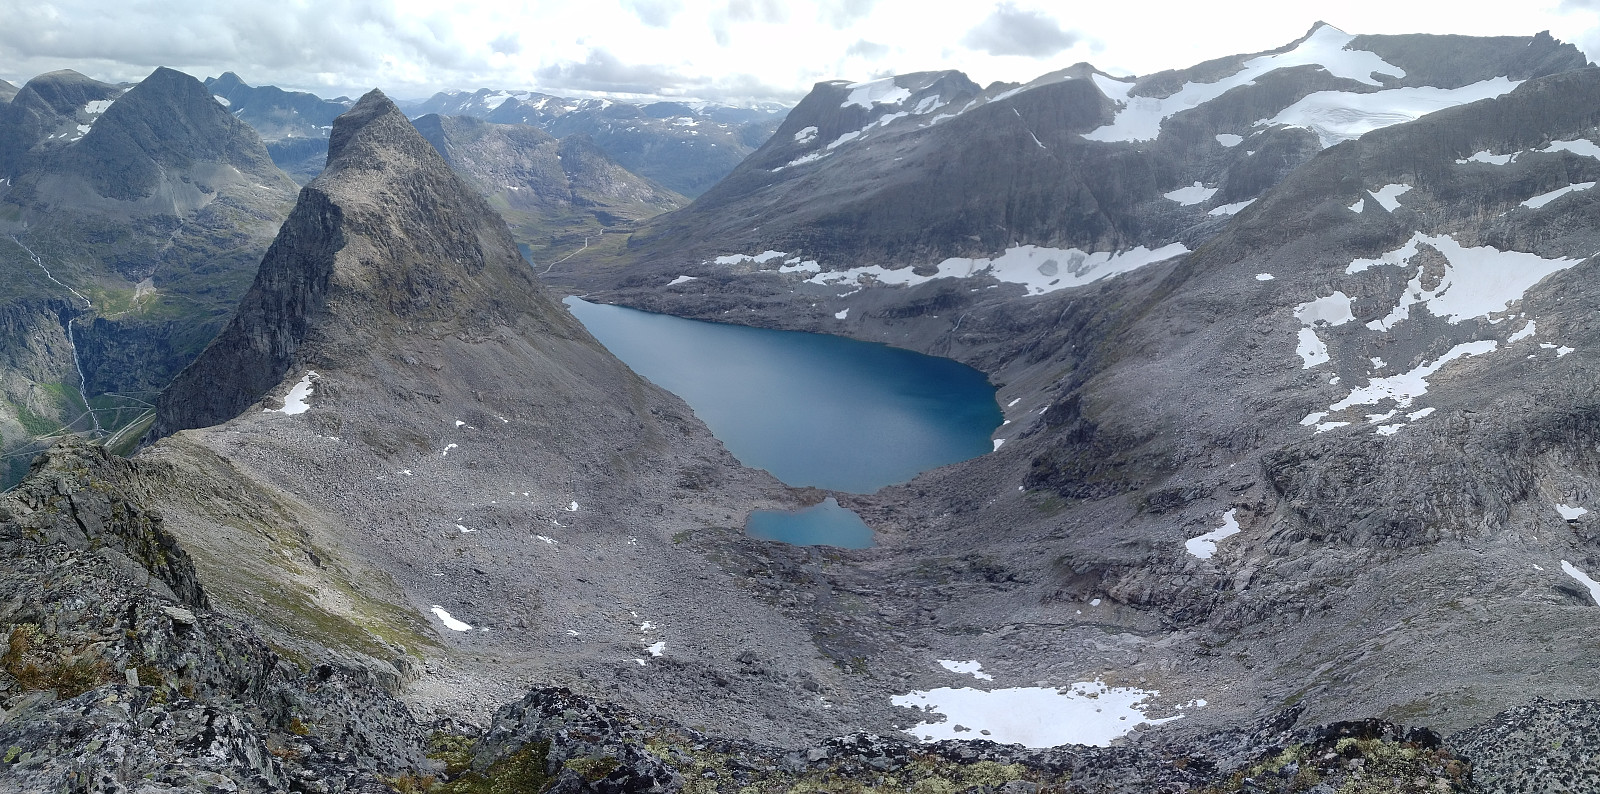
![Image #1: Lake Bispevatnet [i.e. "The Bishop's Lake"] with Mount Finnan on the left side and Mount Bispen [i.e. "The Bishop" on the right side]. Partially hidden behind Mount Bispen, Mount Kongen [i.e. "The King"] may be spotted. Far out to the left Mount Alnestind, which I visited three times on ski last winter, is seen.](https://images1.peakbook.org/images/14939/Solan_20190829_5d68399774df7.jpg?p=xtralarge)
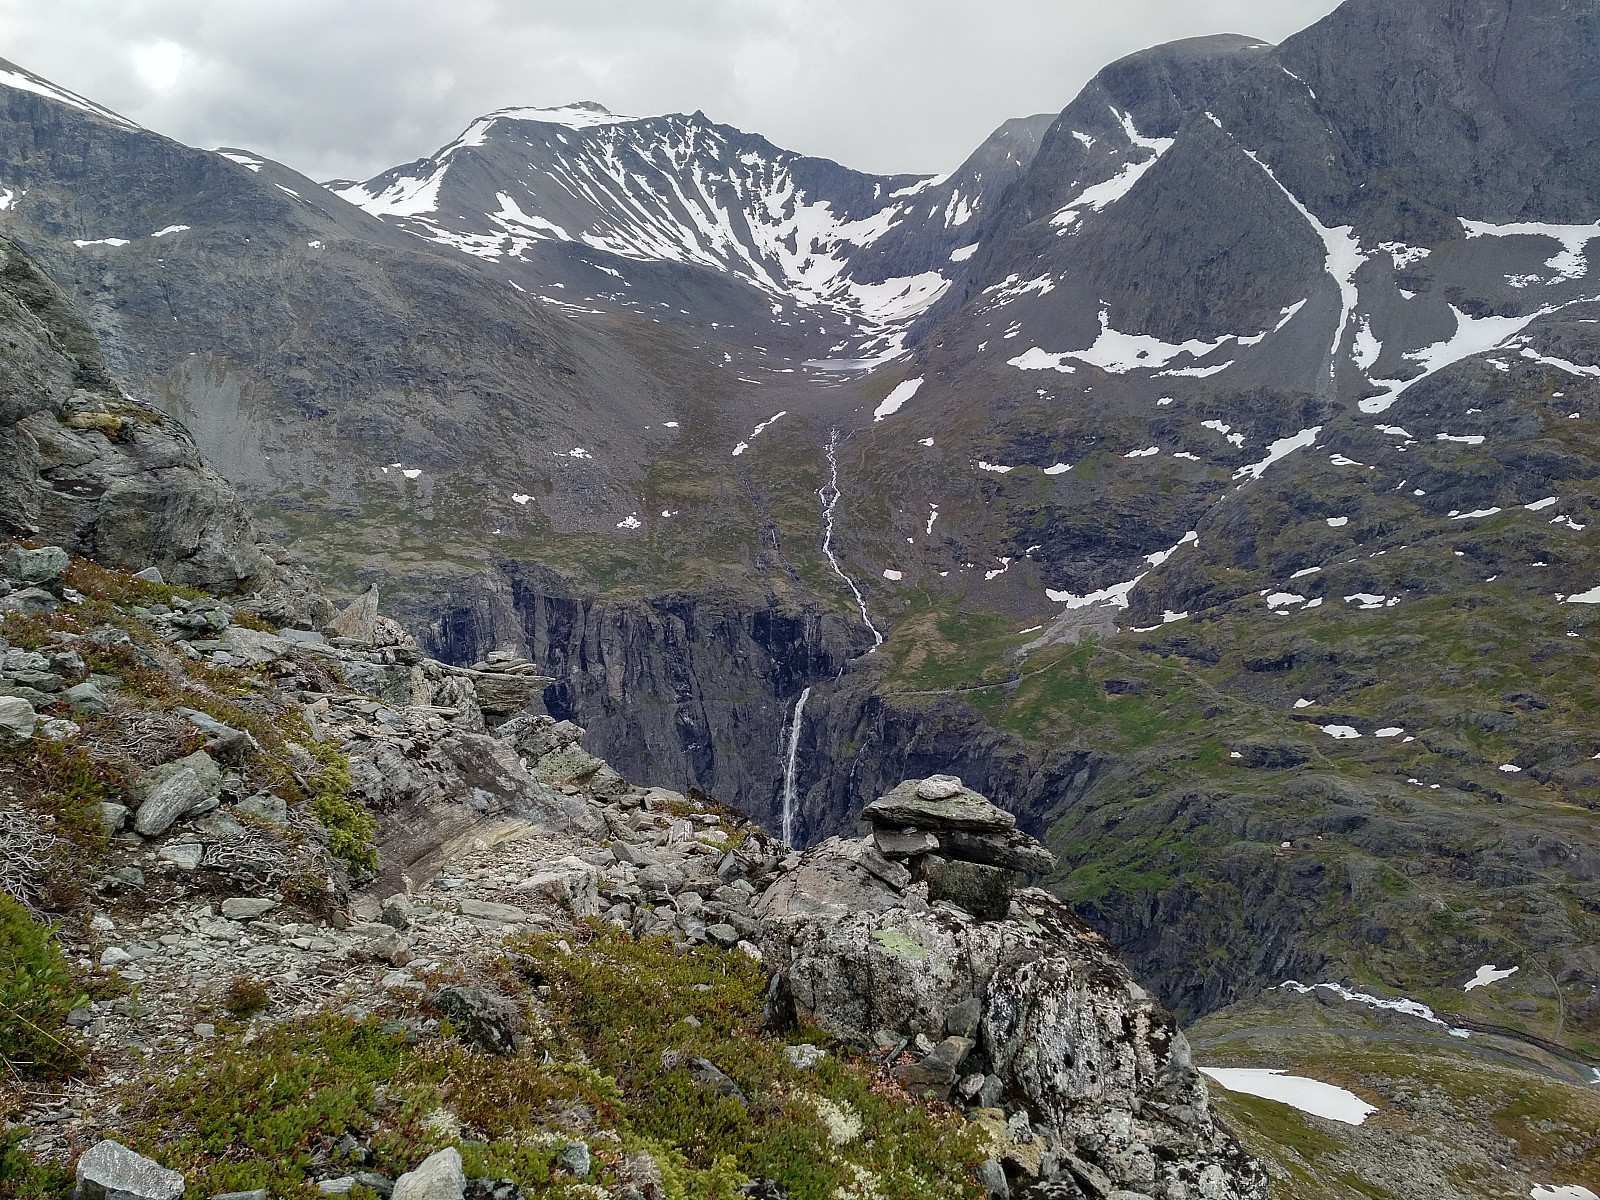
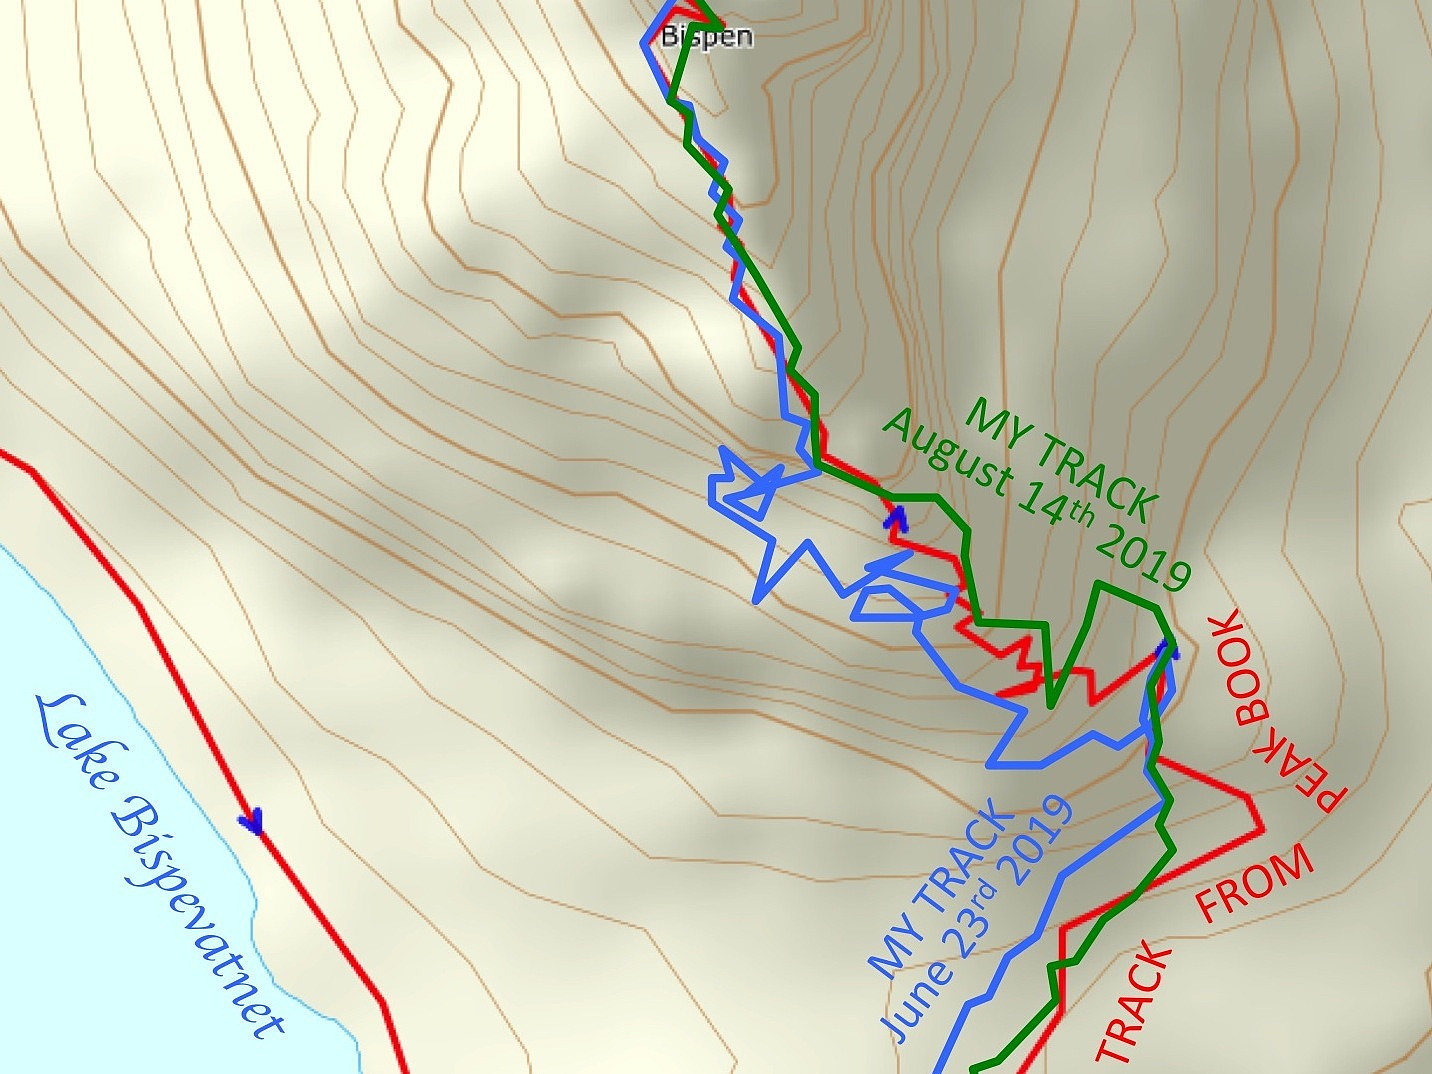
In my pursuit for making a long tour along a mountain range that includes the mountains Bispen, Kongen, and Dronninga [i.e. “The Bishop”, “The King”, and “The Queen”], I set out mainly to explore Kongen [i.e. “The King”] on this particular day. I felt, however, that I hadn’t sufficiently explored the south ridge of Mount Bispen yet (see my tour description of June 23rd 2019); hence I decided to climb both the Bishop and the King on this day. As on previous occasions, I drove to the Trollstigen Tourist Centre, and parked the car there. The parking lot is located at about 700 m.a.m.s.l., and from there you start climbing towards Lake Bispevatnet [i.e. "The Bishop's Lake], which is located at about 1000 m.a.m.s.l., between the mountains Finnan, Bispen and Kongen (see Image #1). The hike up to Lake Bispevatnet takes about 25 minutes if you're in good shape, and once you're there, you'll see both Mount Bispen and Mount Kongen on the right side of the lake.
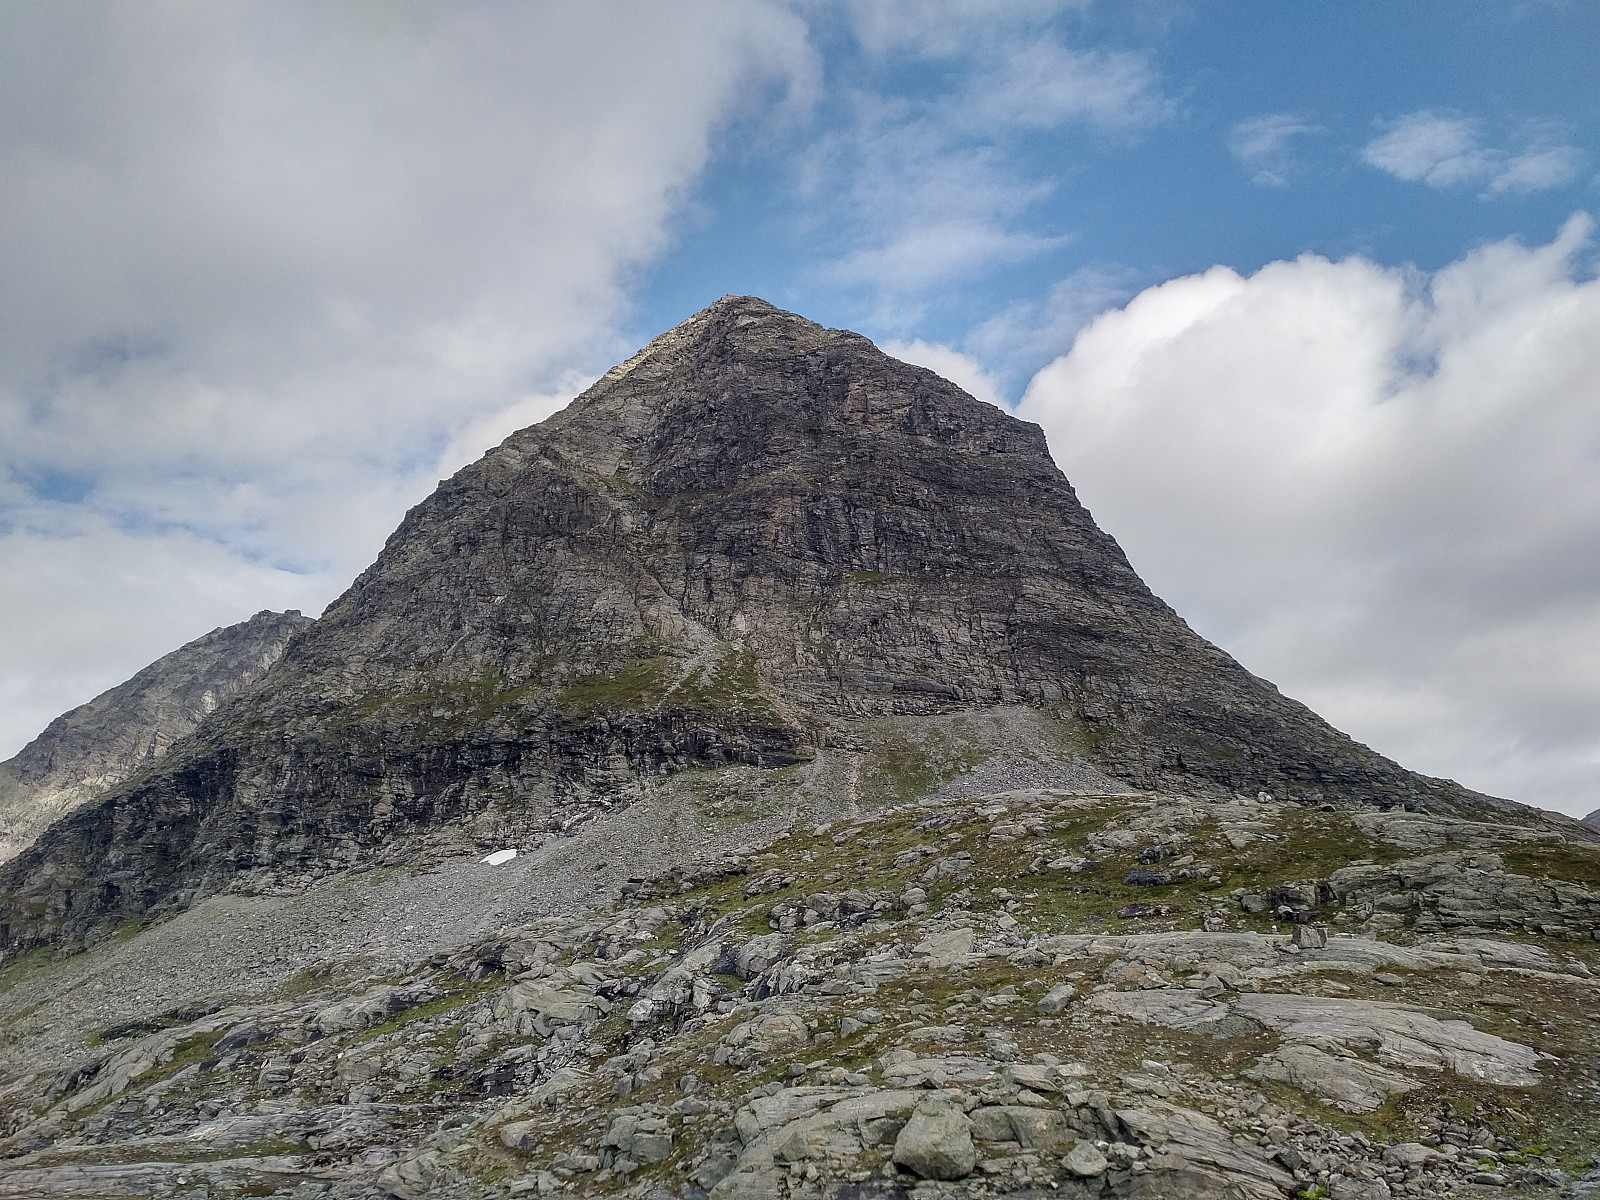
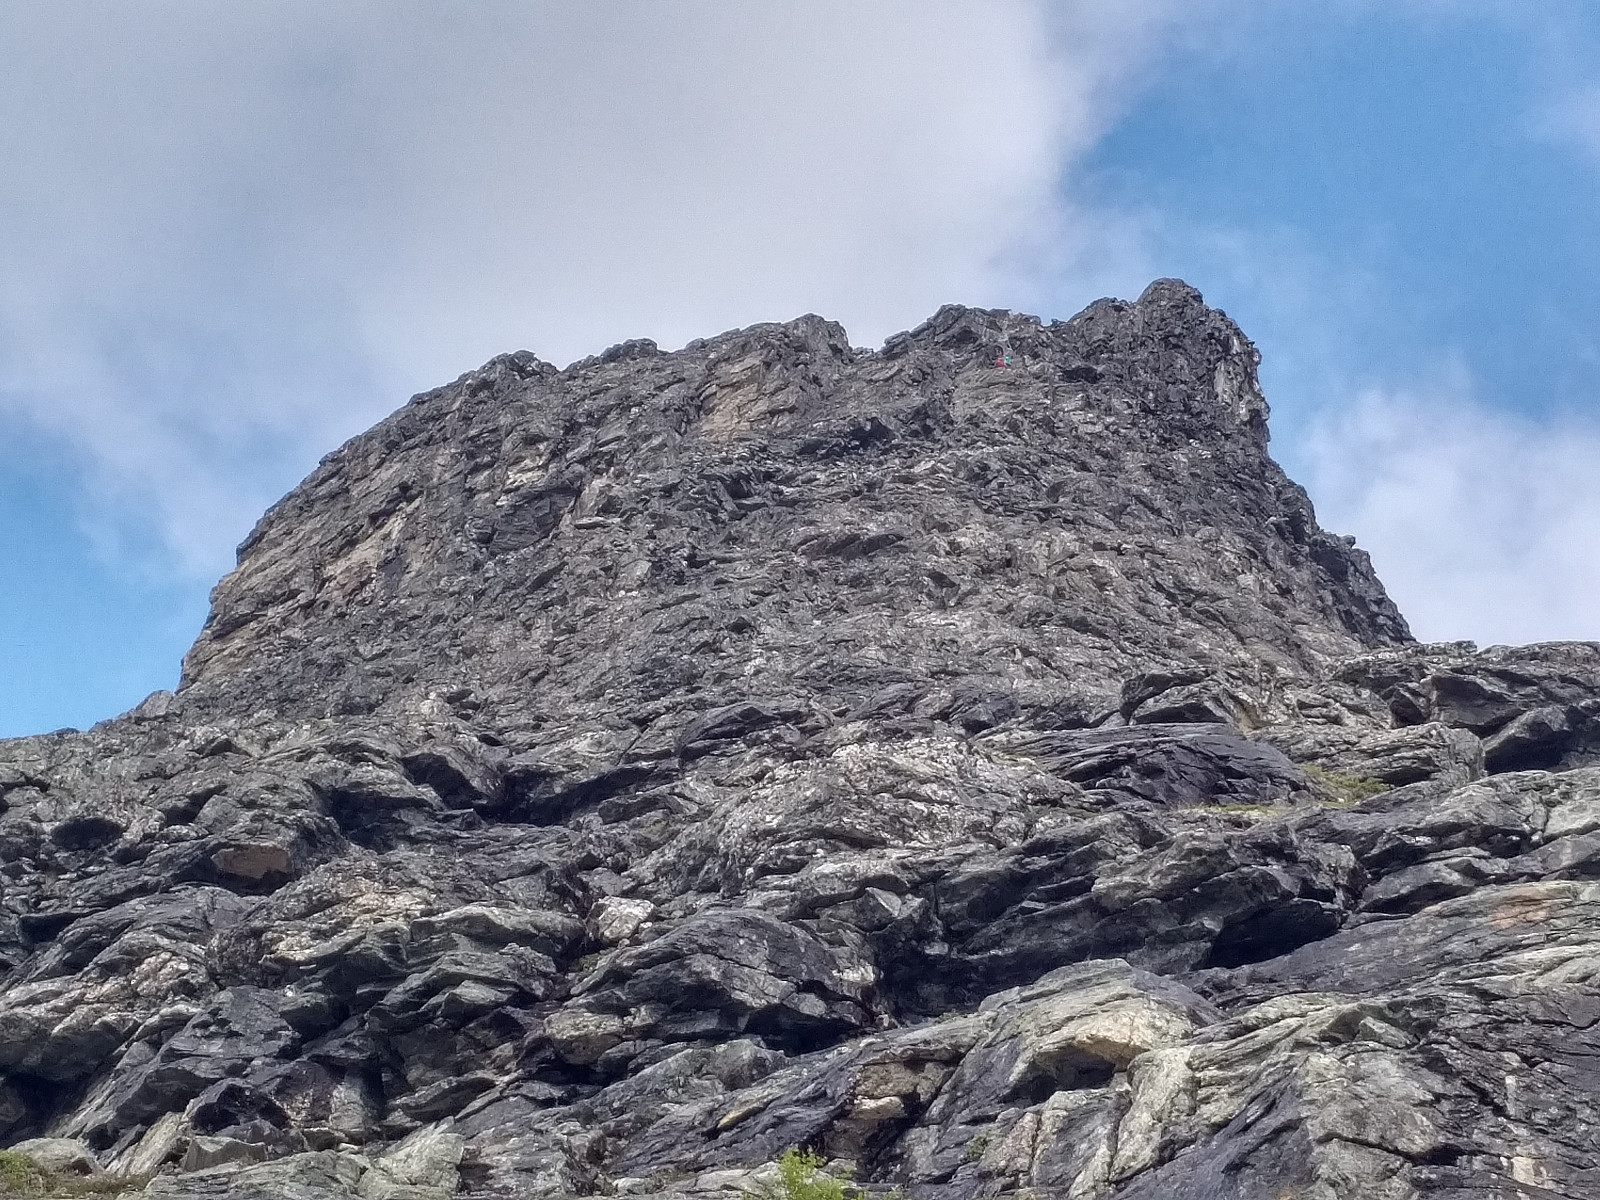
From Lake Bispevatnet I headed towards the "foot" of Mount Bispen, and then I started the climb. The first part of the climb is not very difficult, but as you ascend, the mountain gets steeper, and the climb more challenging. Last time I had climbed this southern ridge of Mount Bispen, I ended up climbing it too far out on the western aspect of the ridge, so this time I was focusing a bit to make sure I was staying right on the south ridge as I was supposed to to. I might have been a little bit out on the eastern side of the mountain at the beginning of the climb, but in this area the stones were largely covered by moss and lichen, which made them quite slippery, so I soon mooved a bit westwards to ensure my own safety a little bit, and so I ended up climbing along the south edge proper for the rest of this ridge. I could hear some voices, and I could see some people higher up in the mountain side (Image #3), so I kind of knew I was on the right trail.
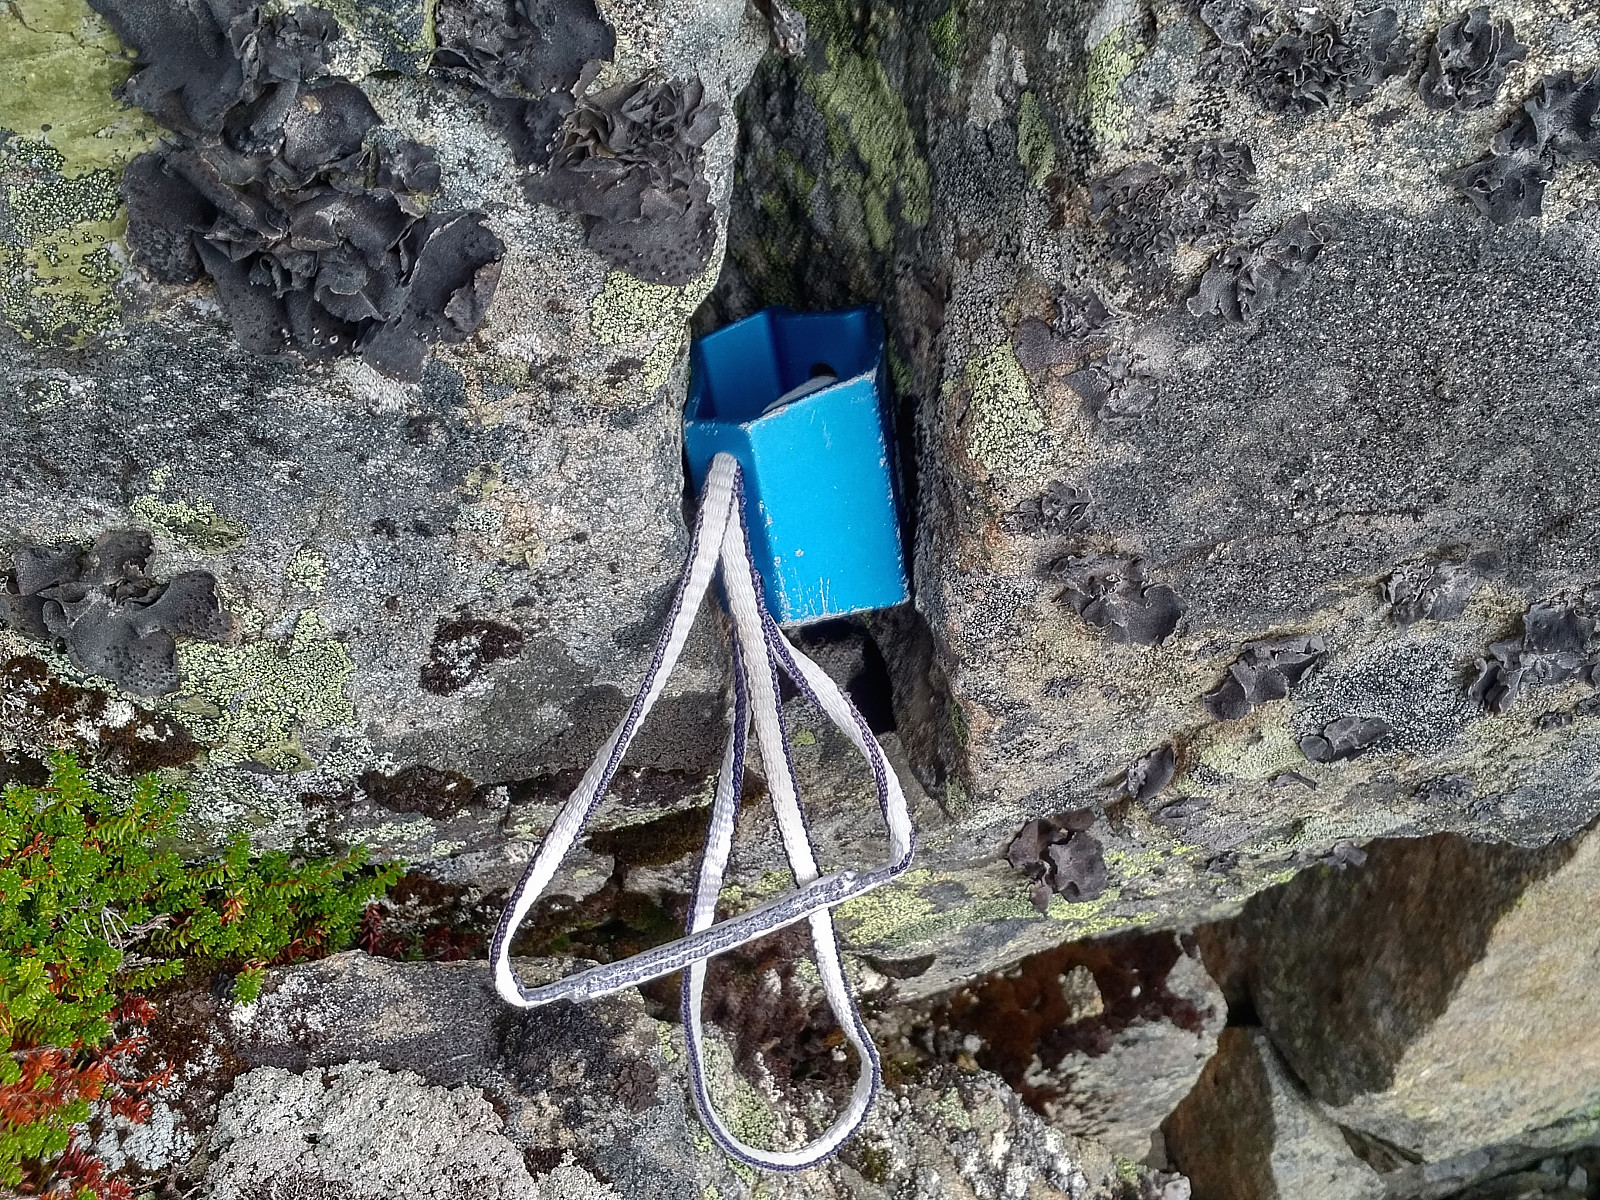
According to some tour descriptions that I've read, the track up the south ridge of Mount Bispen is supposed to be fairly well marked out by a chain of stone piles. Once you get to the foot of the mountain, they are, however, at least in my opinion, way too far apart for you to rely on them. Both on this occasion, and on my previous climb up this ridge (i.e. on June 23rd 2019), I tried to look out for the piles, but on both occasions I encountered only one stone pile during the steep part of the climb. The stone pile that I encountered this day, and the one that I encountered in June, were at least two different stone piles though (images #4 and #5); indicating that there probably is a number of stone piles up there, it might be just a question of spotting them. It is a problem, however, that such small stone piles tend to be overturned and demolished by snow and wind during the long Norwegian winter.
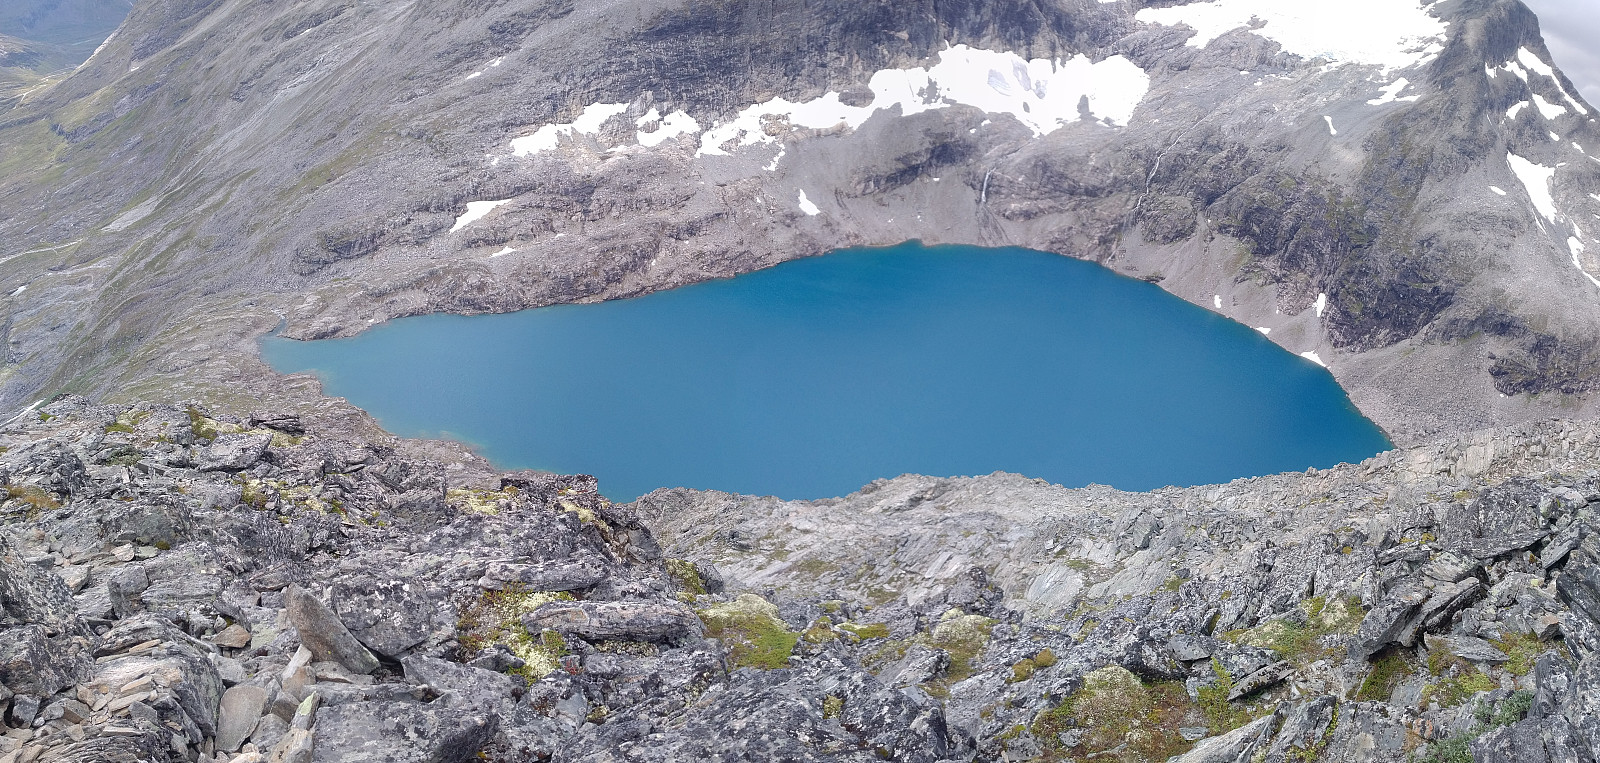
I was, however, able to make my way somehow up the steep mountainside of this ridge, and soon I was continuing up the not so steep slope of the upper part of the ridge. The water of Lake Bispevatnet had a nice blue, almost turquoise color when viewed from up here, and I took time to shoot a panorama photo (image #8).
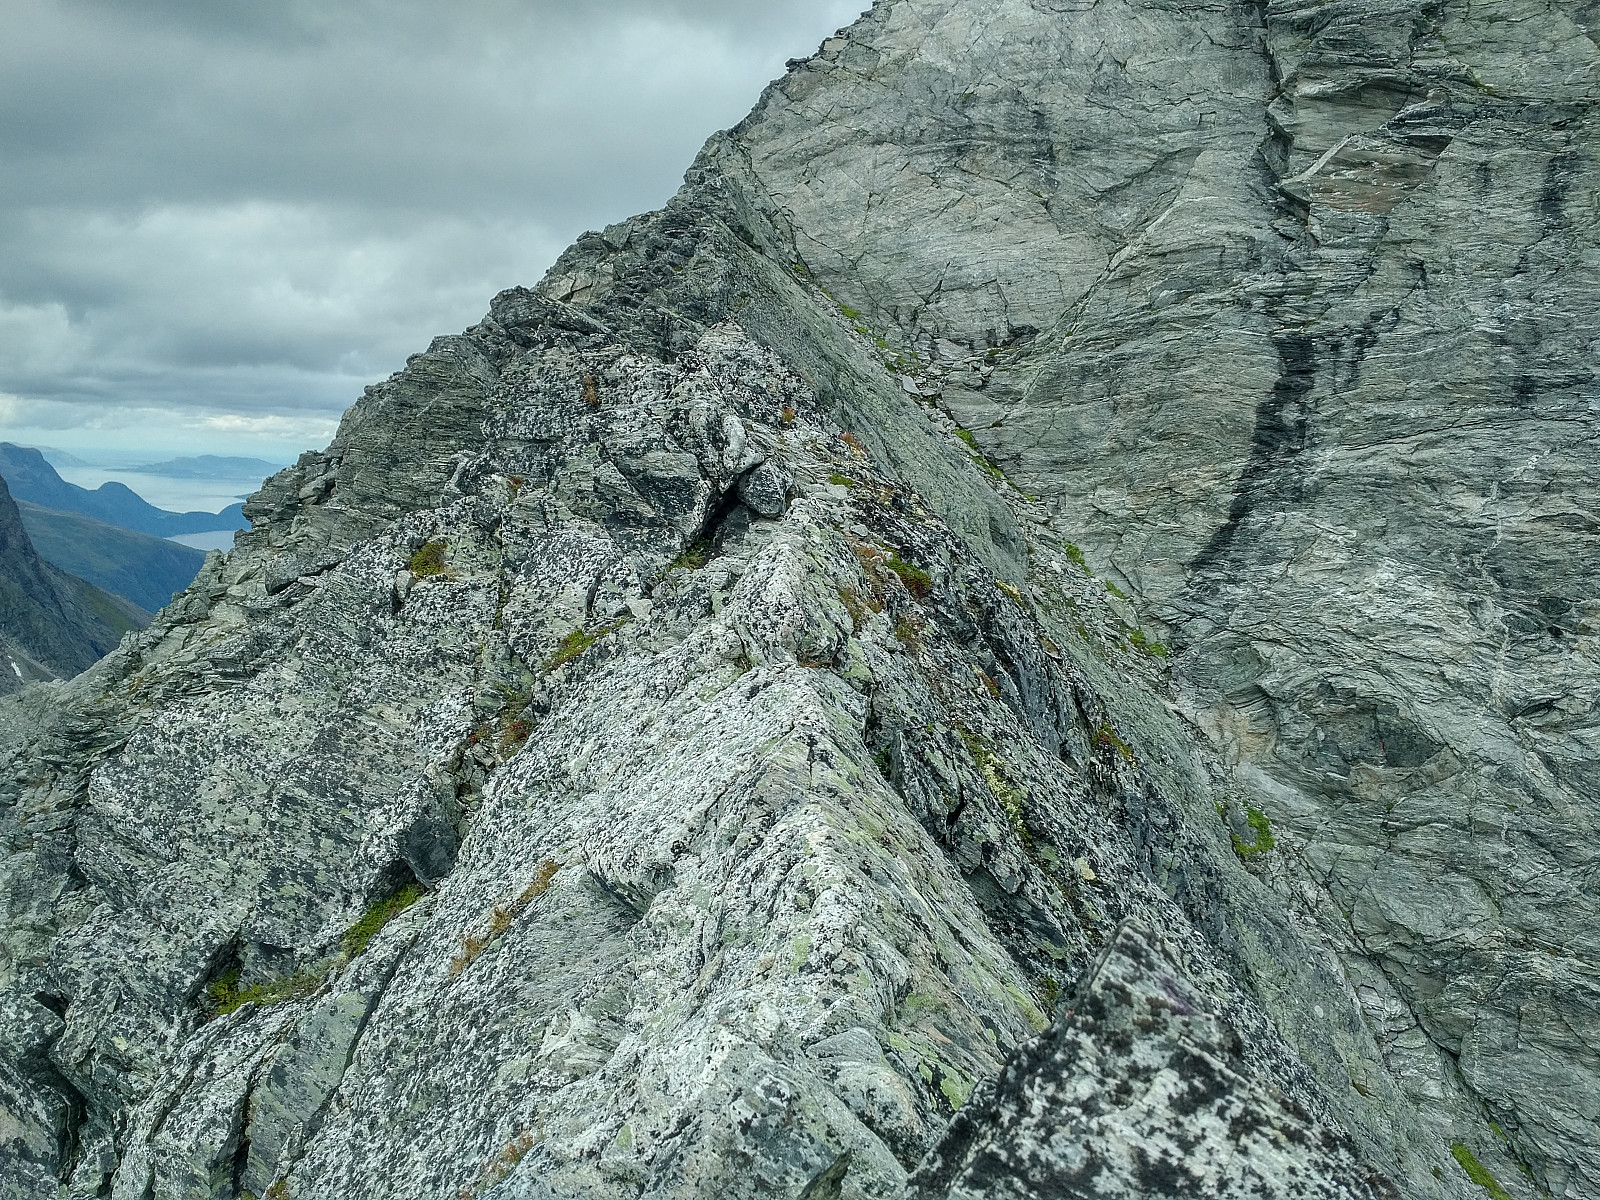
The south ridge of Mount Bispen flattens out as it approaches the summit and the "main body" of the mountain, but as it flattens out it becomes quite narrow, and takes the form of a rooftop (Image #10 and #11); and this narrow isthmus that you have to cross, is generally referred to as The Roof [Norwegian: Taket]. If there's no wind, and you have the balance of a circus artist, you could possibly walk across this isthmus upon the very rooftop; but there's no "security net", and I think most climbers prefer to cross The Roof either by walking along the left side of it while holding onto the "Rooftop" with the hands, or by sitting across it with one leg on each side as you move across.
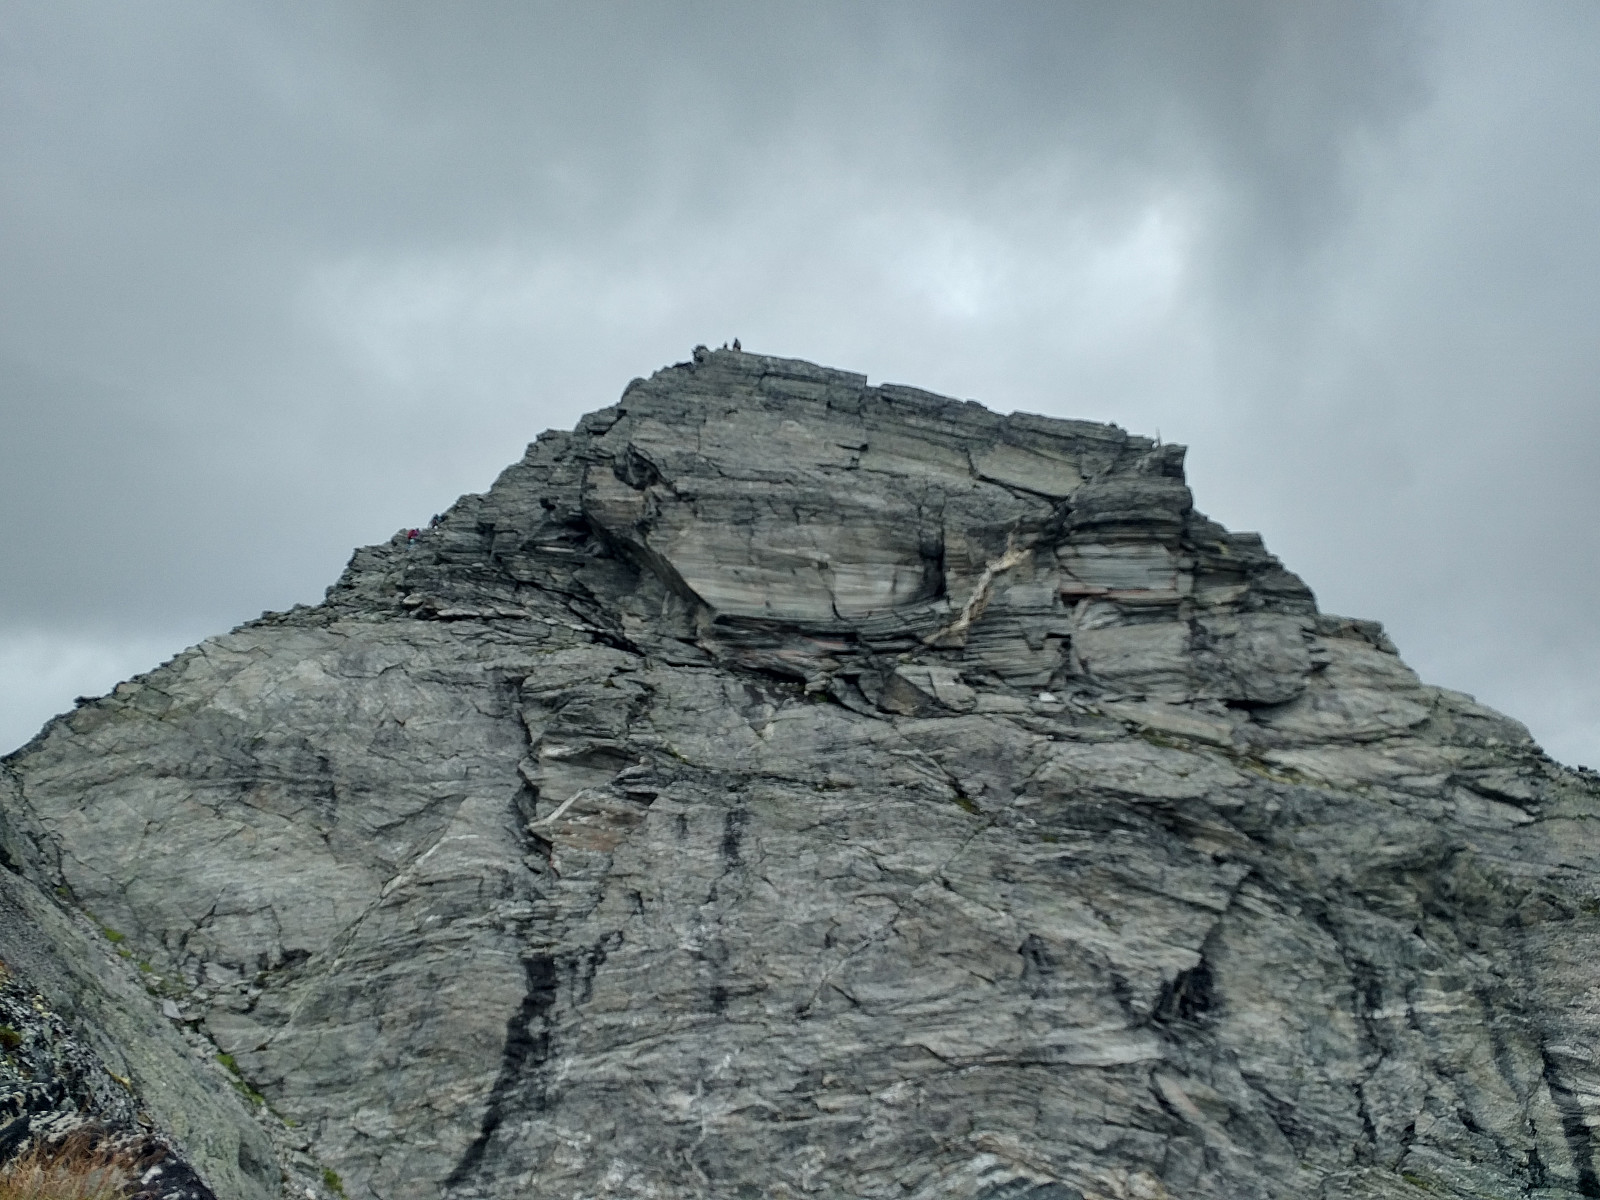
Having traversed "The Roof", there's only a short climb of a few meters up to the summit of Mount Bispen, and at this point The South Ridge Route meets the Standard Route to the mountain. As I reached the summit, I heard a number of voices, and there, in a large pit on the other side of the cairn that has been built on the summit; was a team of 5 climbers having their lunch/picnic. Judging from their equipment, they had just climbed the very same route as I had. This was quite embarrassing to me, however, as they were all having nice helmets and stuff, while I had nothing of the sort. They were extremely polite, though, and no one made any comments on the issue. I just ate some bread that I had brought with me, had something to drink, and the shot a few photos from the summit plateau (Images #11 and #12), before I said goodbye, and wished the company a nice trip for their descent. They are quite right, however: The climb up Mount Bispen, whether you use the Standard Route or the South Ridge Route is very steep, and there is a risk of being hit by stones that have been loosened by other climbers, hence there is every reason to recommend the use of a helmet. In order to avoid such embarrassing moments in the feature, I went to a sport's store and bought myself a climber's helmet the very next day.
From the summit of Mount Bispen, I then started descending along the Standard Route. This route is in no way as steep as the South Ridge Route, but there's a lot of loose stones and gravel along the path, so it's easy to slip, some of the stones that you thread on might tend to turn over, and sometimes a whole bunch of stones that you're standing on will slide half a meter or so while you are standing on them. This route is pretty well marked out, in part by small stone piles, and in part by read paint on stones along the track.
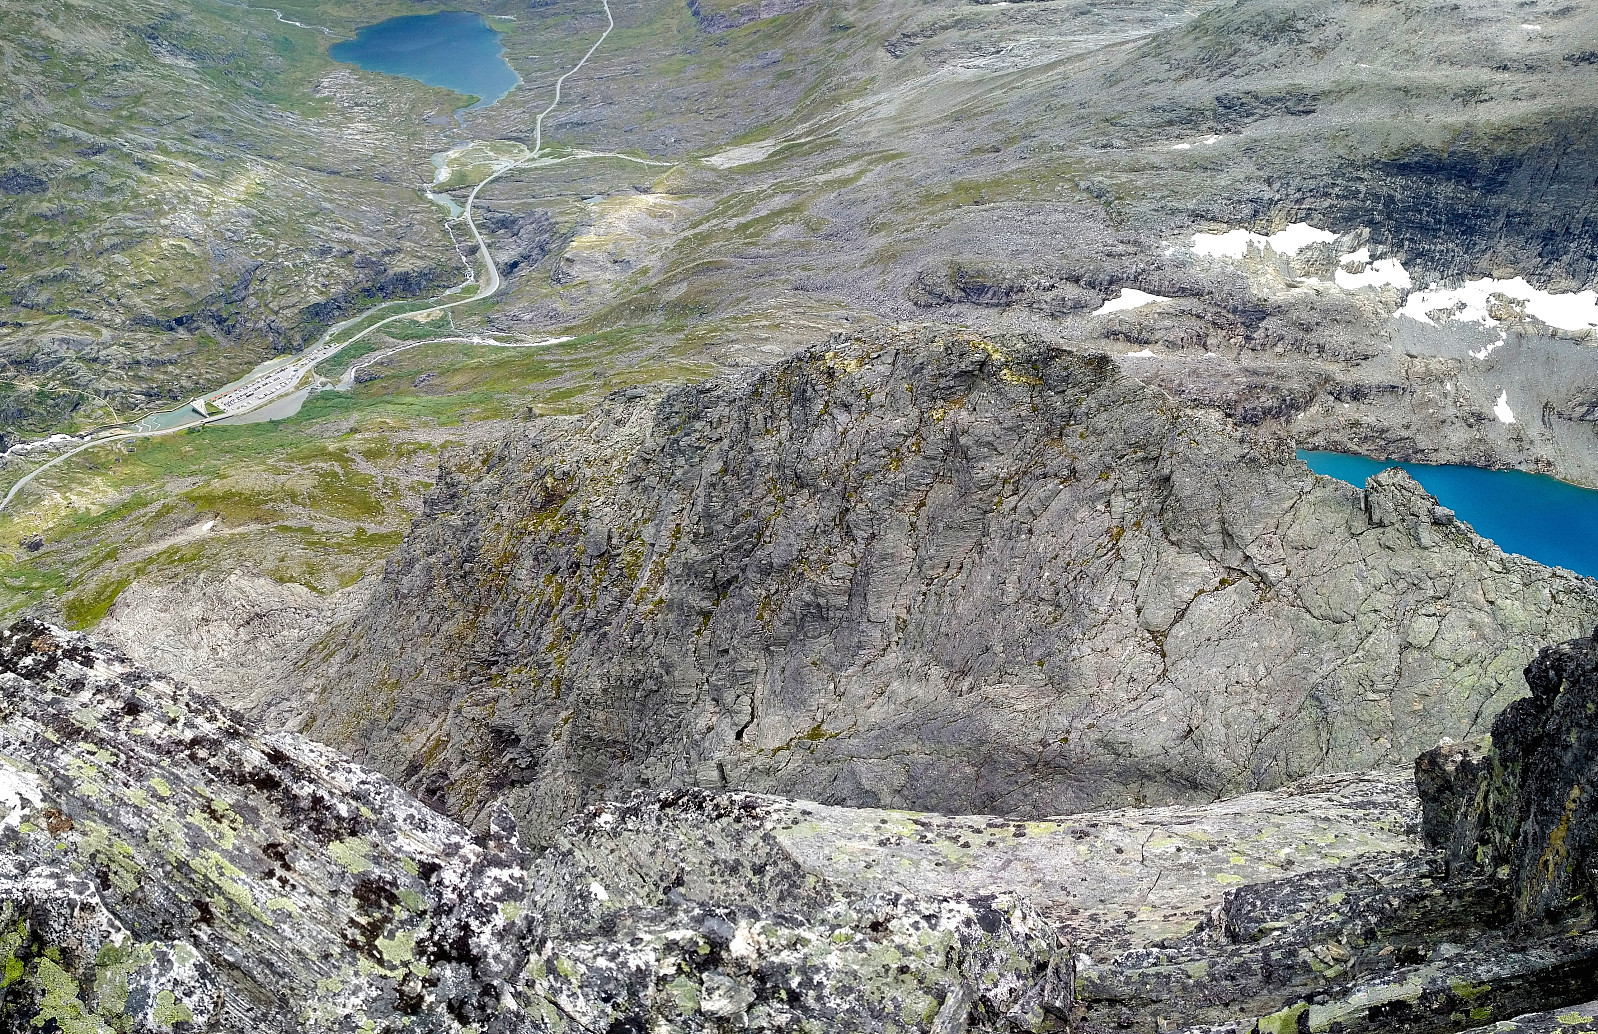
![Image #12: Mount Kongen [i.e. "The King"] as seen from the top plateau of Mount Bispen [i.e. "The Bishop"].](https://images1.peakbook.org/images/14939/Solan_20190901_5d6bbdd866d59.jpg?p=xtralarge)
![Image #13: Mount Kongen [i.e. "The King"] as seen from the mountain ridge that leads up to it, usually referred to as the south ridge of the mountain.](https://images1.peakbook.org/images/14939/Solan_20190901_5d6bbe88c4c53.jpg?p=xtralarge)
From the gorge between Bispen and Kongen, I embarked right away on the southern mountain ridge of mount Kongen; because just as The Bishop has a south ridge, so has The King, the difference being that the south ridge of The King is the route regarded as the Standard Route of this mountain. The south ridge doesn't take you all the way to the top of the mountain, however, it only takes you high up on the western face of the mountain (Image #12). On the western aspect of The King, there is a number of ridges with mountain chutes in between them. Along the southern ridge of Mount Kongen, the path has been marked out with small stone piles; whereas once the path reaches the western aspect of the mountain, it is marked with red paint spots on rocks and stones upwards to the summit.

The chute seen on image #15 is the one usually taken towards the summit. A close-up view of this image will reveal at least two red paint spots on the rock. In the upper part of this chute, you then climb across the ridge to the right, into another chute, which you follow to the summit. The place to climb across the ridge is also outlined by red paint spots. That climb/crossing isn't very difficult when climbing up, but it sure is a bit challenging when descending the mountain. I might be wise, actually, to memorize the steps used for the climb at this point, so that you can follow them in reverse when climbing back down. There is an alternative route for this last climb towards the summit of Mount Kongen. It is possible to just follow the left ridge on Image #15 towards the summit, but the climb then becomes a bit more challenging, and one or two places more like the climb up the south ridge of Mount Bispen. This alternative route is marked out with small stone piles that you may follow towards the summit.
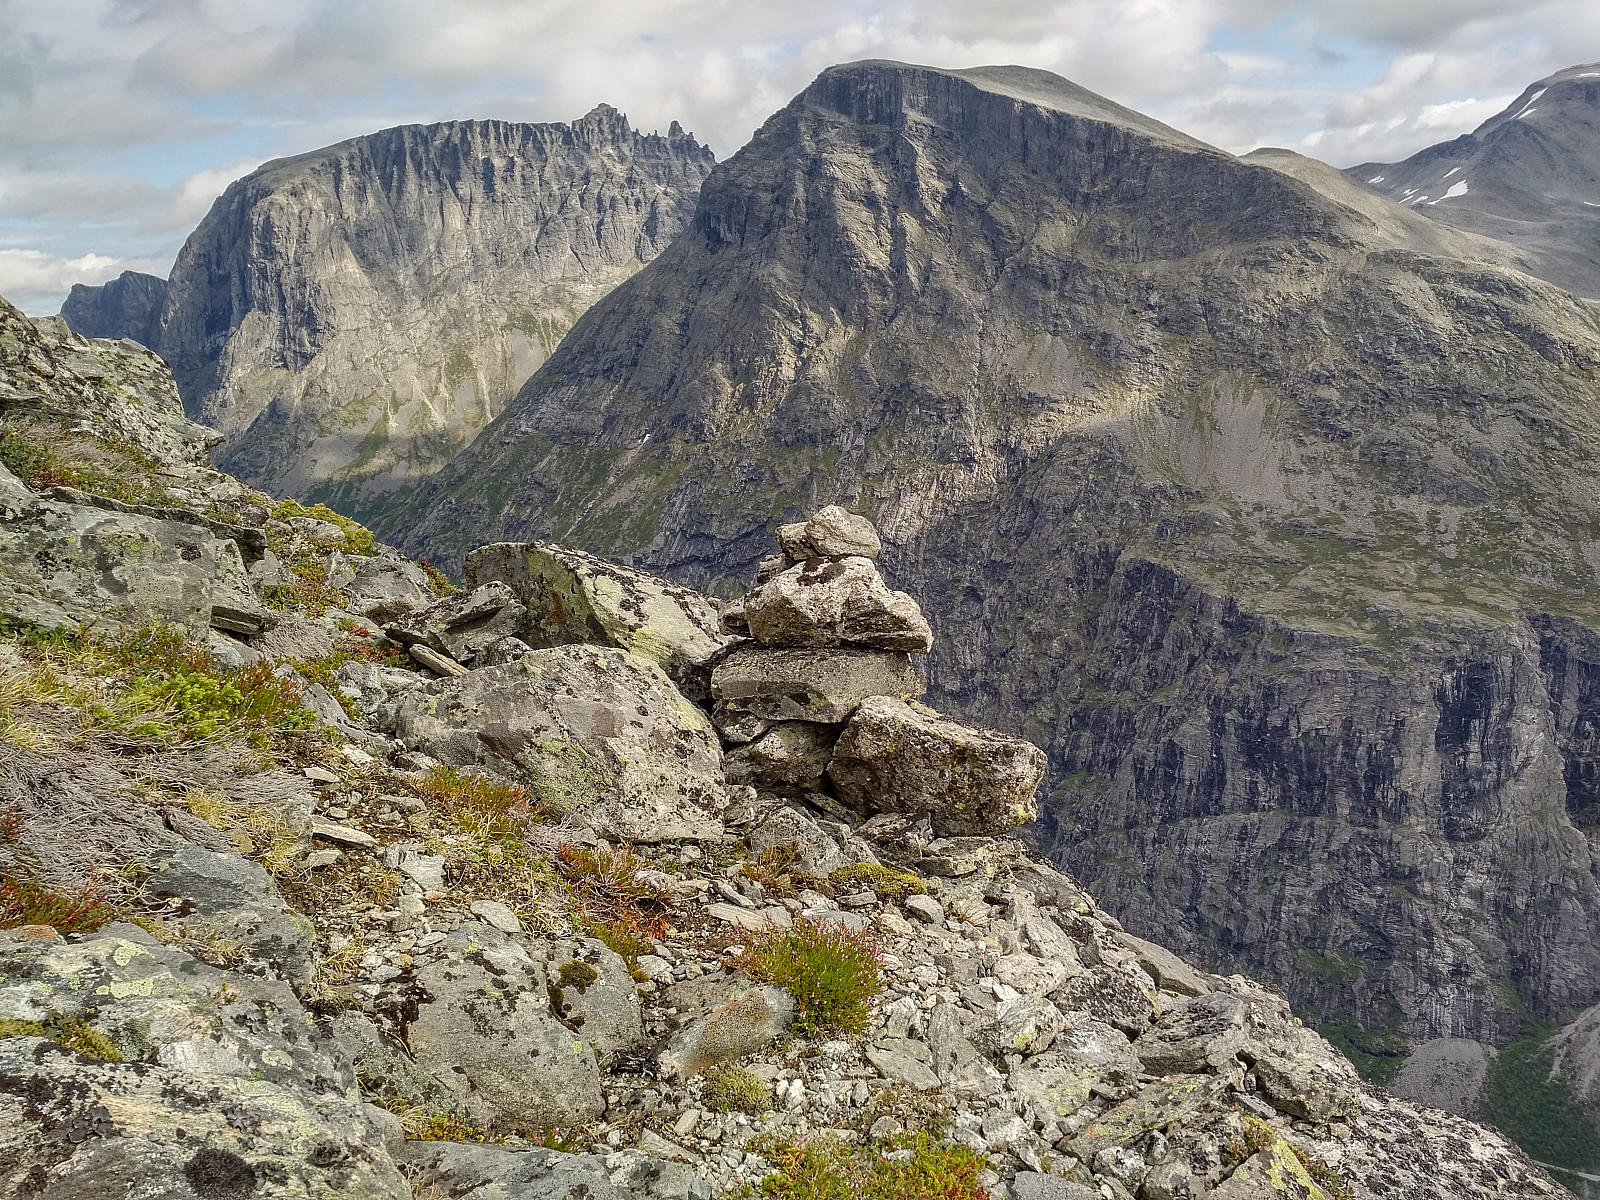
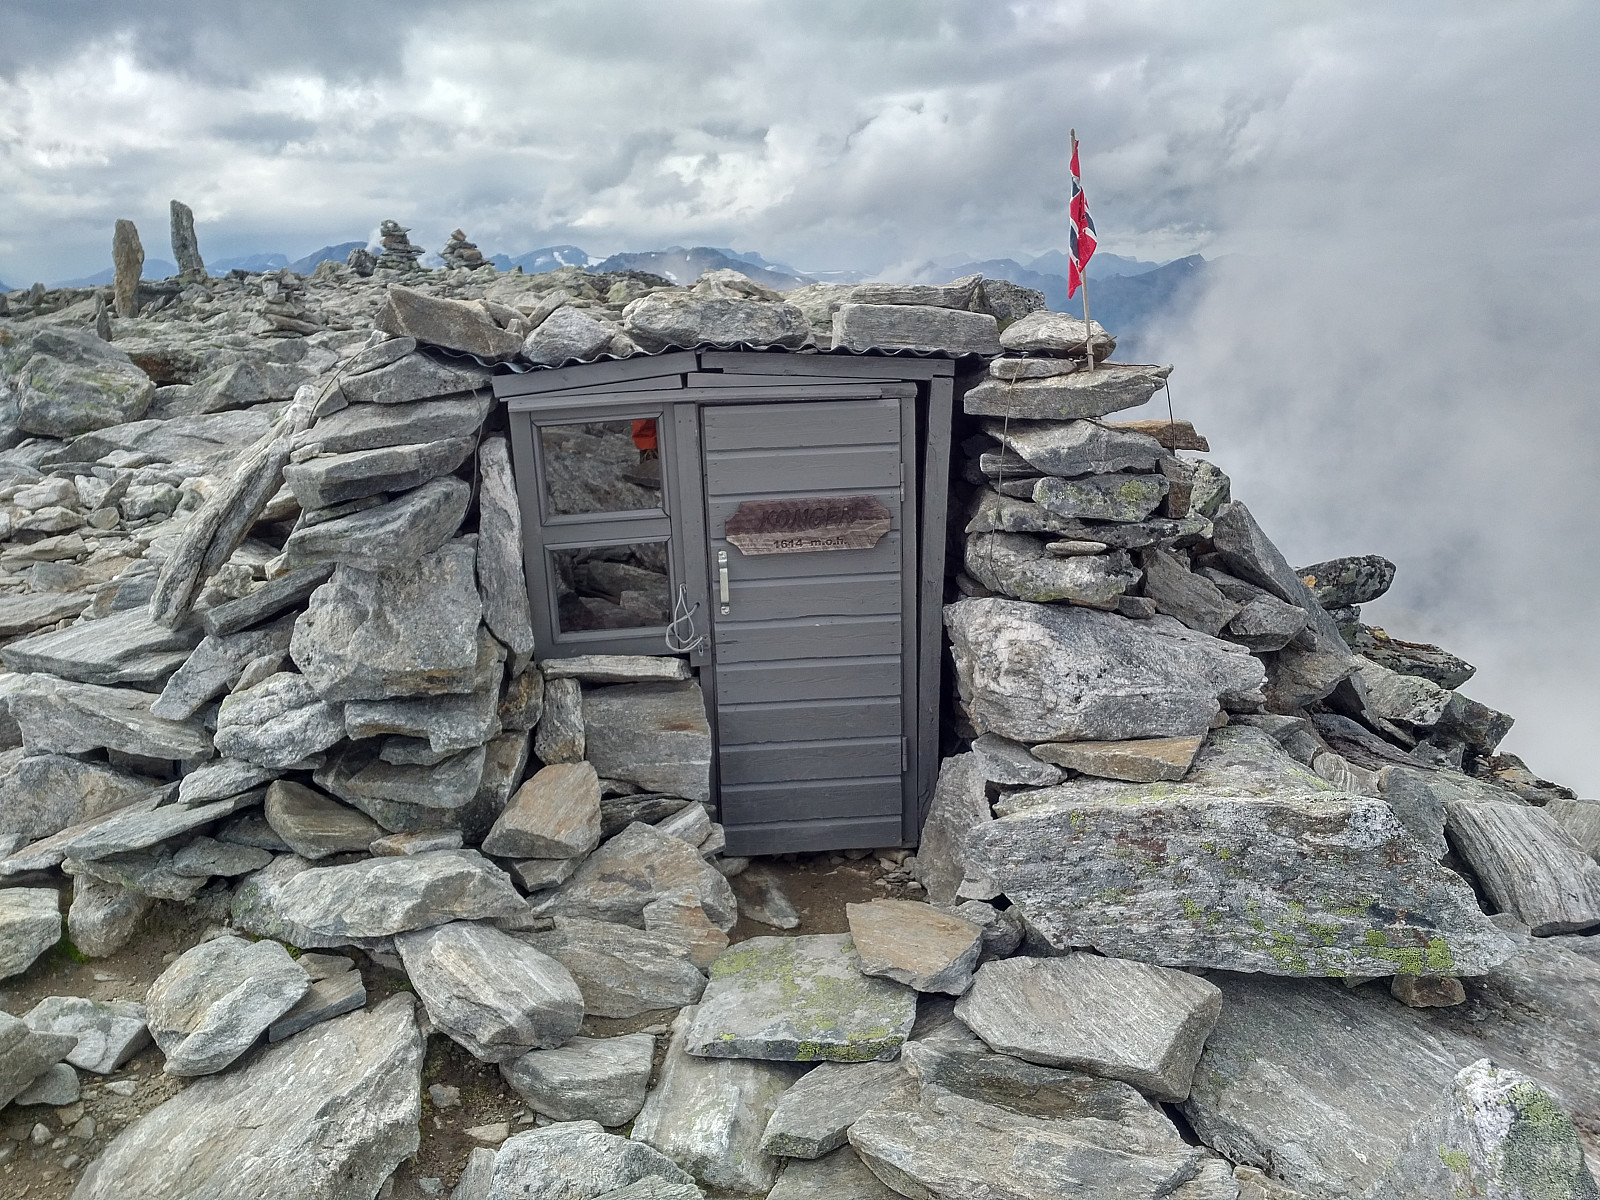
From the summit of Mount Kongen the view is even better than on Mount Bispen. On the eastern side you can look down into the valley Isterdalen, whereas to the northwest you look into the valley Haugabotnen and down to the fjord called Innfjorden. On a nice day, you can look all the way to the town of Molde. There's been built a tiny little shelter on the top plateau of Mount Kongen. I looks very nice, but it's quite small inside. Nevertheless, it offers the opportunity to have your picnic a bit sheltered from rain and wind, if you reach the summit at a time when weather isn't that good. If there's a lot of people on the summit at the same time, however, the shelter won't be able to accommodate more than just a few of them. For the descent I chose a slightly different path, just to check out how the trail from Kongen to Dronninga [i.e. "The Queen"] is. This trail goes along a ridge descending in a western direction towards an outcrop called Kongskneet [i.e. "The King's Knee"]. It is marked with small stone piles all the way down, and they are not too difficult to follow; though you are kind of climbing, and not just trekking. I wasn't heading for The Queen this day, however, so once I was back down at the level of the upper part of the south ridge, I traversed across the ridges and chutes back to the Standard Route, which I then followed down to the gorge between Kongen and Bispen, then all the way along Lake Bispevatnet, and finally down to the parking lot at the Trollstigen Tourist Center.
![Image #18: View from Mount Kongen [i.e. "The King"] towards Mount Dronninga [i.e. "The Queen"] and Mount Karitinden. In the distance is seen the fjord Rødvenfjorden. Had it not been cloudy, the fjord Innfjorden would have been visible to the left.](https://images1.peakbook.org/images/14939/Solan_20190901_5d6bc4316dc59.jpg?p=xtralarge)

Kommentarer