Climbing Mount Bispen (23.06.2019)

| Start point | Trollstigen P-plass (708m) |
|---|---|
| Endpoint | Trollstigen P-plass (708m) |
| Characteristic | Alpine trip |
| Duration | 6h 04min |
| Distance | 6.1km |
| Vertical meters | 2,004m |
| GPS |
|
| Ascents | Bispen (1,461m) | 23.06.2019 |
|---|
![Image 1: The little river emerging from Lake Bispevatnet. Image 2: Lake Bispevatnet, still largely covered by ice and snow at this time of the year. Image 3: Mount Bispen [i.e. "The Bishop"] with Mount Kongen [i.e. "The King"] behind it. The additional "horn" seen on the west side of Mount Kongen is called Kongskneet [i.e. "The Knee of the King"].](https://images1.peakbook.org/images/14939/Solan_20190703_5d1d1ad523fa0.jpg?p=xtralarge)
I love hiking along mountain ranges, and especially so if a range includes a number of summits with challenging mountain ridges that connects them. I did hike along a mountain range like that in the Vestnes municipality about a year ago (see my hike description from June 30th 2018), but there's a lot of mountain ranges like that in Norway and elsewhere, hence they are not difficult to find. During the summer months (or early fall) of 2018, two women posted a tour description in a hiking group on Facebook called Toppturer i Nordvest [i.e. "Peak Hikes in Northwest Norway"]. Both of them had hiked along the mountain range that includes the mountains of Bispen, Kongen and Dronninga [i.e. "The Bishop", "The King", and "The Queen"]. After reading these two hike descriptions, I decided I would like to try to make this hike myself, and hopefully even to include the forth summit along the range, called Karitinden. I do believe it is important to do some research prior to such a hike, however; as knowing the mountains well in advance can make the difference between an 8 hour trip and a 20 hour trip. I climbed Mount Dronninga [i.e. "The Queen"] along with my daughter late in 2018, and this Sunday I set out to explore Mount Bispen [i.e. "The Bishop"]. The idea is to hike all portions of the hike first, and then put the portions together into a long hike once I've become well acquainted with these mountains.
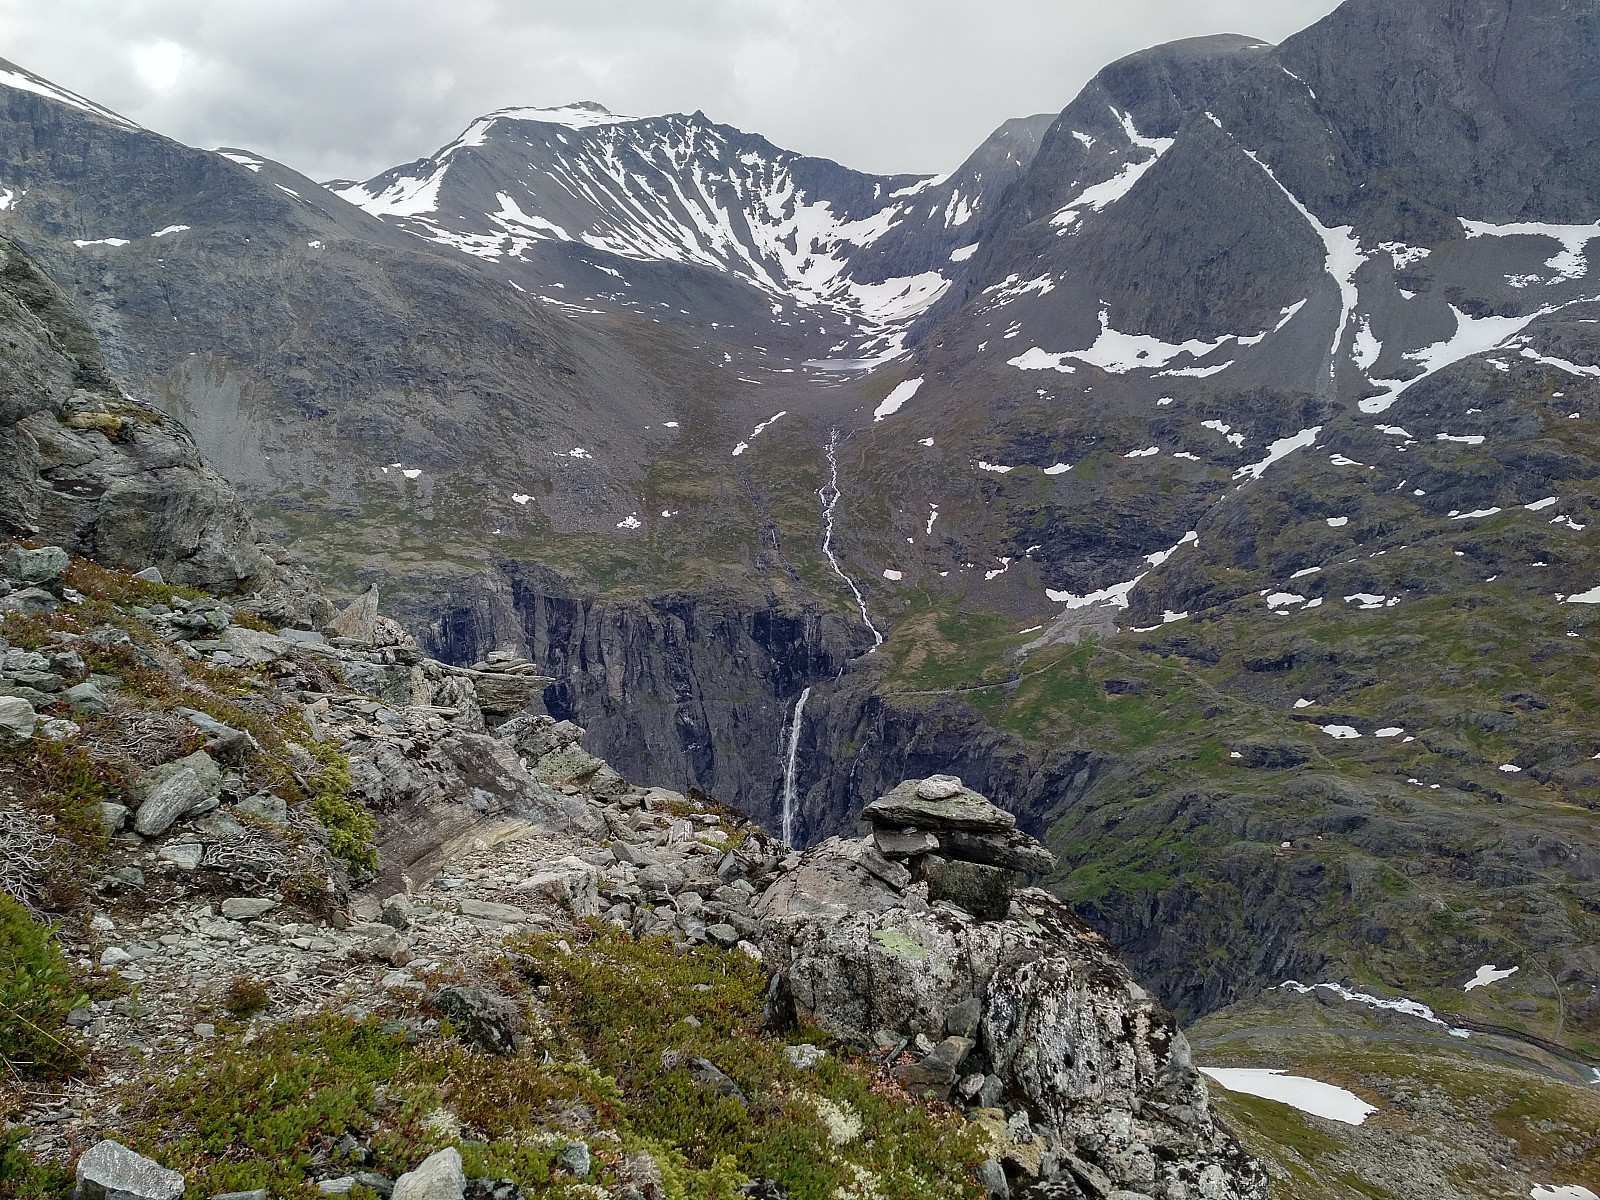
![Image 4: As I started climbing from Lake Bispevatnet up the southern ridge of Mount Bispen, the view was nice. Here is seen the valley Meiadalen with Lake Alnesvatnet. Image 5: View towards Mount Alnestind. It's still possible to ascend that mountain on ski at this time of the year, if you're willing to carry the skies for half a kilometer or so. Image 6: View towards the valley Stigebotnen. That's the direction in which you need to go if you want to visit the peaks flanking Trollveggen [i.e. "The Troll Wall"], a mountain massif with a vertical rock face of more than 1000 meters.](https://images1.peakbook.org/images/14939/Solan_20190705_5d1e83adb26b0.jpg?p=xtralarge)
I borrowed my wife's car, and drove to the Trollstigen Tourist Center, where I parked and put on my hiking equipment. I immediately noticed that "The Bishop" was shrouded in a thin layer of fog, which actually made me a little bit disappointed, as the weather forecasts had been really good for this spot for this particular day. The first part of a trip up Mount Bispen is the hike from the tourist center up to Lake Bispevatnet [i.e. "The Bishop's Lake"]. The tourist center is located about 705 meters above mean sea level, the lake is located about 1000 meters above sea level, and the hike up there takes about 25 minutes if you're not in too bad a shape. I once visited Mount Dronningen [i.e. "The Queen"] along with my daughter, hiking from Trollstigen Tourist Center, hence I was well acquainted with the lake and the area around it. The lake usually has a very nice blue, almost turquoise color, but at this time of the year it was still covered by ice (Image 2). Once upon the edge between the valley and the lake, I headed towards the southern ridge of Mount Bispen. I had read the previous day that the track up the southern ridge is marked by small stone piles, hence I confidently followed the piles towards the mountain. I had to cross some snow every here and there, but most places the track was free from snow by now.
The stone piles were easy to follow until I reached the mountain foot of the "Bishop", then all of a sudden it became more difficult. There's a number of problems with stone piles. First, they are sometimes turned over by wind and snow during winter, hence some of them may need to be rebuilt when summer arrives. Second, they are sometimes a little bit too far apart, hence when you arrive at one pile, you're not able to spot the next one, and you have to search for it. Third, at least in Norway, a lot of people tend to build stone piles just as a mark that they've been at the spot; and so wherever you go in the Norwegian mountains, you risk running into "fake stone piles" that doesn't show you the correct path at all, they just mislead you. I embarked on climbing the southern ridge of the mountain, however, in spite of not seeing any stone piles along the ridge; having in mind that I could always turn back and climb a different path should I run into a path that didn't lead anywhere.
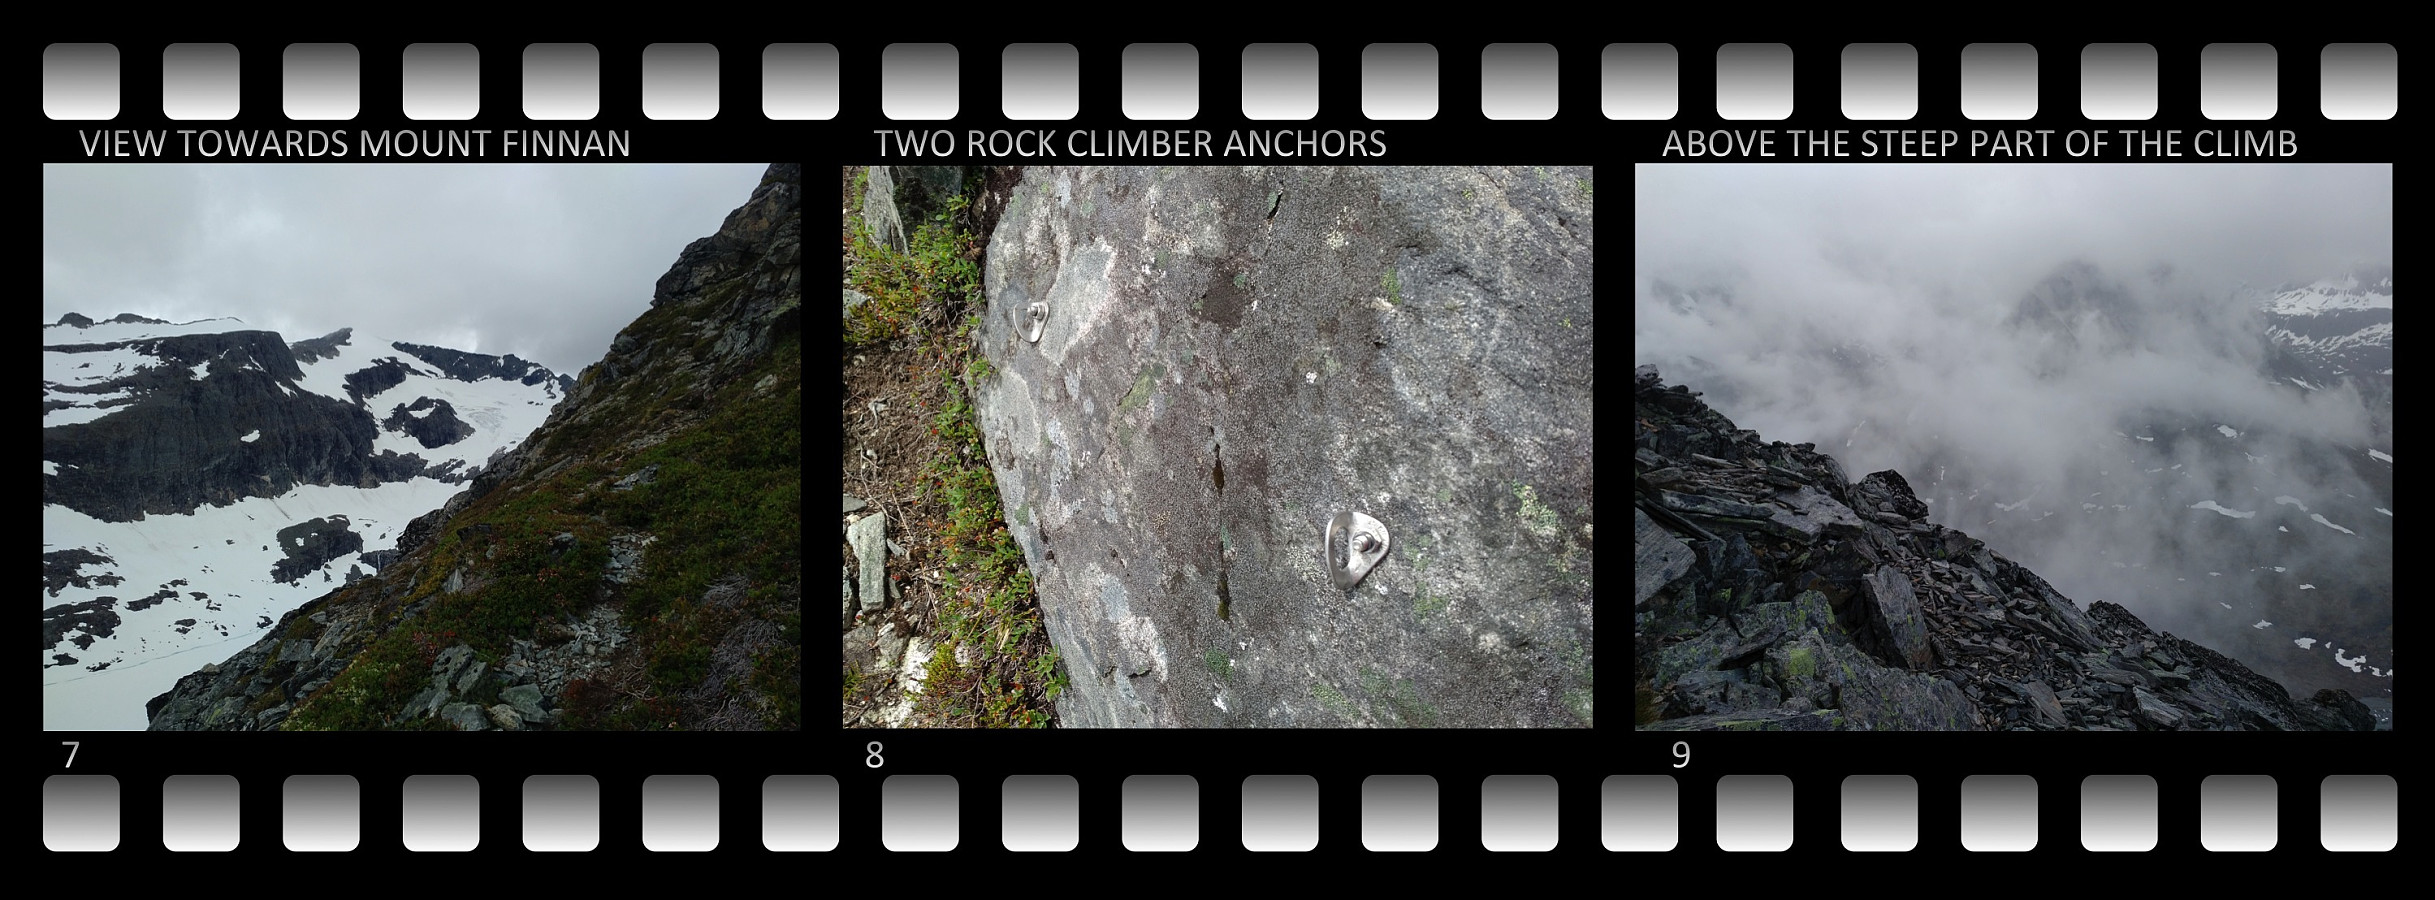
I ended up along a track that seemed a bit more challenging than the one that I had read about online in advance of the hike. The climb led me onto the west side of the ridge of the mountain. I realized this probably wasn't the correct path, and so I tried to head towards the edge of the ridge as I continued the climb; and that's when I ran into the only stone pile that I encountered along the entire southern ridge of the mountain. I should of course have continued past the ridge at this point, but then I spotted something on the ground that really looked like a track that people had been using, and this fooled me into continuing along the west side of the edge of the ridge. I arrived at a spot where two rock climber's anchors had been secured into the rock (Image 8), and then I thought by myself: "Good, someone else has been here." This, however, proved to be a misconception, as I never came across more such anchors along the route that I followed up the ridge of the mountain. The two anchors are probably used by climbers that train in the very steep rock face beneath the spot.
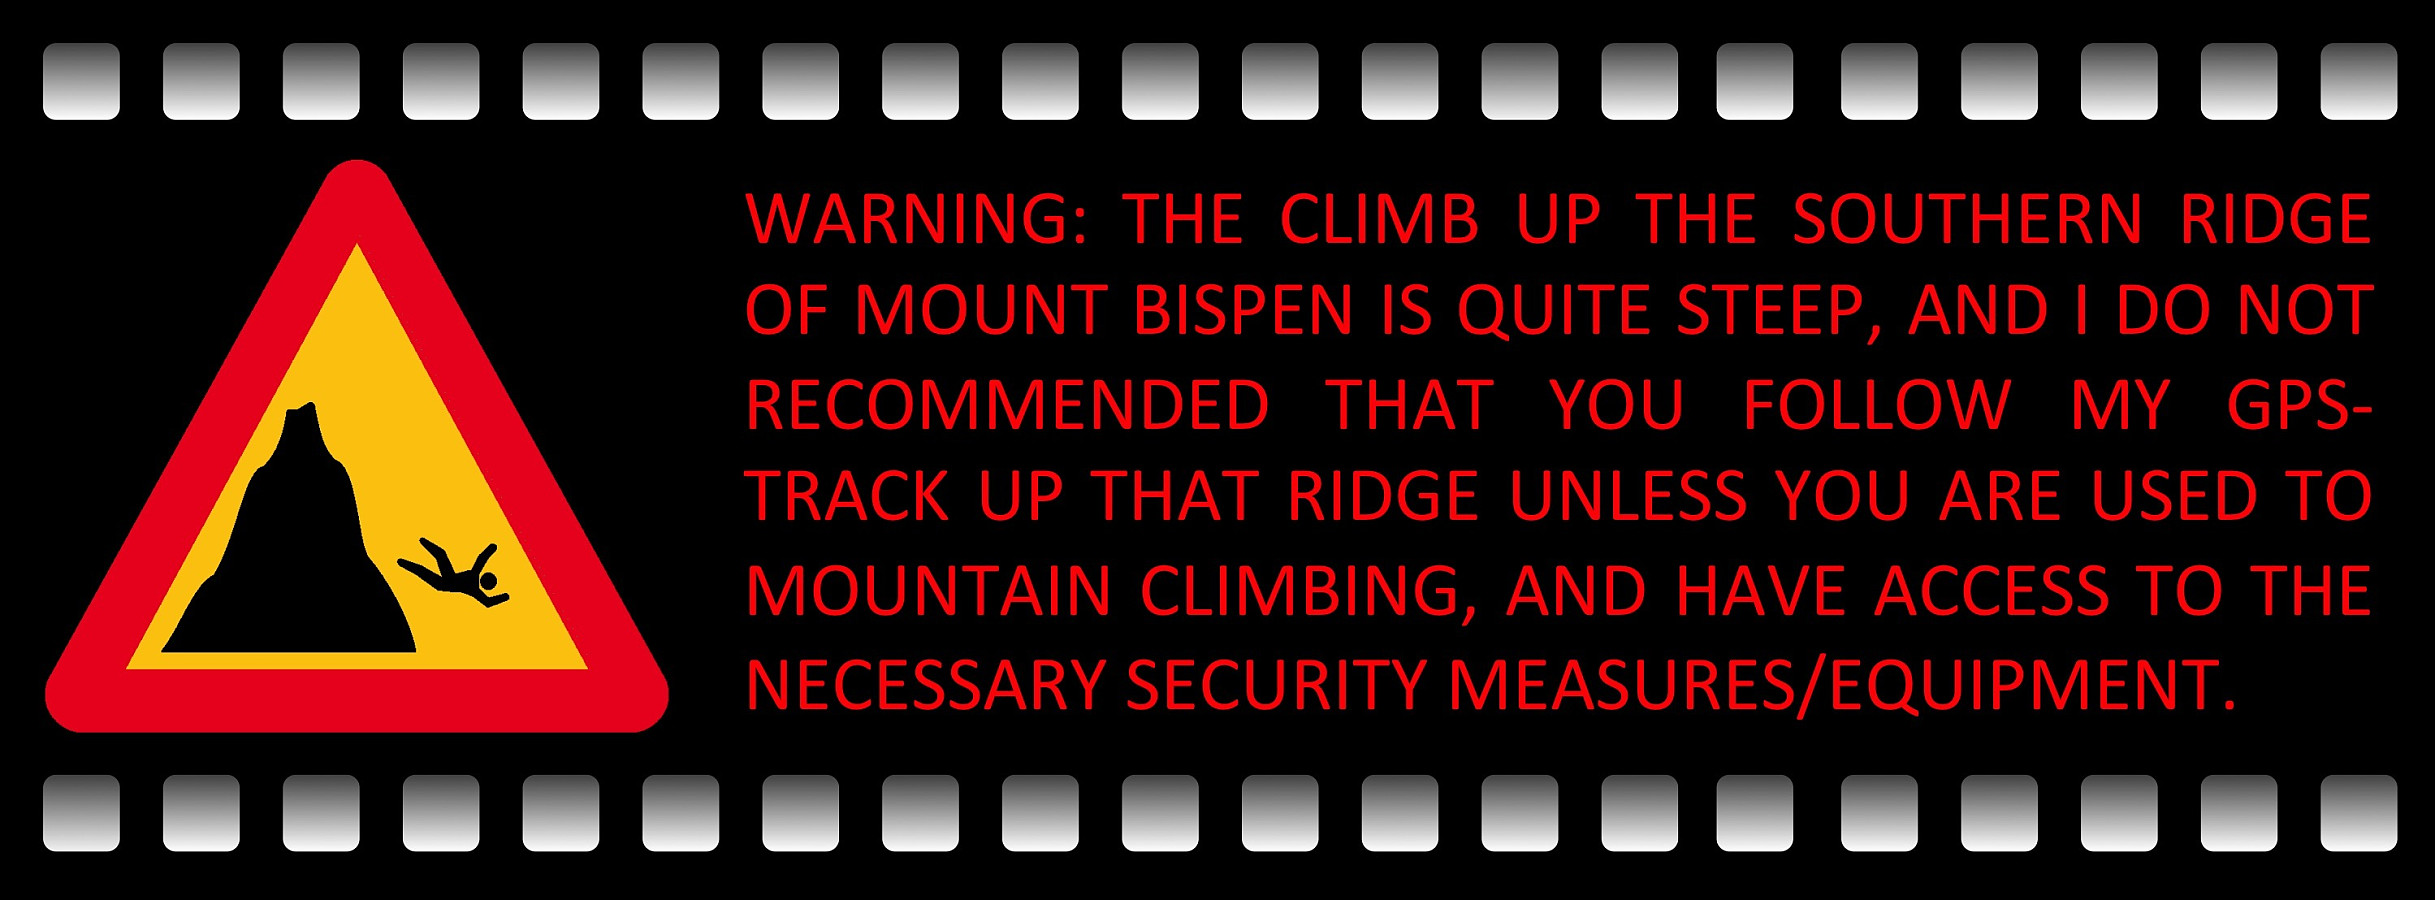
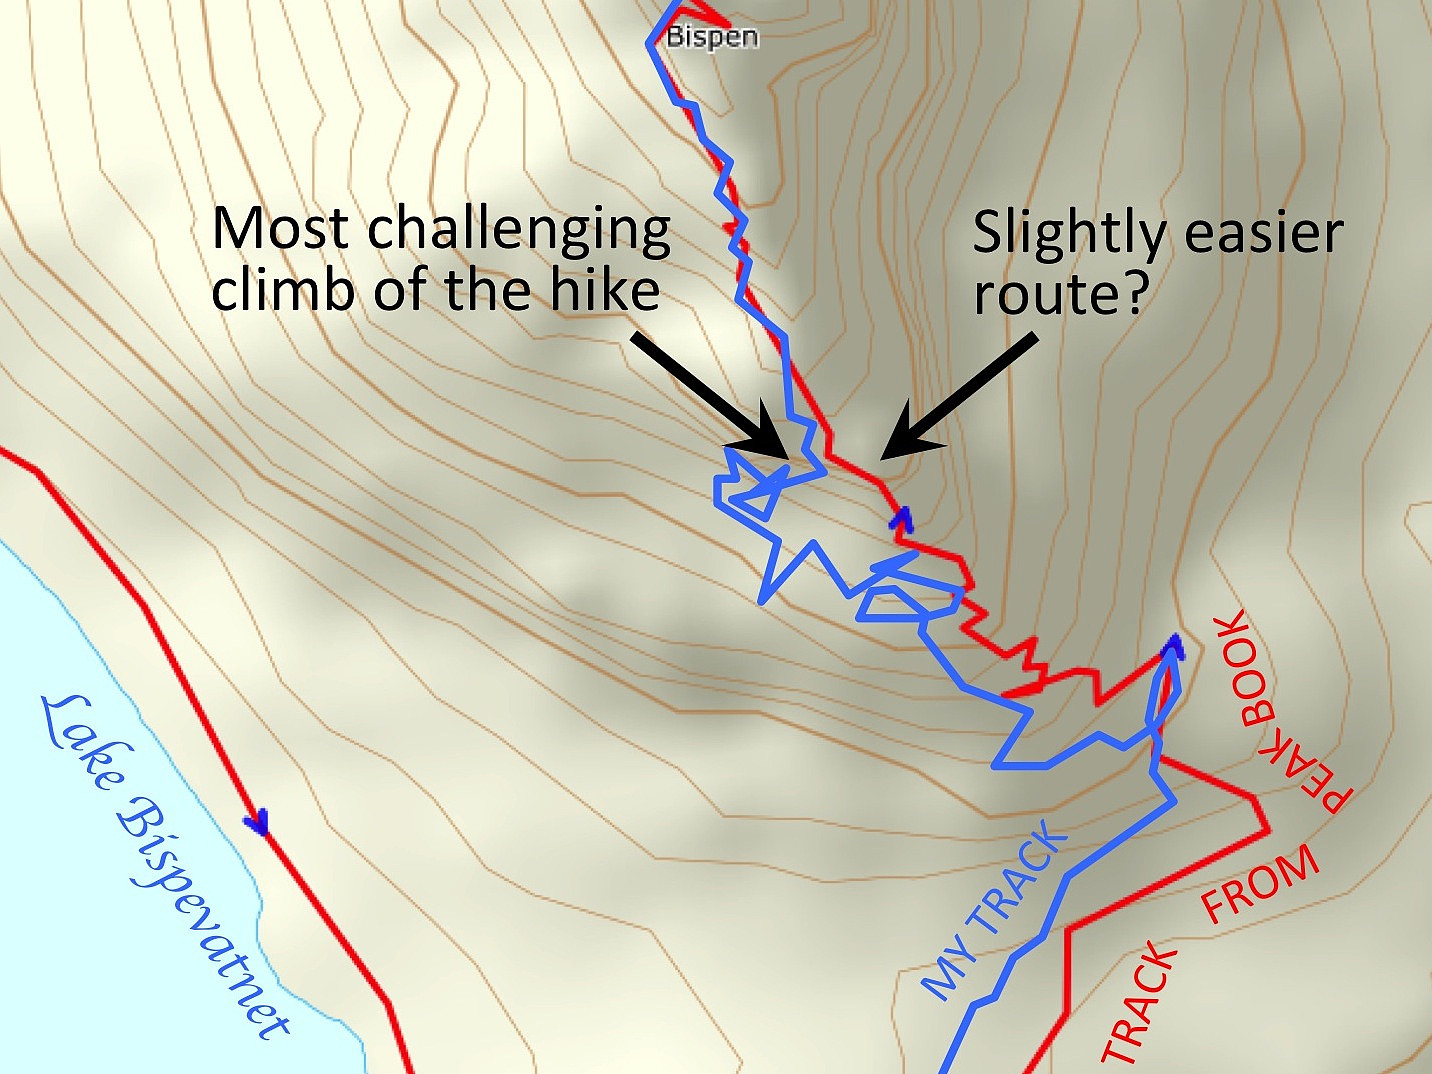
From the location of the two anchors, it took me an entire hour or so of trying and failing, before I found a route along which I was able to climb without feeling I was putting my life at danger. Weather had been fairly alright until now, though there where clouds higher up the mountain side, but now it started raining, and the rain made my track slippery, so as to ensure it would be difficult to get back down the way I had been climbing up. I finally found my way up this very steep part of the south ridge of the mountain, up to some sort of a plateau, or a not-so-steep slope, where the climb became more like an ordinary mountain hike. By now I had realized, however, that the route I had climbed to get up to this point, couldn't possibly be the one I had read about in various tour descriptions. The climb up the south ridge of Mount Bispen is described as grade 2+ here on Peakbook and elsewhere, and the route that I had inadvertently climbed, was definitely steeper than 2+. Back home after the hike, I compared my own Endomondo-track with GPS tracks of the south ridge route found here on Peakbook (Image 10), and I have indeed concluded that I must have missed the appropriate path; I should have followed the ridge slightly to the right of it, and not slightly to the left of it, which means I have to come back for a second reconnaissance hike at some time, in order to establish the exact route for the longer hike that I have planned to eventually make.
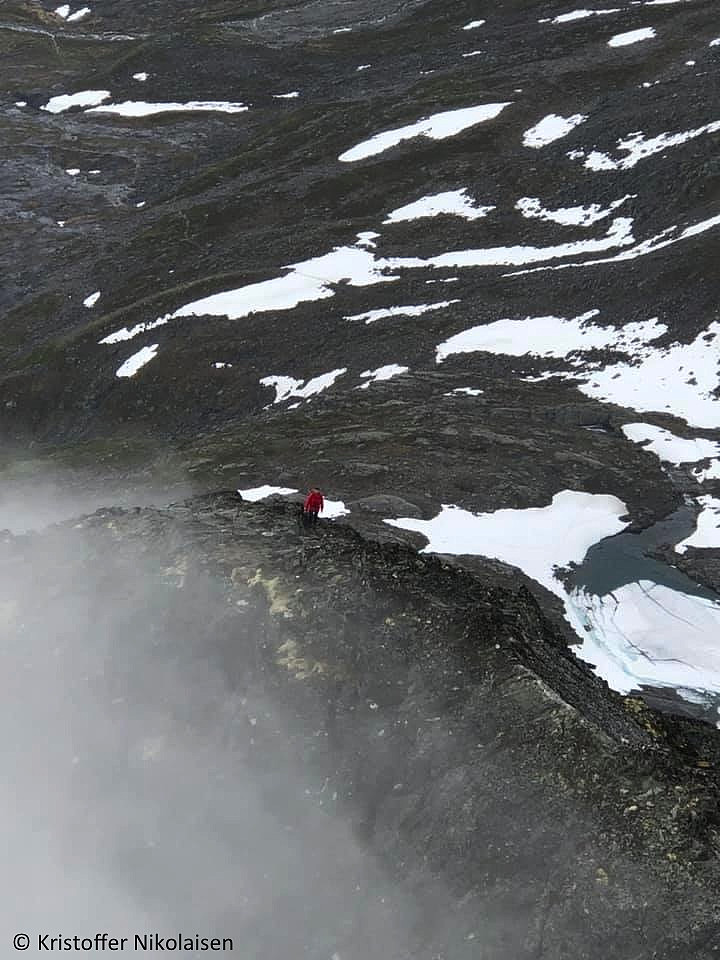
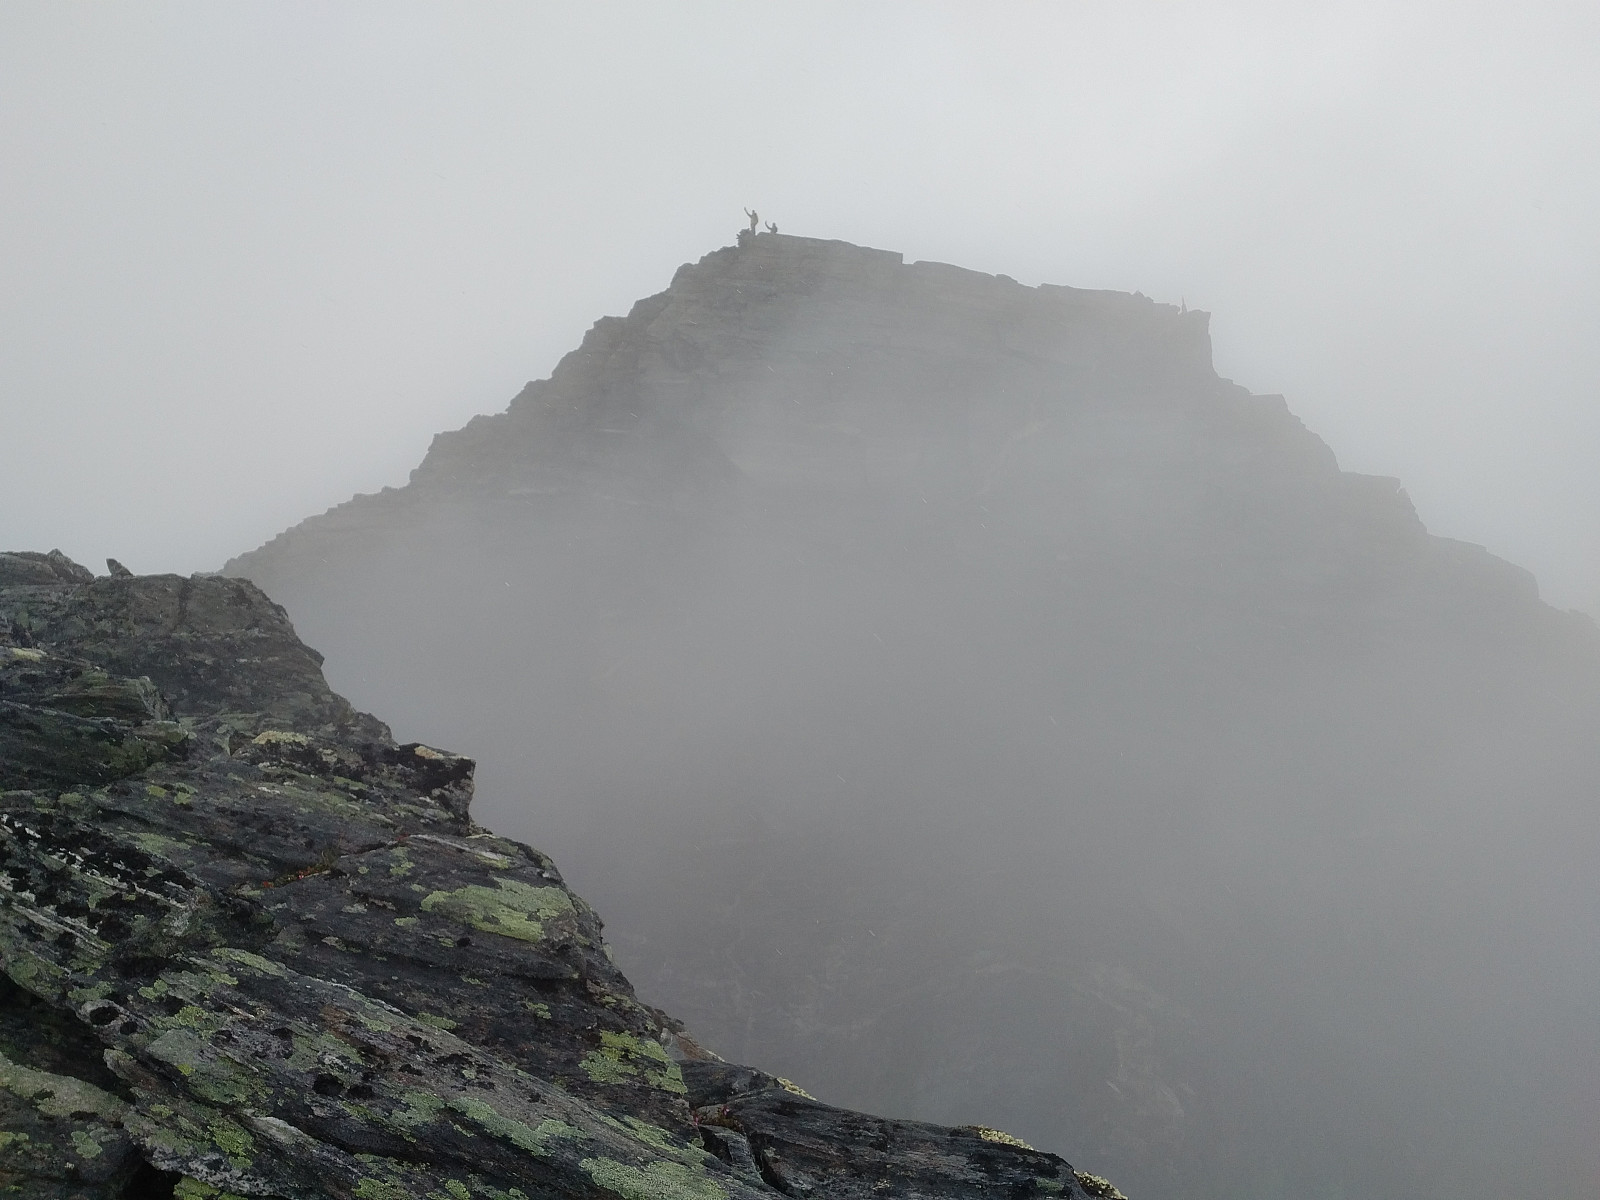
As I was hiking up the mentioned slope on the south face of the mountain, the summit all of a sudden came into sight in all its majesty. Moreover, I heard voices from up there, and then I spotted two persons on the summit. I shot one or two photos of the guys on the mountaintop (Image 12), and I later learned that they had shot a photo of me as well (Image 13). I continued towards the summit. Where the south ridge of the mountain joins the mountain proper, there is a somewhat narrow connection often referred to as the roof, because it has the shape of the rooftop or ridge of a pitched roof. I've seen on photos that people tend to cross this short segment of the track by sitting across "the roof" with one leg on each side, working their way to the other side in that manner. I wasn't in the mood for funny things like that, however, as I had been struggling a bit to get up to this spot; so I just walked along "the roof" setting my feet on a tiny shelf on the left side of the passage, while holding onto the "rooftop" with my hands.
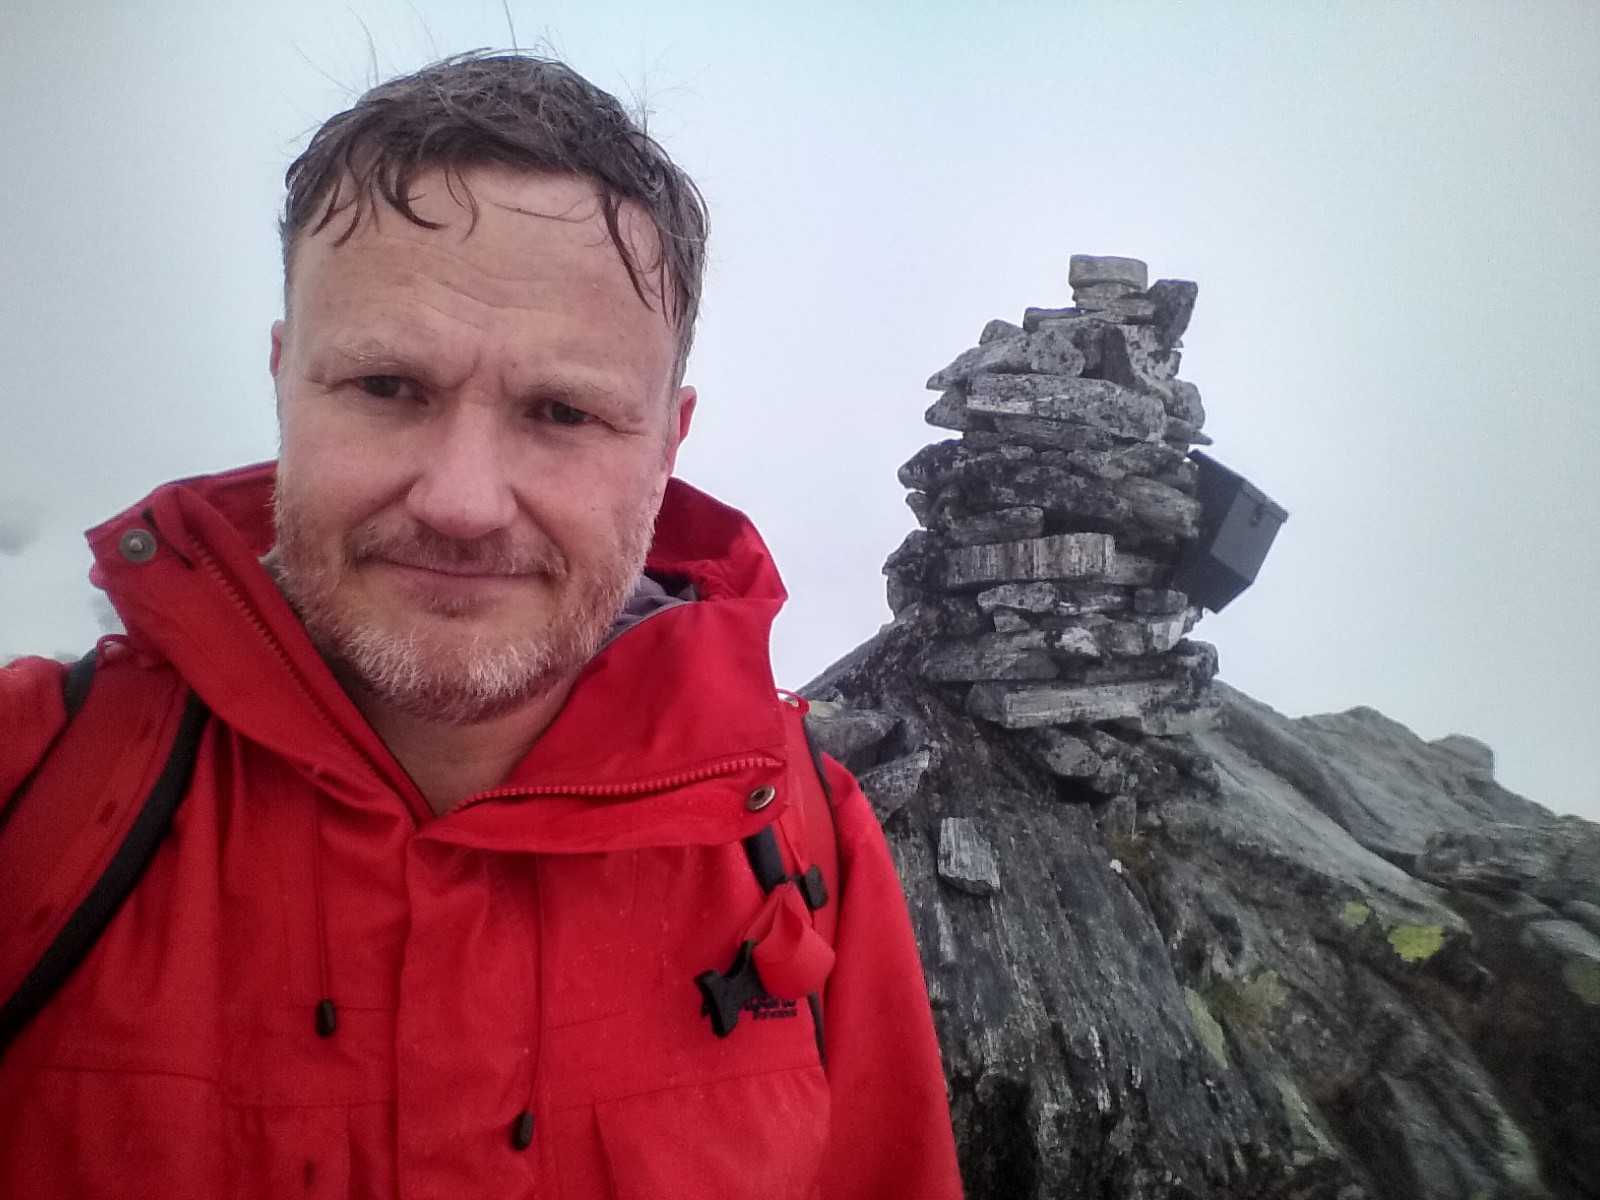
Having passed "the roof", it wasn't long till I reached the summit. It was cloudy up there, and not much of a view (Image 14), but I wrote my name in the book (many Norwegian mountains have a mailbox at the summit, with a book into which you may write your name as "proof" that you've been there), and then immediately embarked on the descent, as I had a plane to catch in the evening. Descending along a route that you haven't used for the ascent, however, isn't necessarily easy when it is as cloudy as it was on this day. I walked around the summit "plateau", looking over the edge for the path down, but the clouds made it impossible to see anything; looking over the edge felt like looking into an abyss. The two guys that had been up there had left before I reached the summit, otherwise I would've asked them for the route down from the mountain. It then came to my mind, however, that I had seen the two of them descending from the summit almost where I came up, hence I went back to about where I came up, and there I found the trail leading the regular way down from the mountain. From tour descriptions, maps and GPS-tracks (or my failure to interpret them correctly), I had anticipated my arrival on the summit plateau to be from the southwest, and then the departure to be directly to the north. I now realized, however, that the south ridge trail and the regular trail both reach the summit somehow from the west, i.e. the south ridge trail reaches the summit from southwest, and the regular trail reaches it more directly from the west. The descent along the regular trail to Mount Bispen goes west only for a short distance, however, and then curves more in a northwest direction, along what is usually termed the northern ridge of the mountain.
As I descended from the summit, I quickly came beneath the dense clouds that obscured the view from the mountaintop, and all of a sudden there were plenty of small stone piles, guiding you down from the mountain; some even with red paint added to them, so as to make sure you don't miss the route. The regular trail takes you down into the gorge between Mount Bispen and Mount Kongen [i.e. the Bishop and the King], from where it curves in a southwest direction towards the eastern shore of Lake Bispevatnet. Part of the stony path along the lake was still covered by snow as summer solstice is still kind of early summer in these mountains, since snow and ice requires time to thaw. It's impossible to actually follow the trail when it is covered by snow, so you just go where you think it is. Every now and then you end up stepping right through the snow into a deep hole between the large stones underneath the snow, but then you just have to get up and move on.
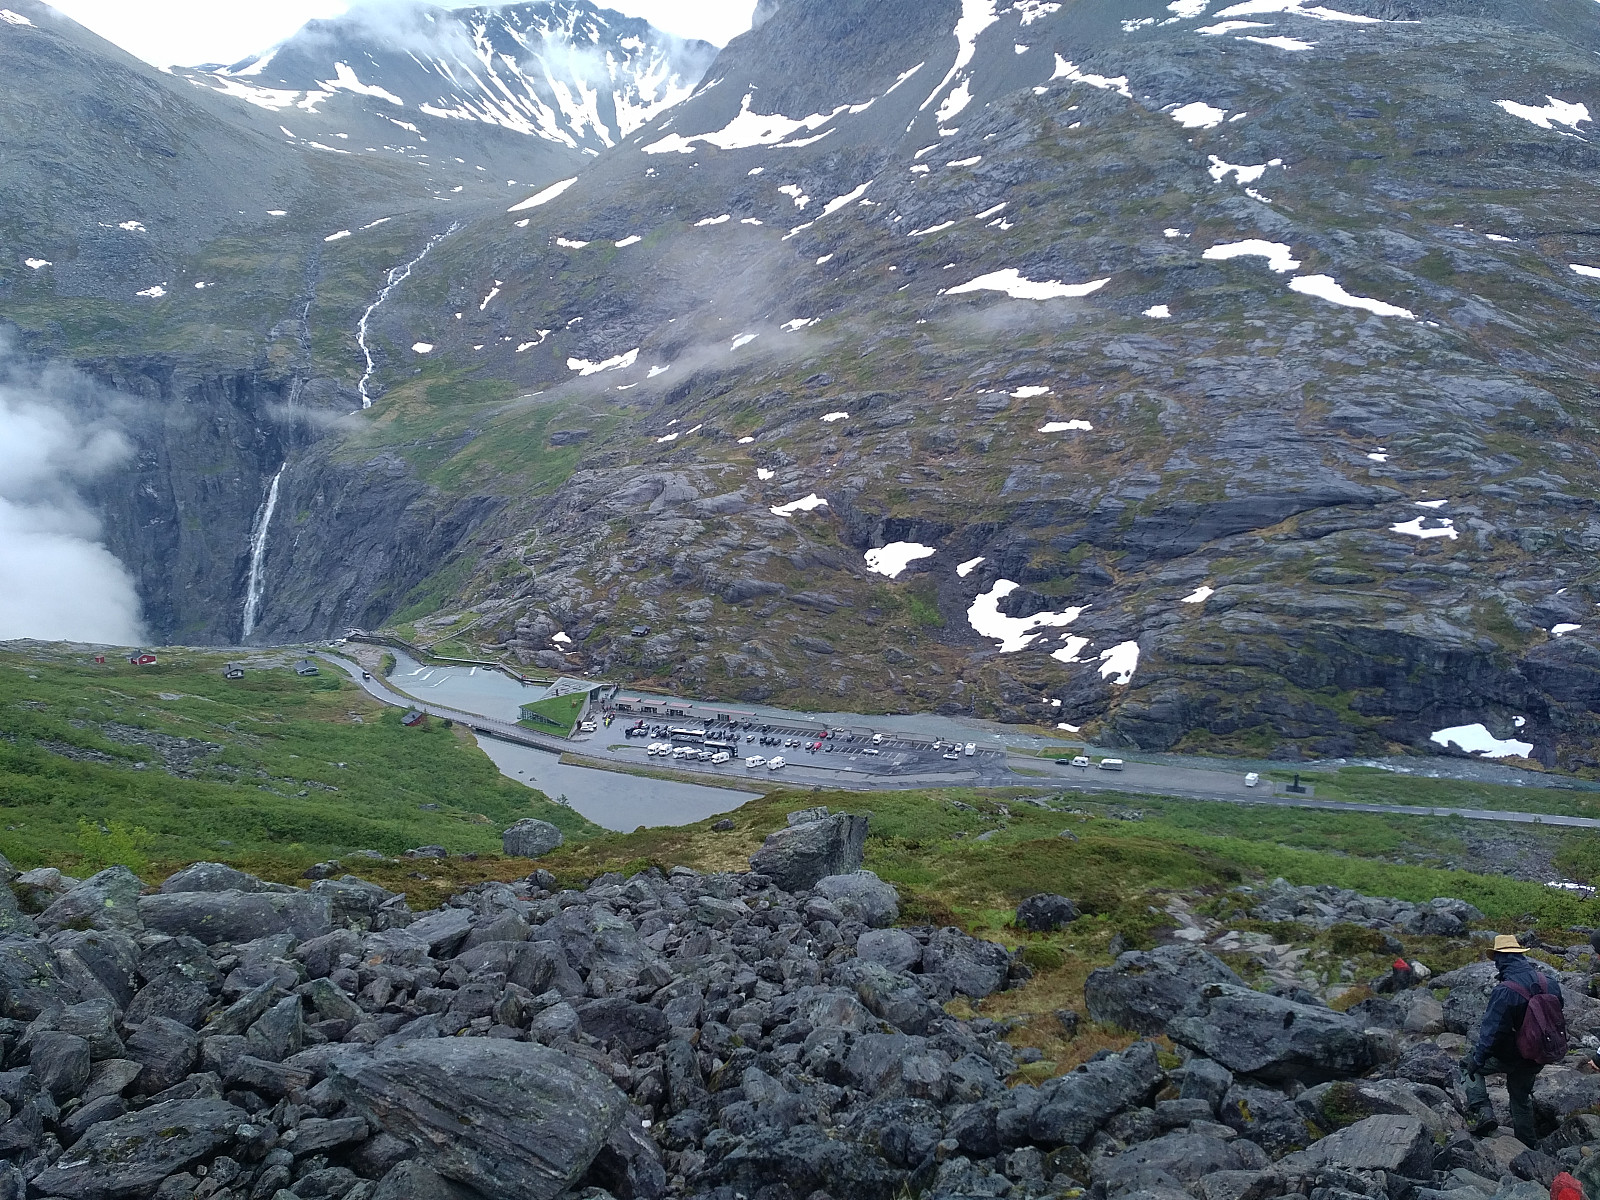
I soon reached the edge between the lake and the valley beneath it. The view of the tourist center with the parking lot and your car is always a welcome sight when you've been tracking these mountains for some hours. I rushed down the mountainside as quickly as I could without making it a dangerous descent, changed into dry clothes before getting into the car, and then I had something to eat and drink as I drove off towards home.

User comments